
How To Create Your Own Patterned Paper

Today’s card is a great example of how to create your own patterned paper. As crafters we hate to throw out any scrap papers, right? This technique allows you to use up even the smallest pieces.
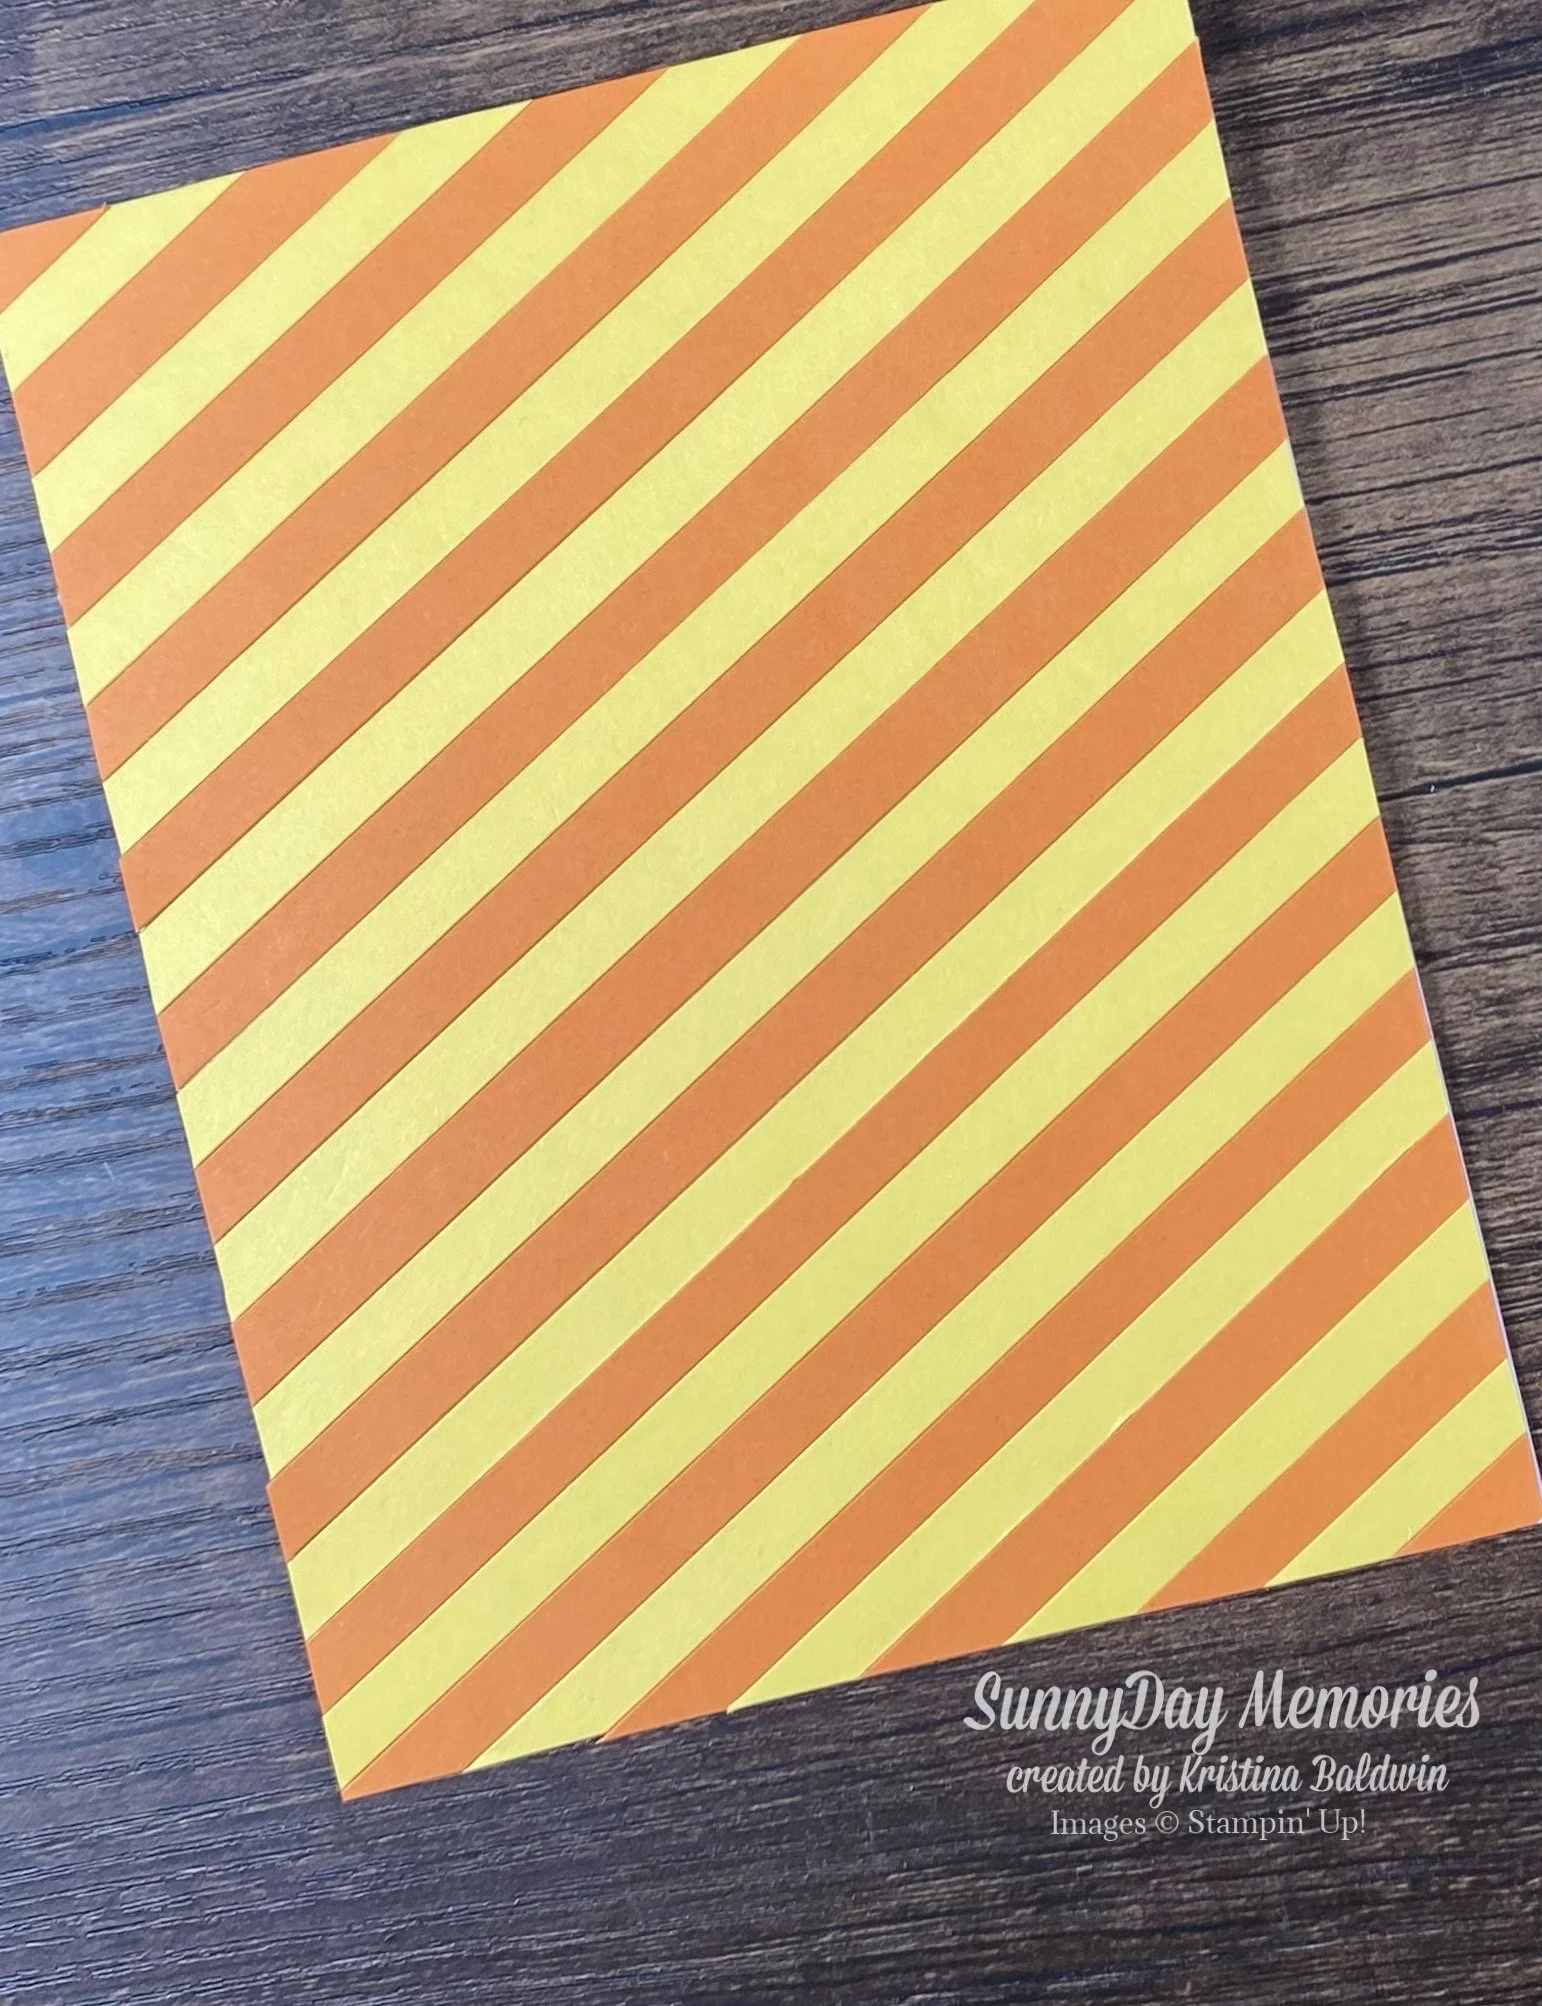
I started by adding adhesive to the entire front of my card. I then added my first 1/4” strip of Pumpkin Pie Cardstock in the upper left-hand corner at an angle. Next I added a strip of Daffodil Delight Cardstock. I kept alternating the colors of cardstock strips and making sure they were flush against each other to ensure that the angle remained the same. Every so often I would flip the card over and trim away the excess strips & use the remainder of the strips on the card. I continued this process until the entire card was filled with the diagonal cardstock strips. I finished by flipping the card over and trimming away all the excess.
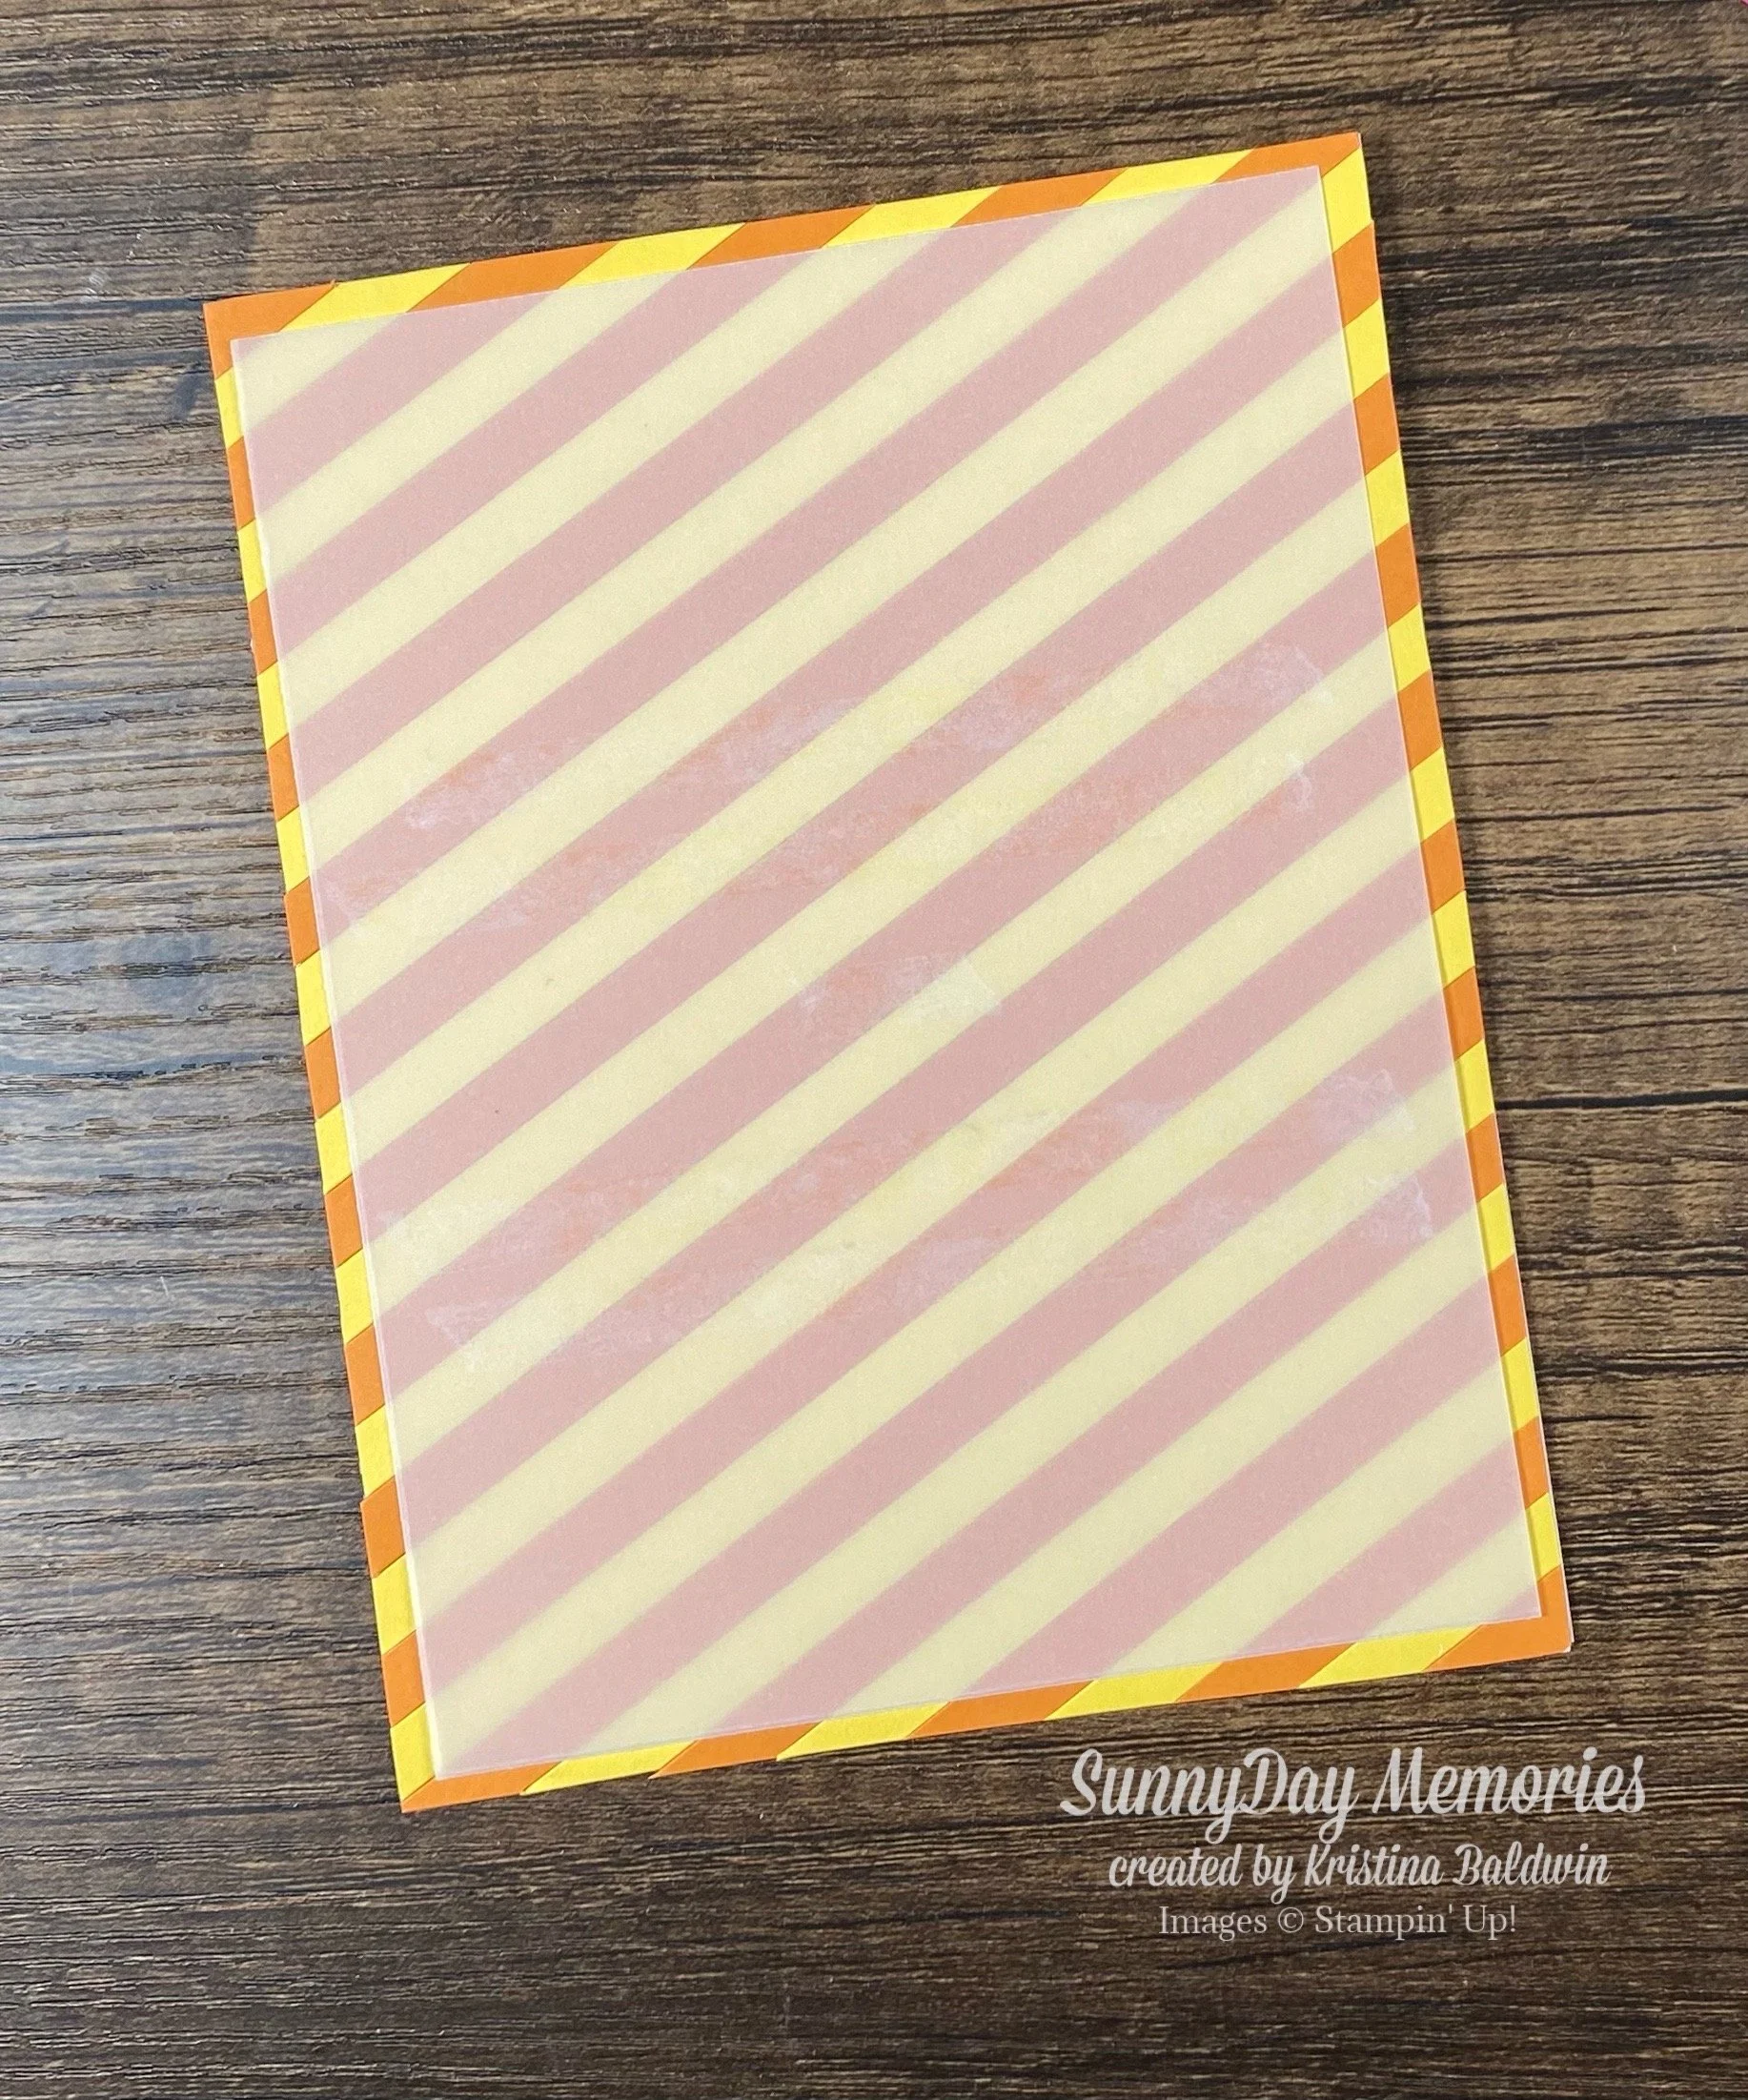
While I wanted the bright and cheery look of the Pumpkin Pie and Daffodil Delight colors, I didn’t want it to be too bold and overpowering for my card. So I added a Vellum Paper overlay on the bulk of the front of my card. It allows you to see the true colors on the edge of the card, but makes the remainder a little softer and muted.
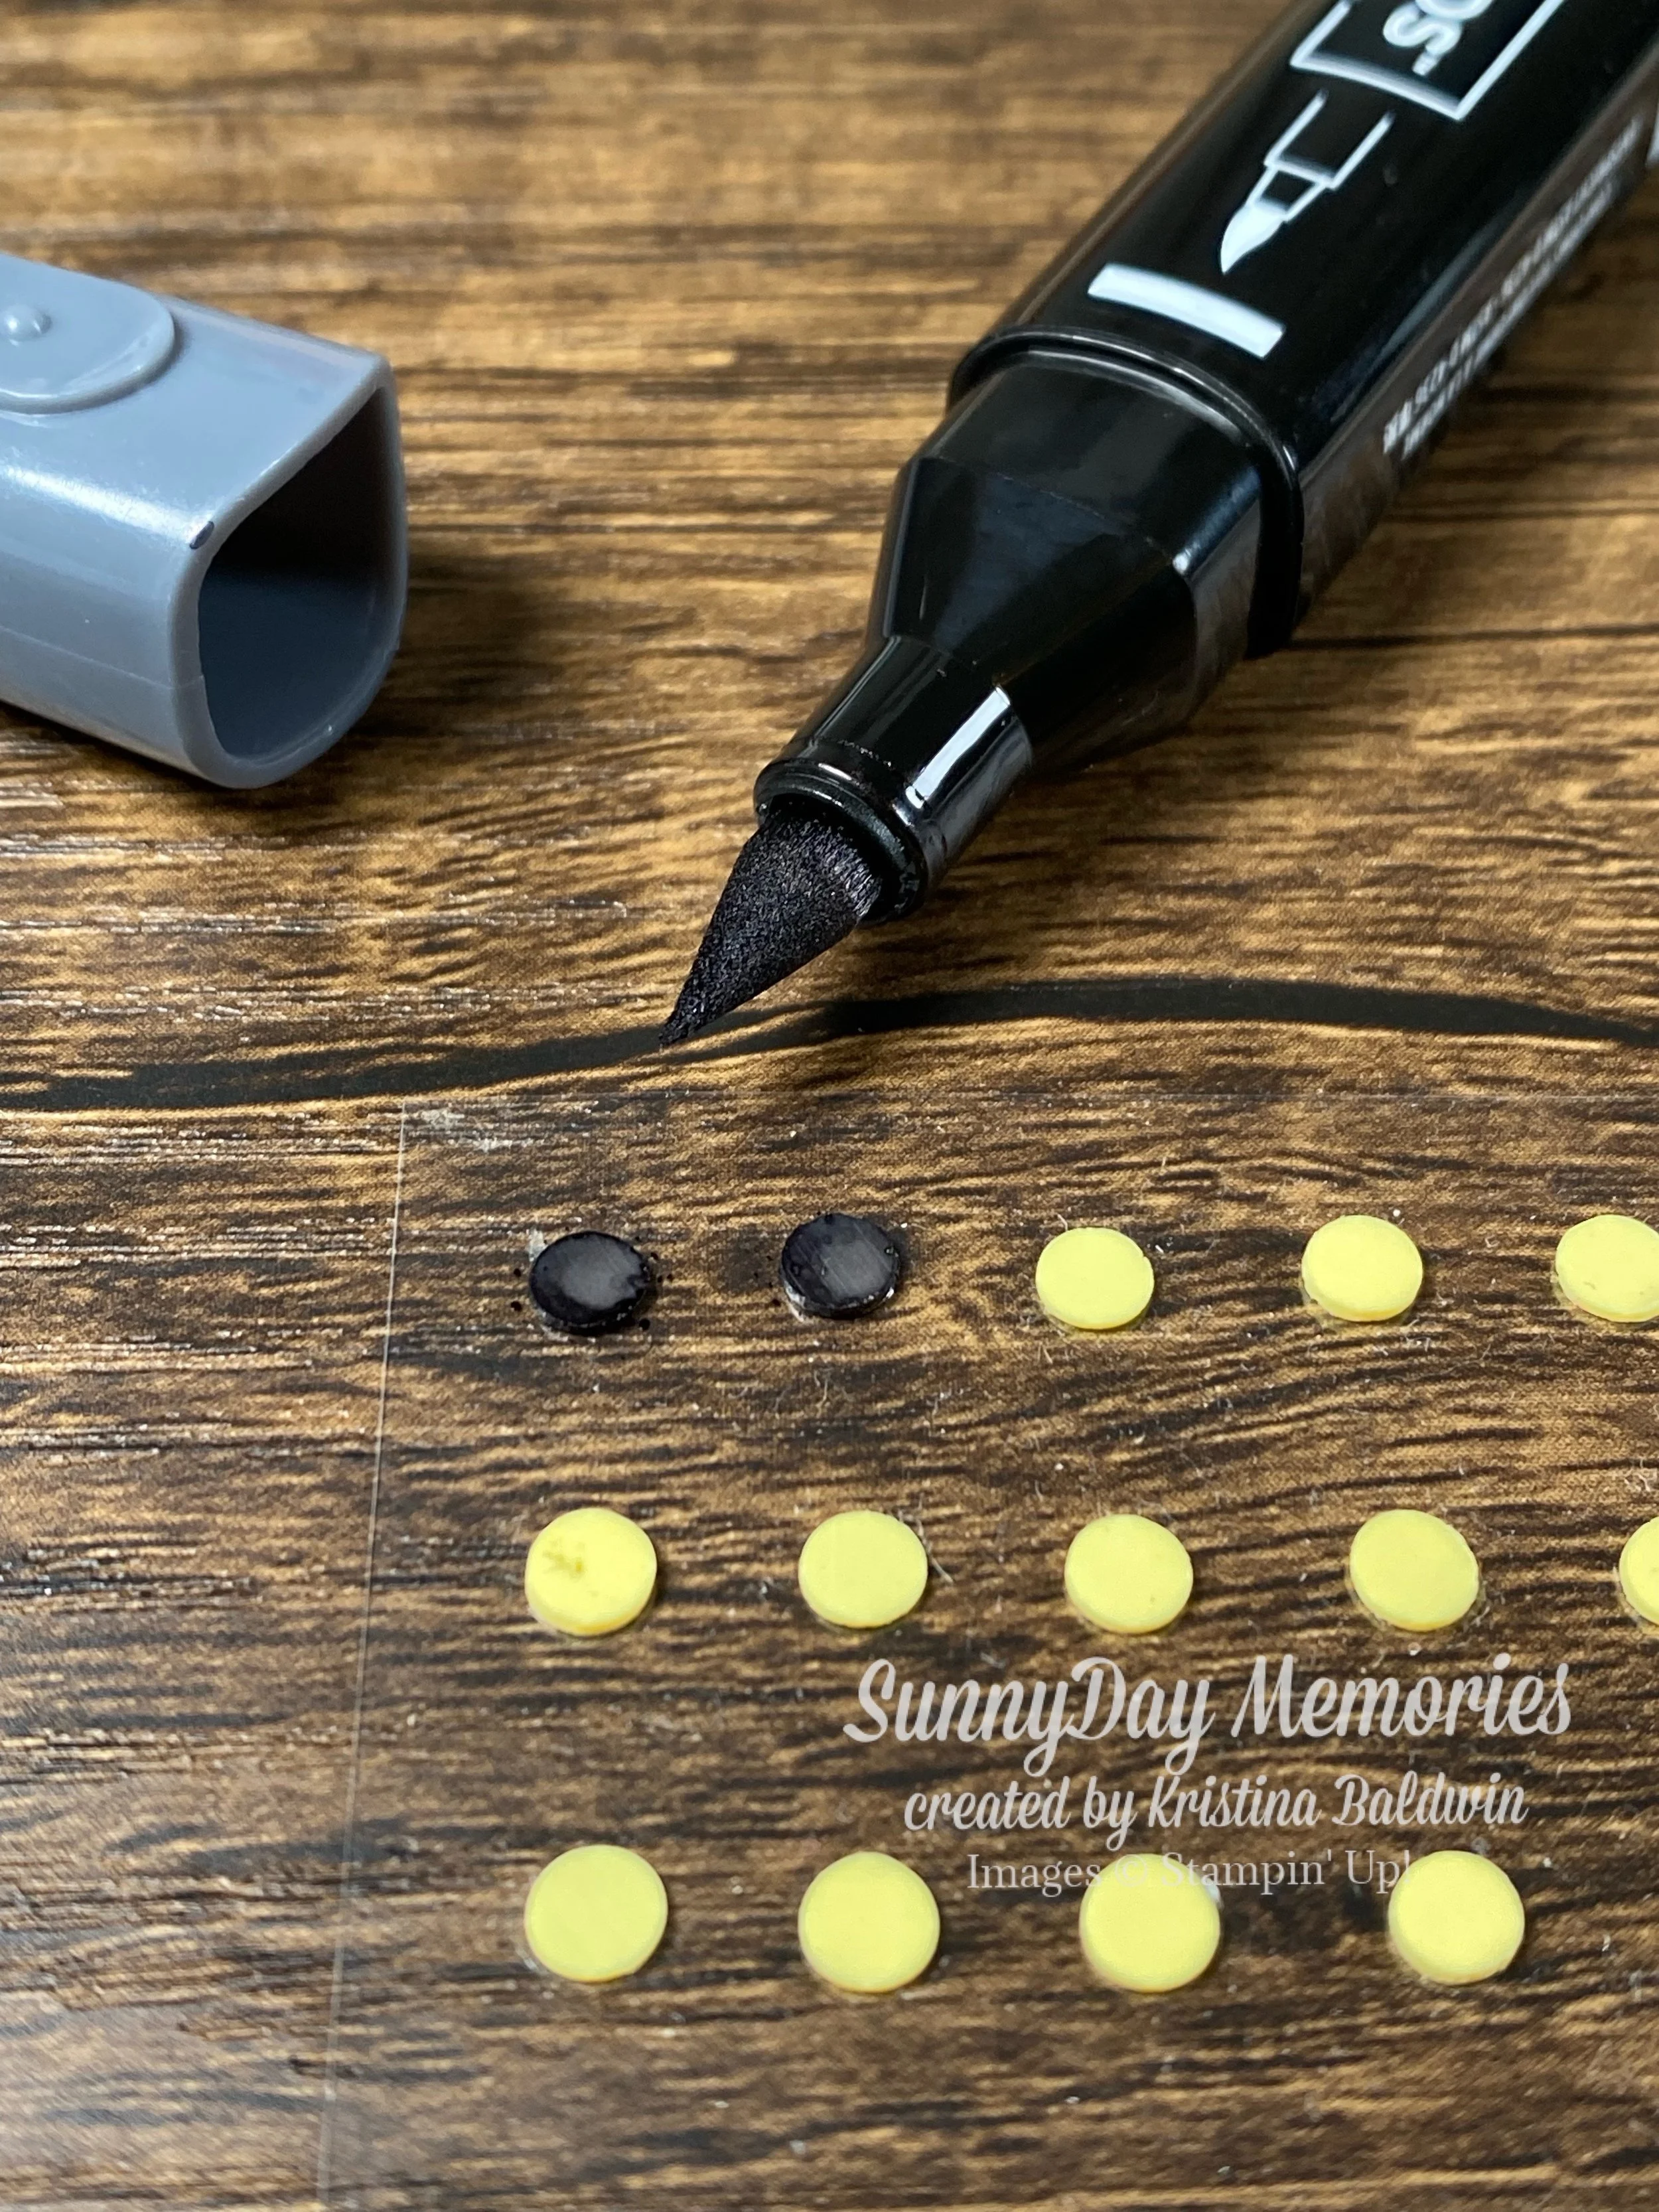
I didn’t have any black embellishments so I used my favorite trick to make my own—use our Stampin’ Blends Alcohol Markers to color any embellishment. That’s how I was able to get my black dots to finish off my card! I hope you love the look of this background like I do. Now that you know how to create your own patterned paper using this technique, you can really maximize all your paper scraps to the fullest!