
How To Make a Starburst Card
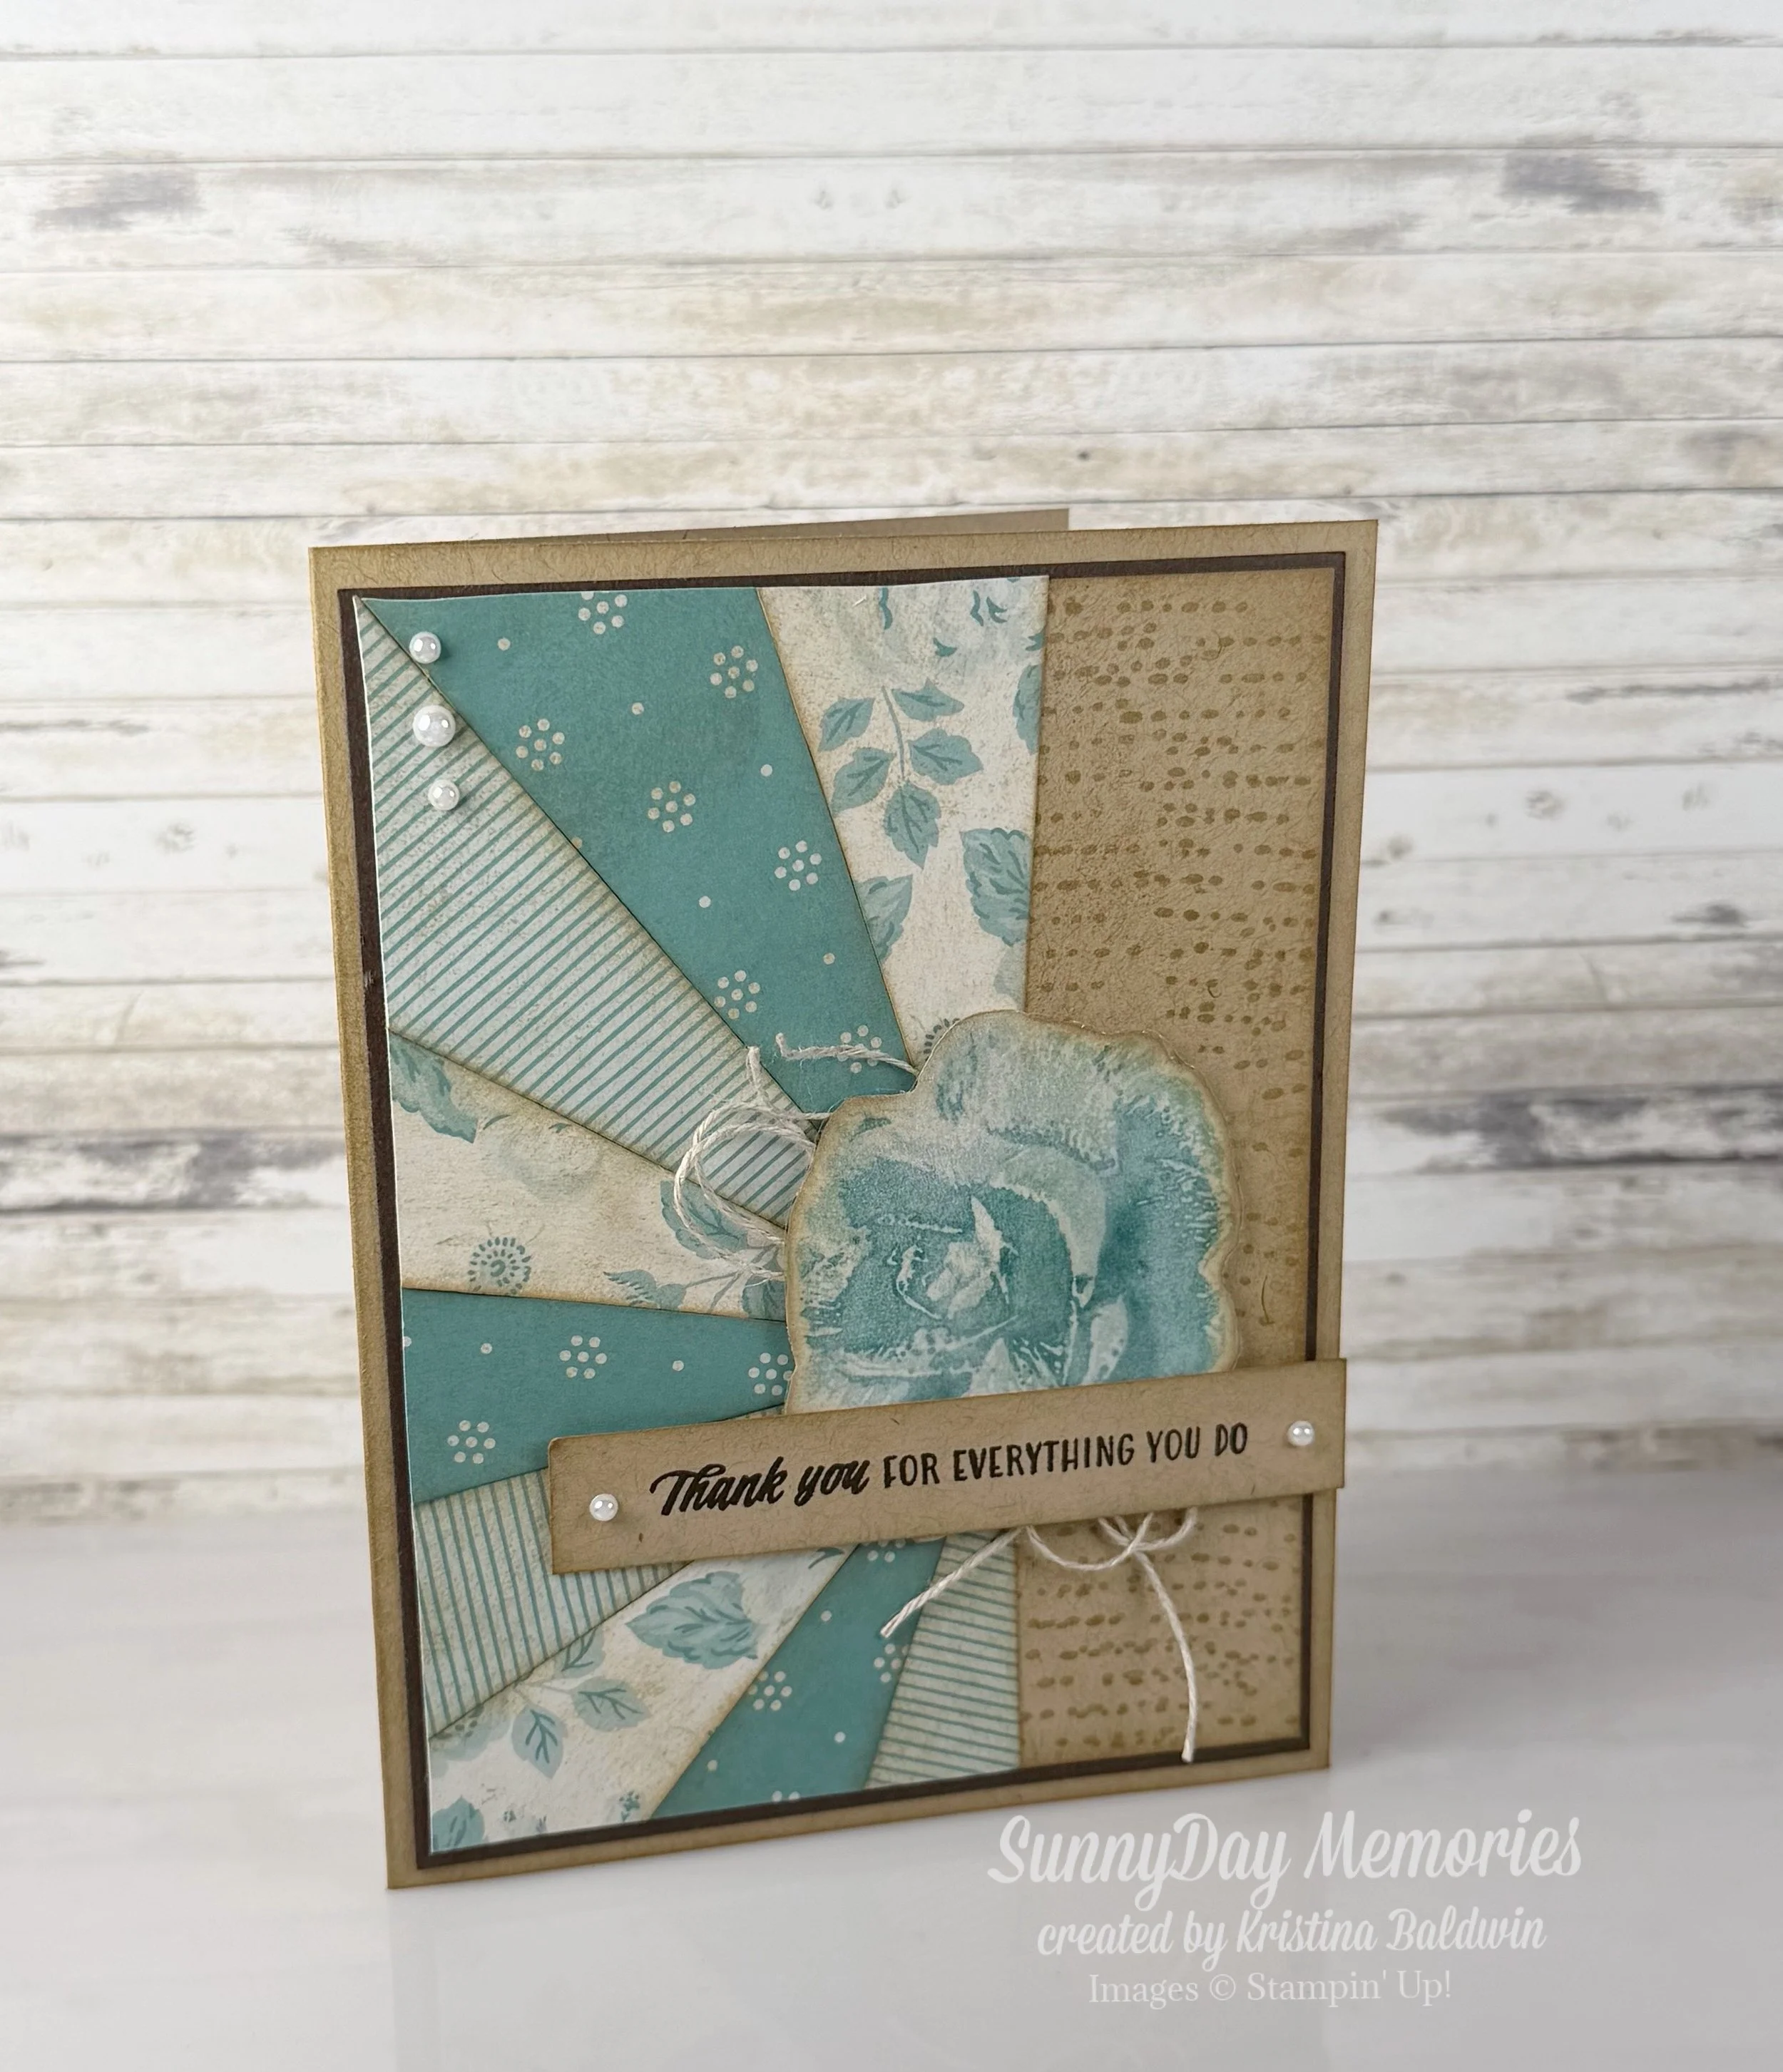
Today I’m going to share with you how to make a Starburst Card. There are so many fun looks you can achieve with this simple technique. If you’ve never tried it before, you’re going to love it!
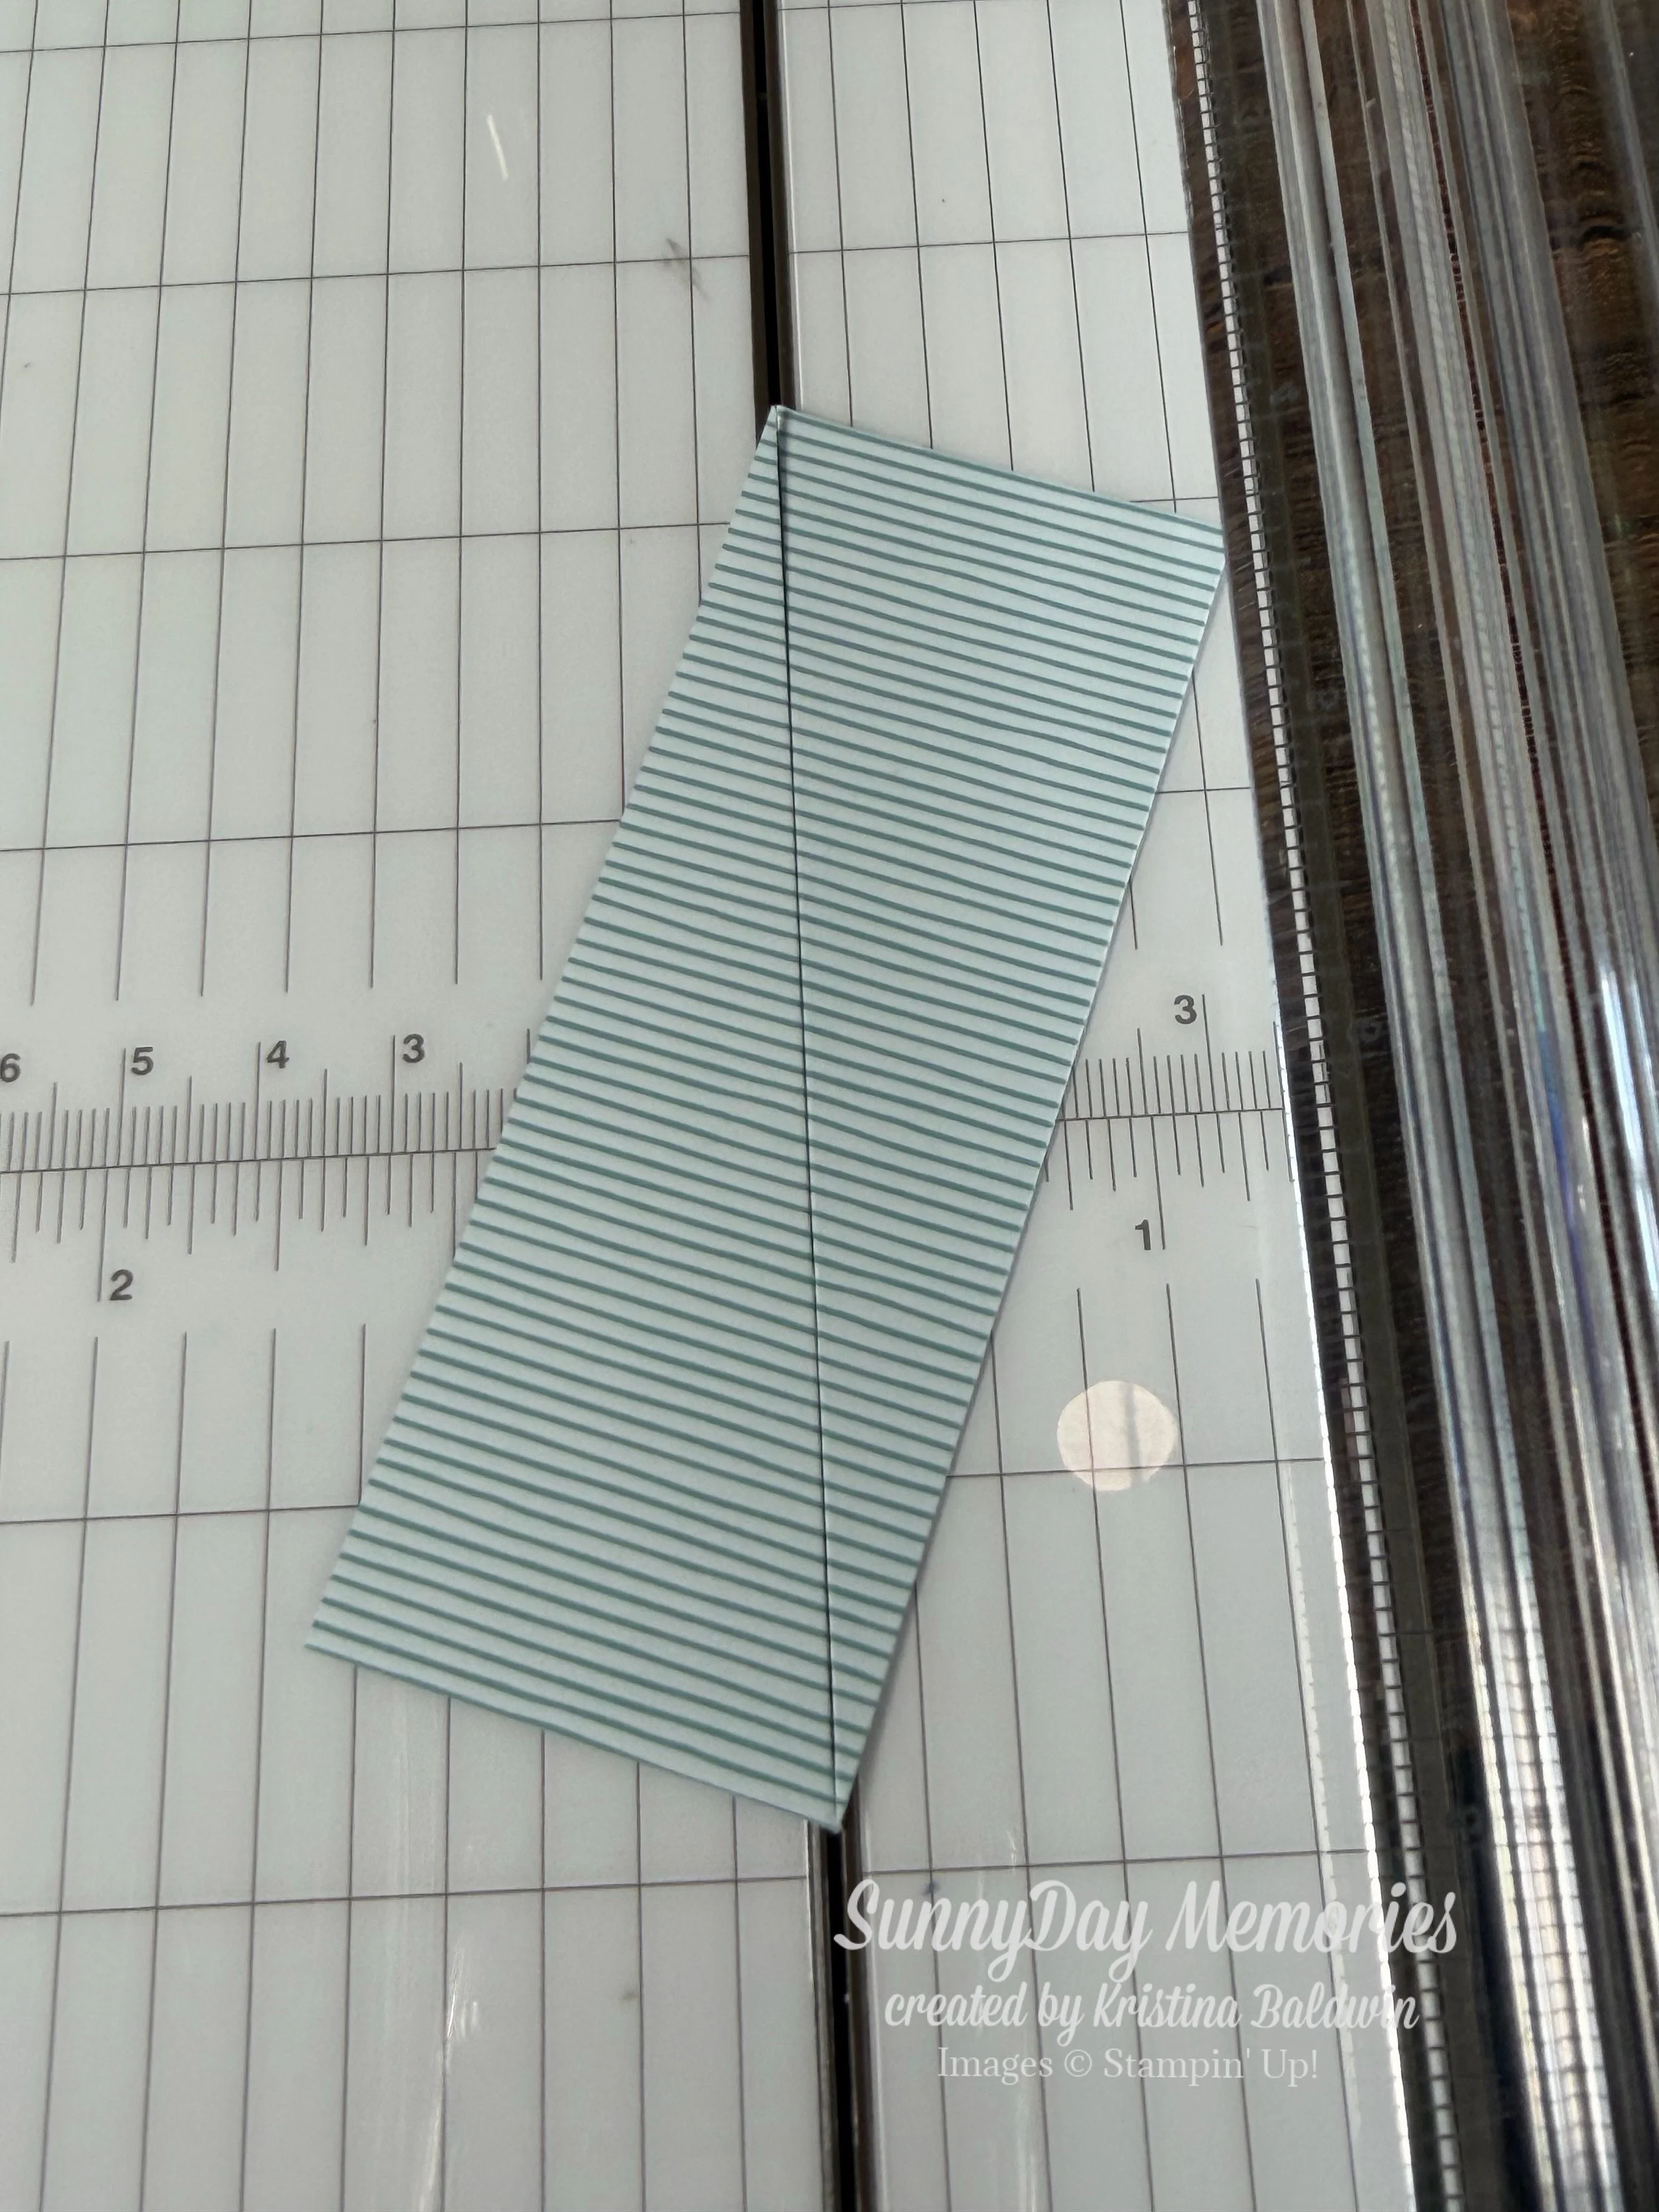
STEP 1:
Start by cutting a variety of coordinating patterned paper into rectangles and then cut diagonally. My pieces are 1-1/2” x 4”. The important thing is to cut all of the pieces the same way (i.e. in my case I did upper left corner to lower right corner.)
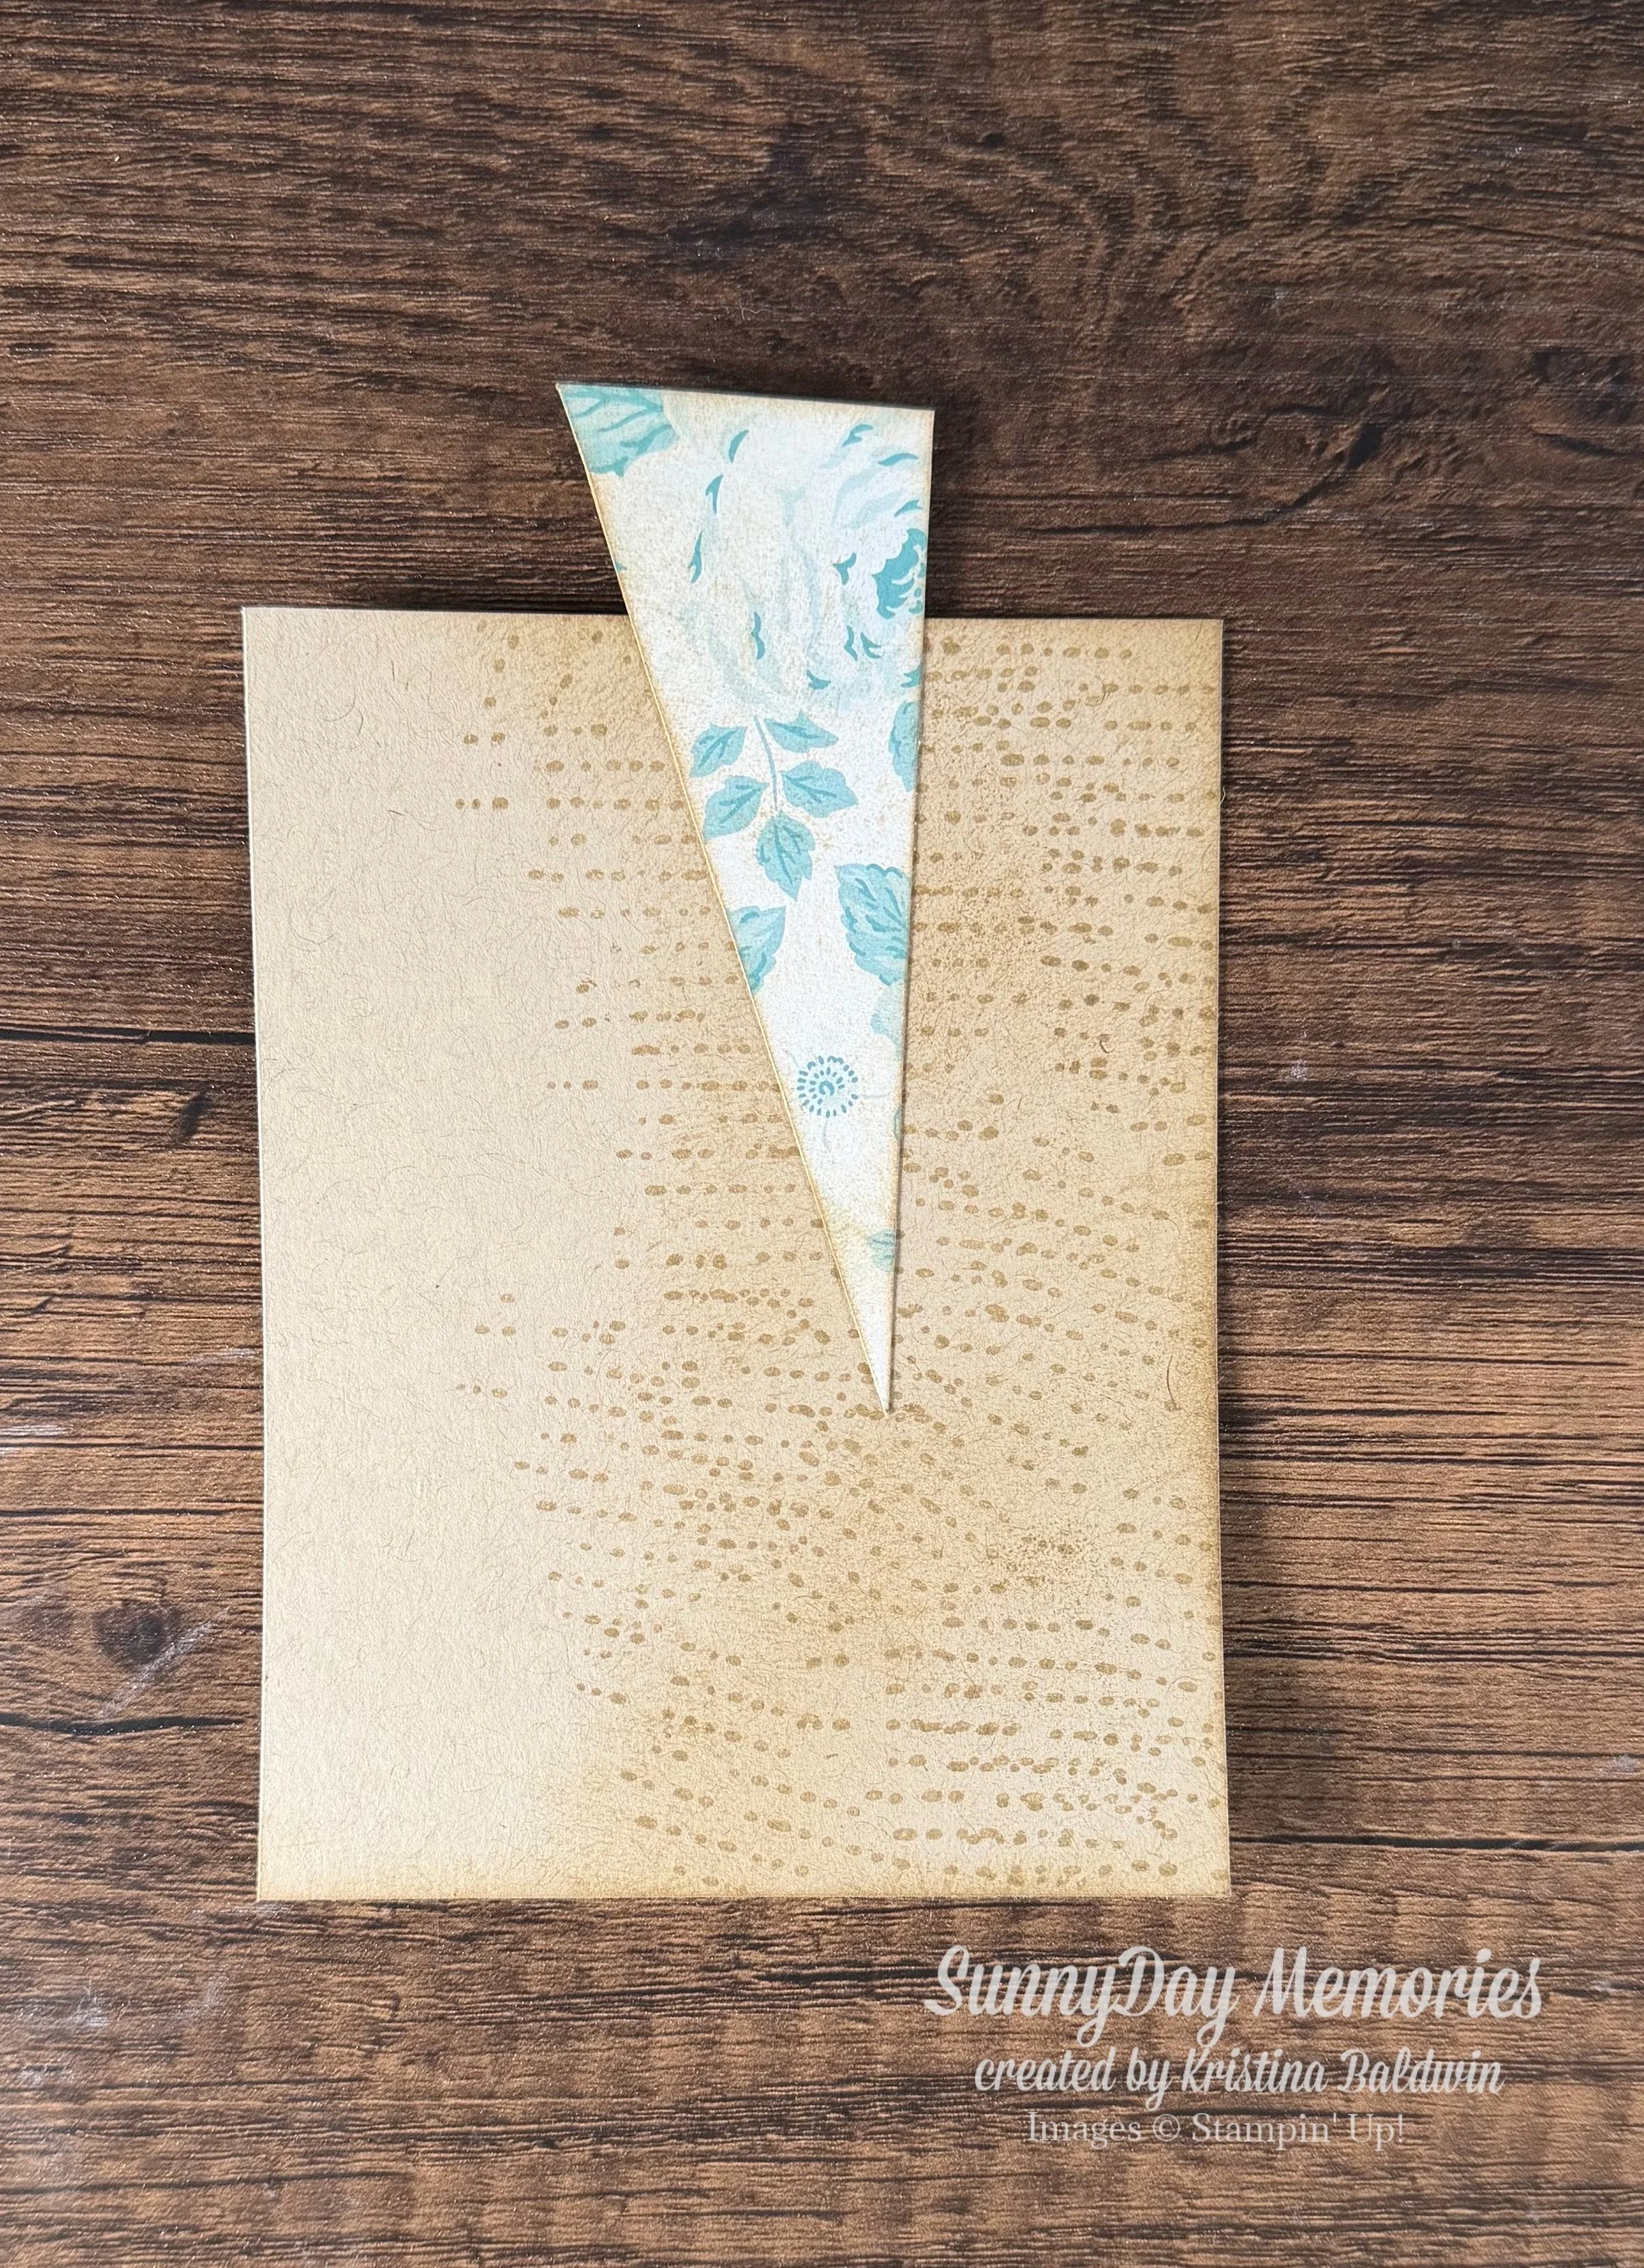
STEP 2:
Adhere your first piece so that the point is where you want your focal point to be on your project. For my card, I went a little below the halfway point. You can fill up your entire card front with the Starburst effect. Or you can do it like I did and have it start about 1-1/2” from the edge of the card.
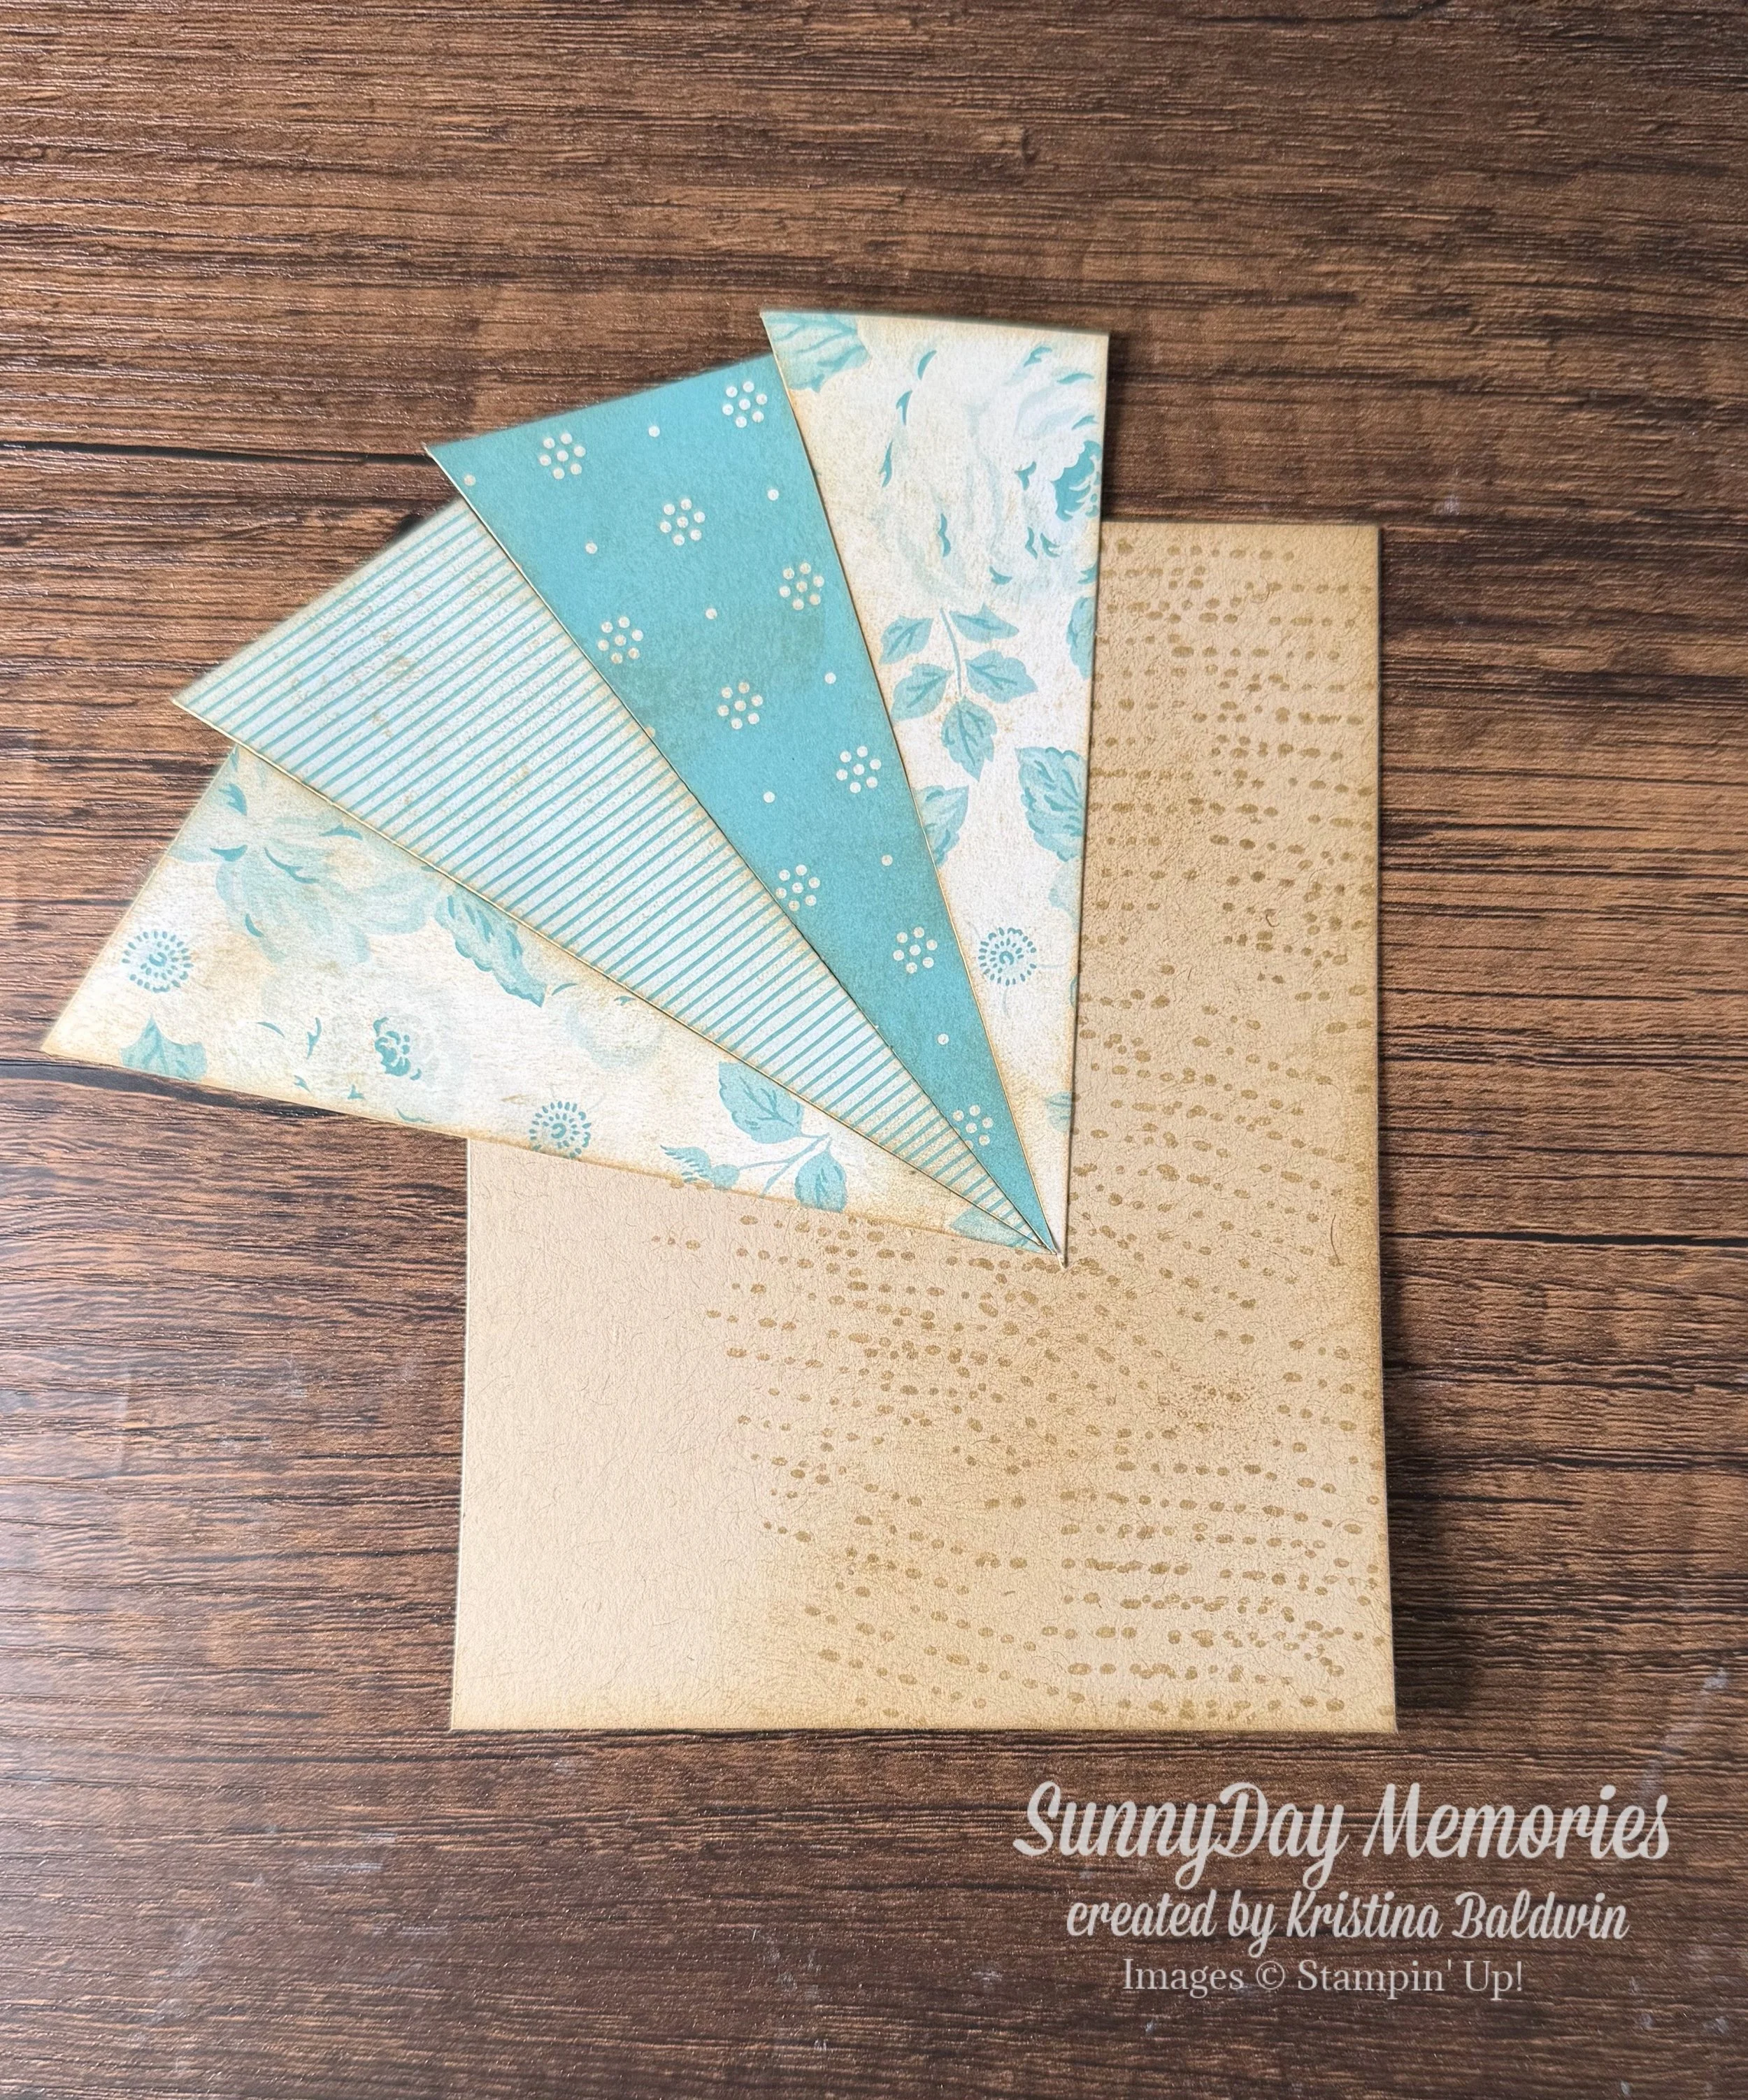
Continue adding pieces so that they are flush to the edge of the piece before it. The point of each piece should also meet at the focal point. Alternate your patterns as you like.
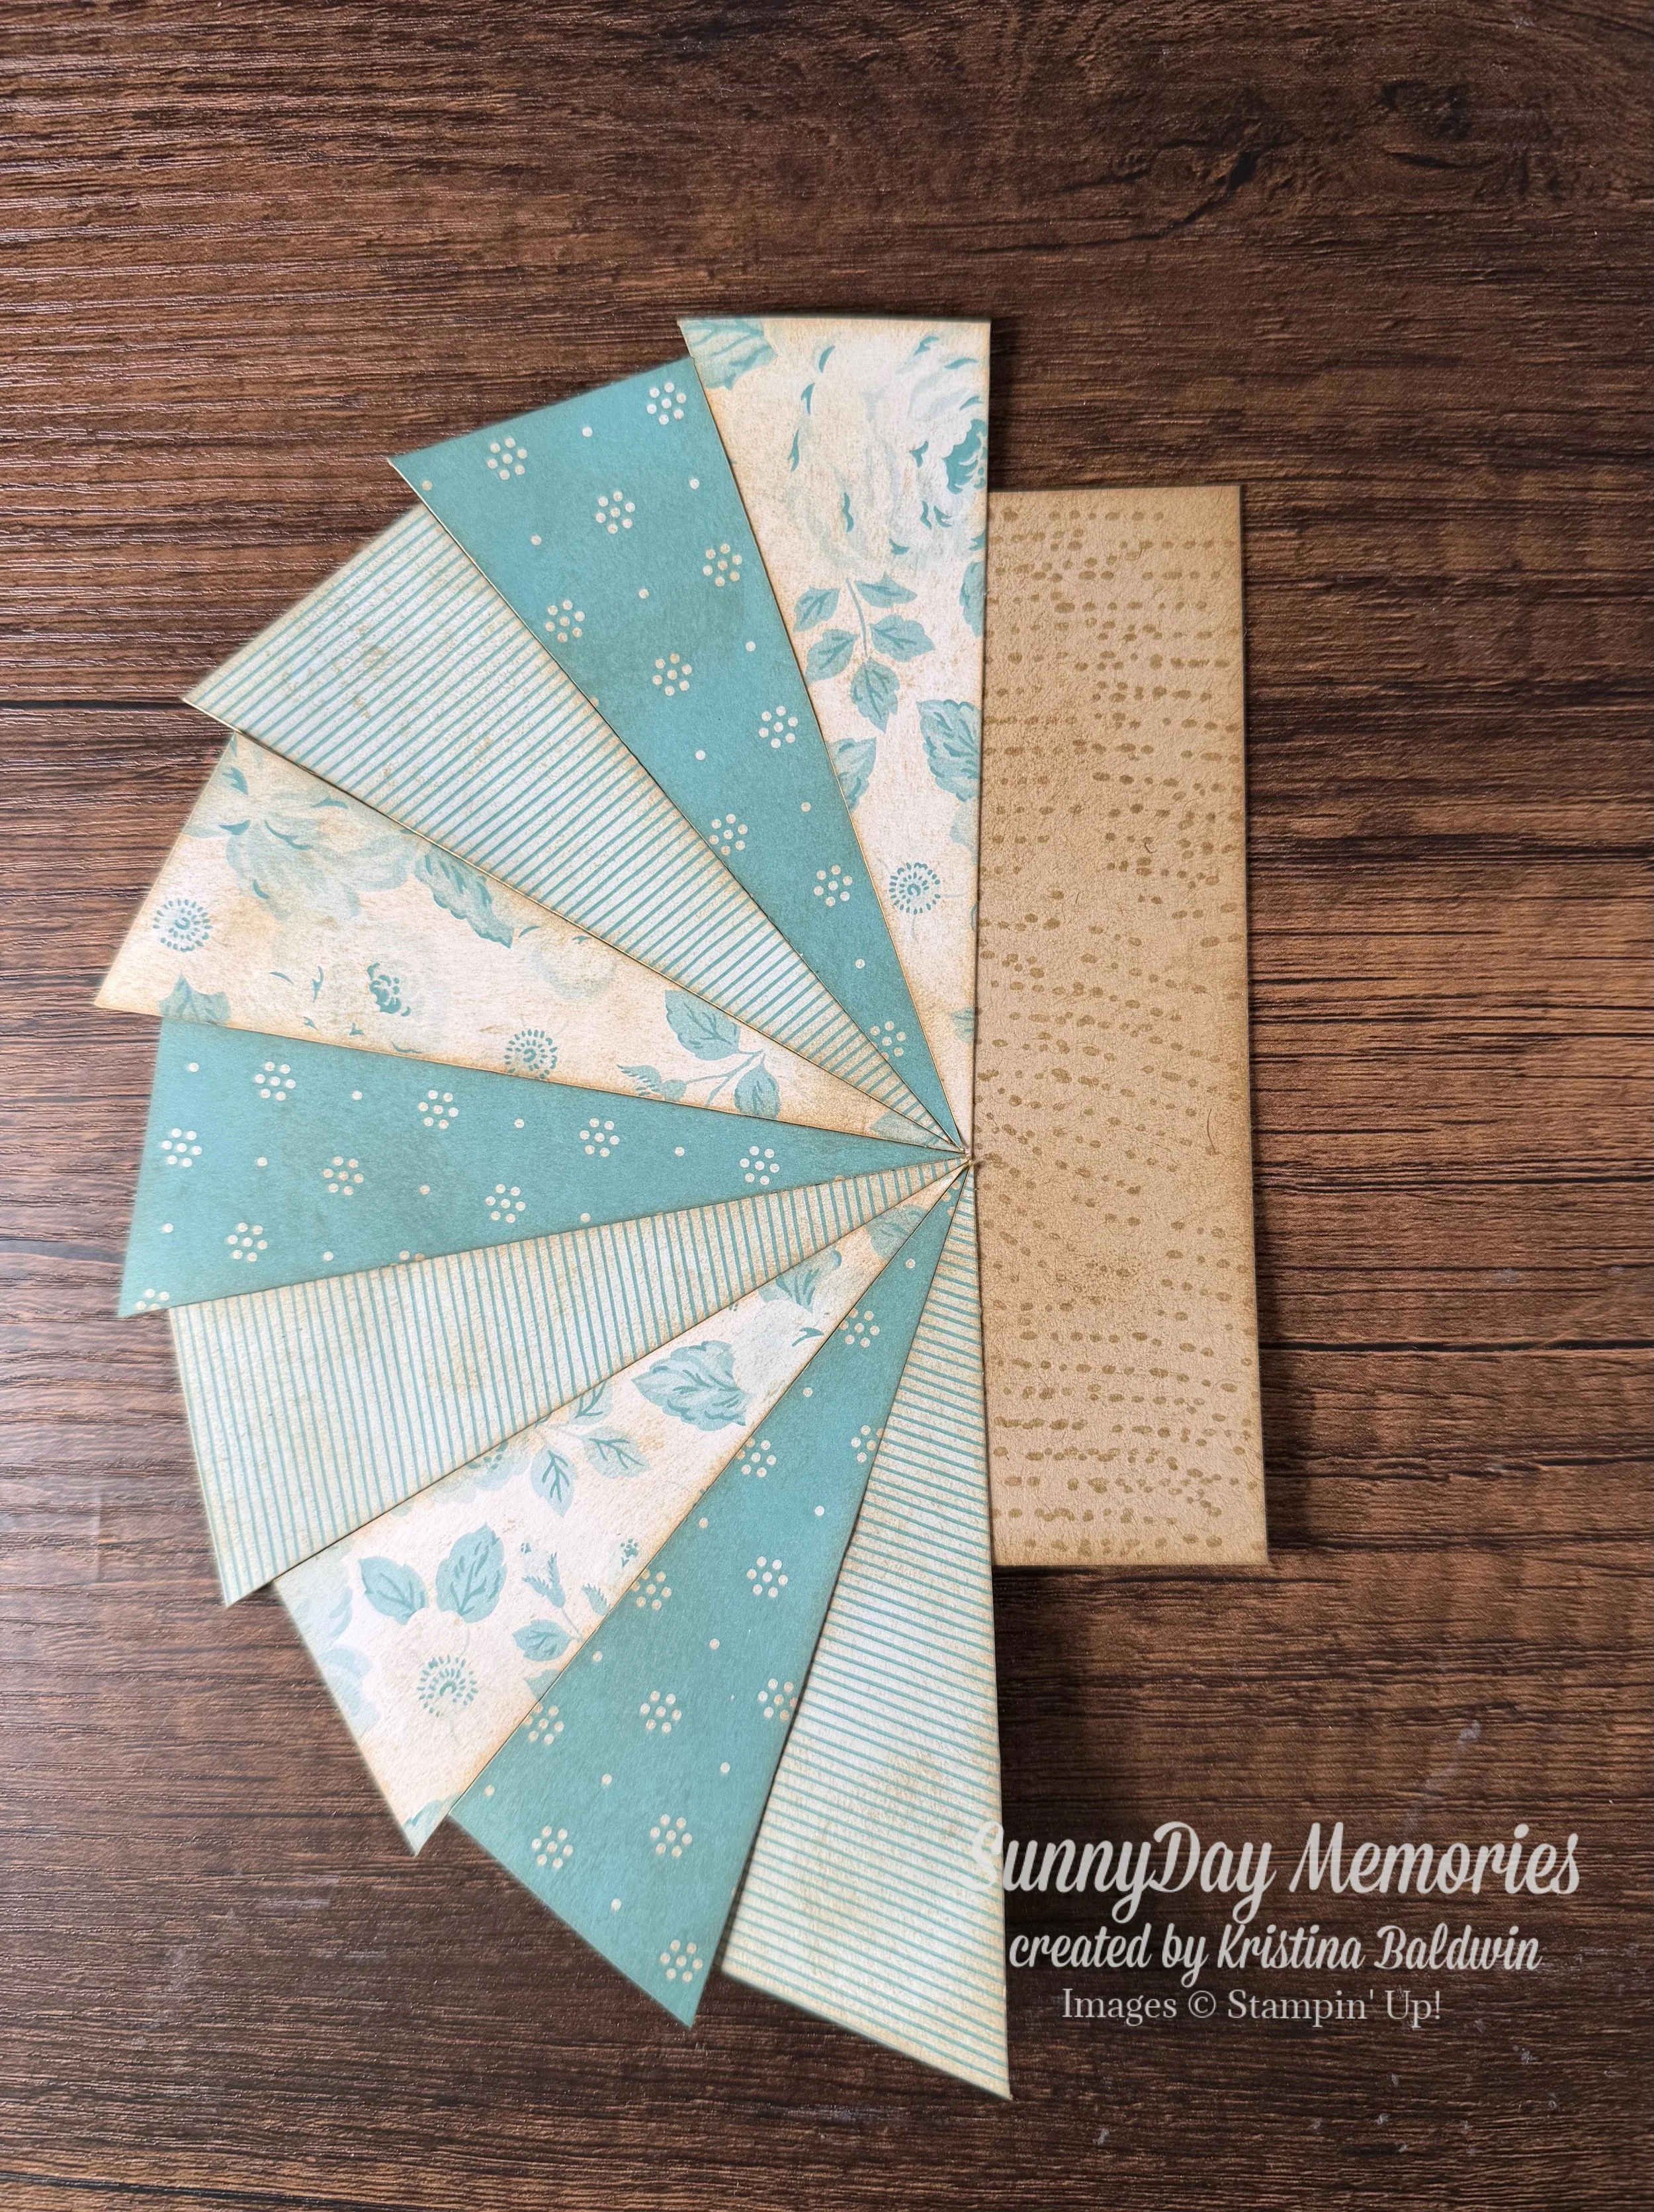
Continue until you reach the opposite location of where you started (or you’ve filled your card if you are doing the whole thing.)
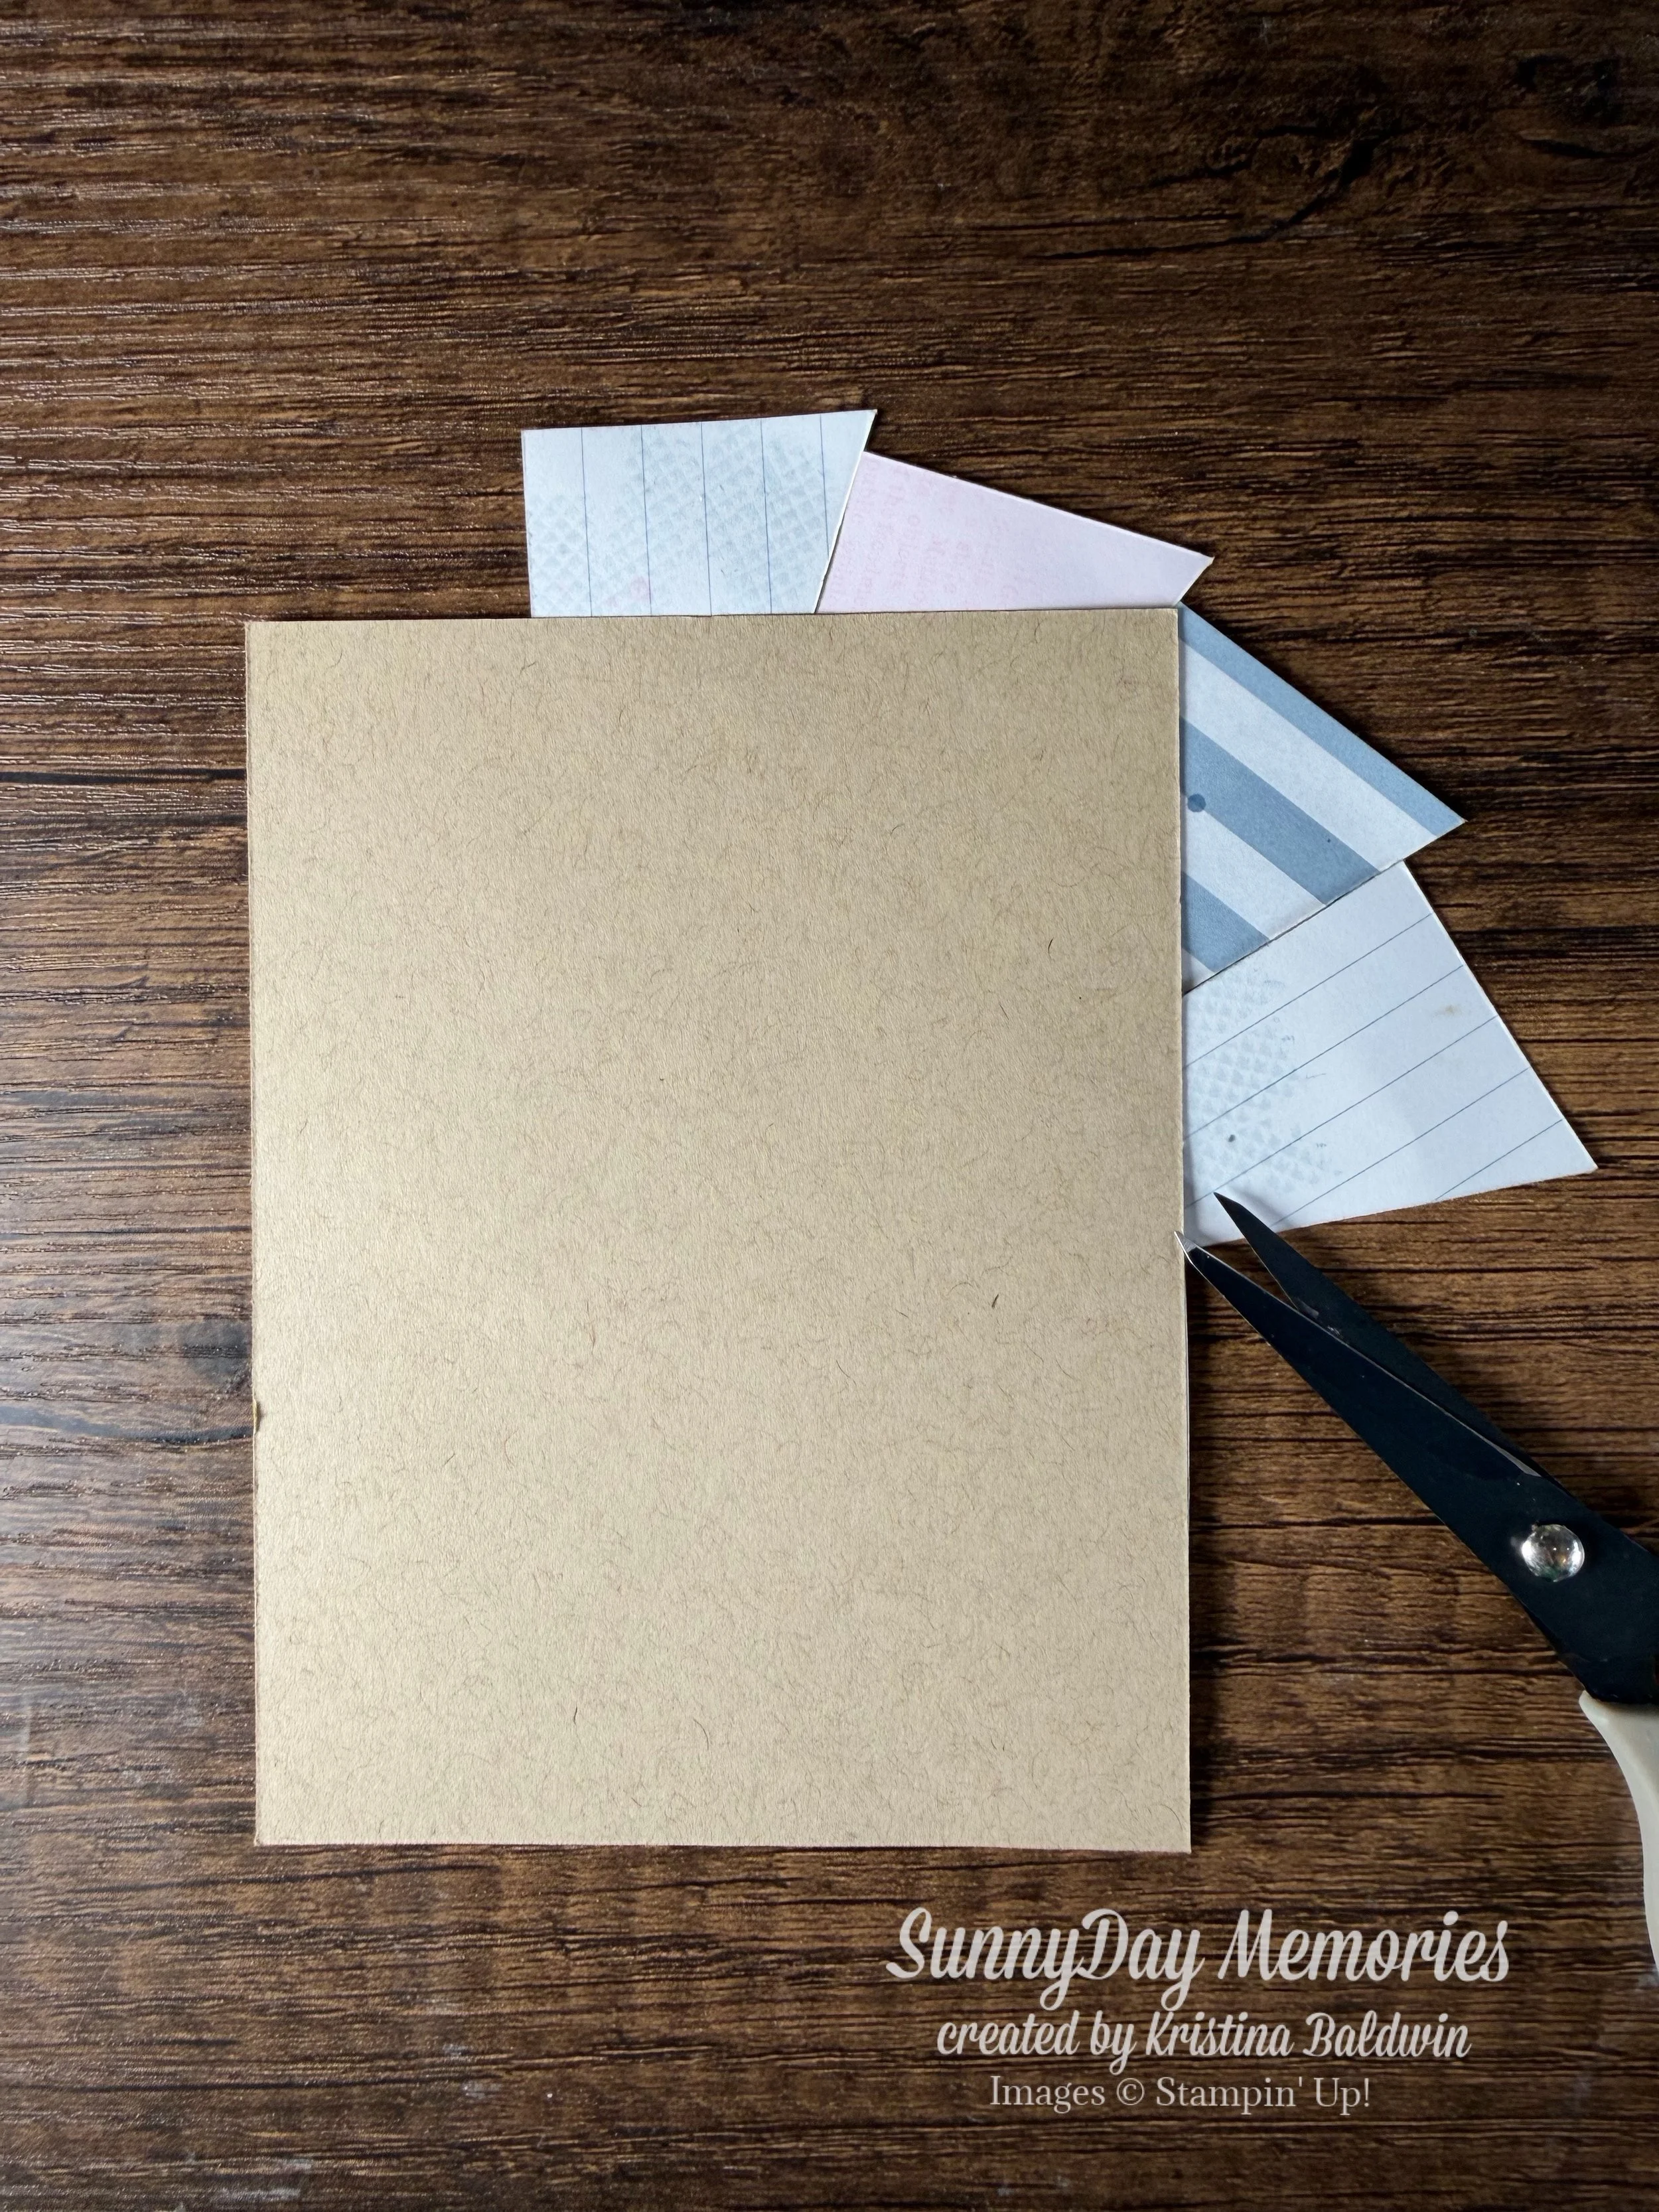
STEP 3:
Flip over your card and trim off the excess patterned paper.
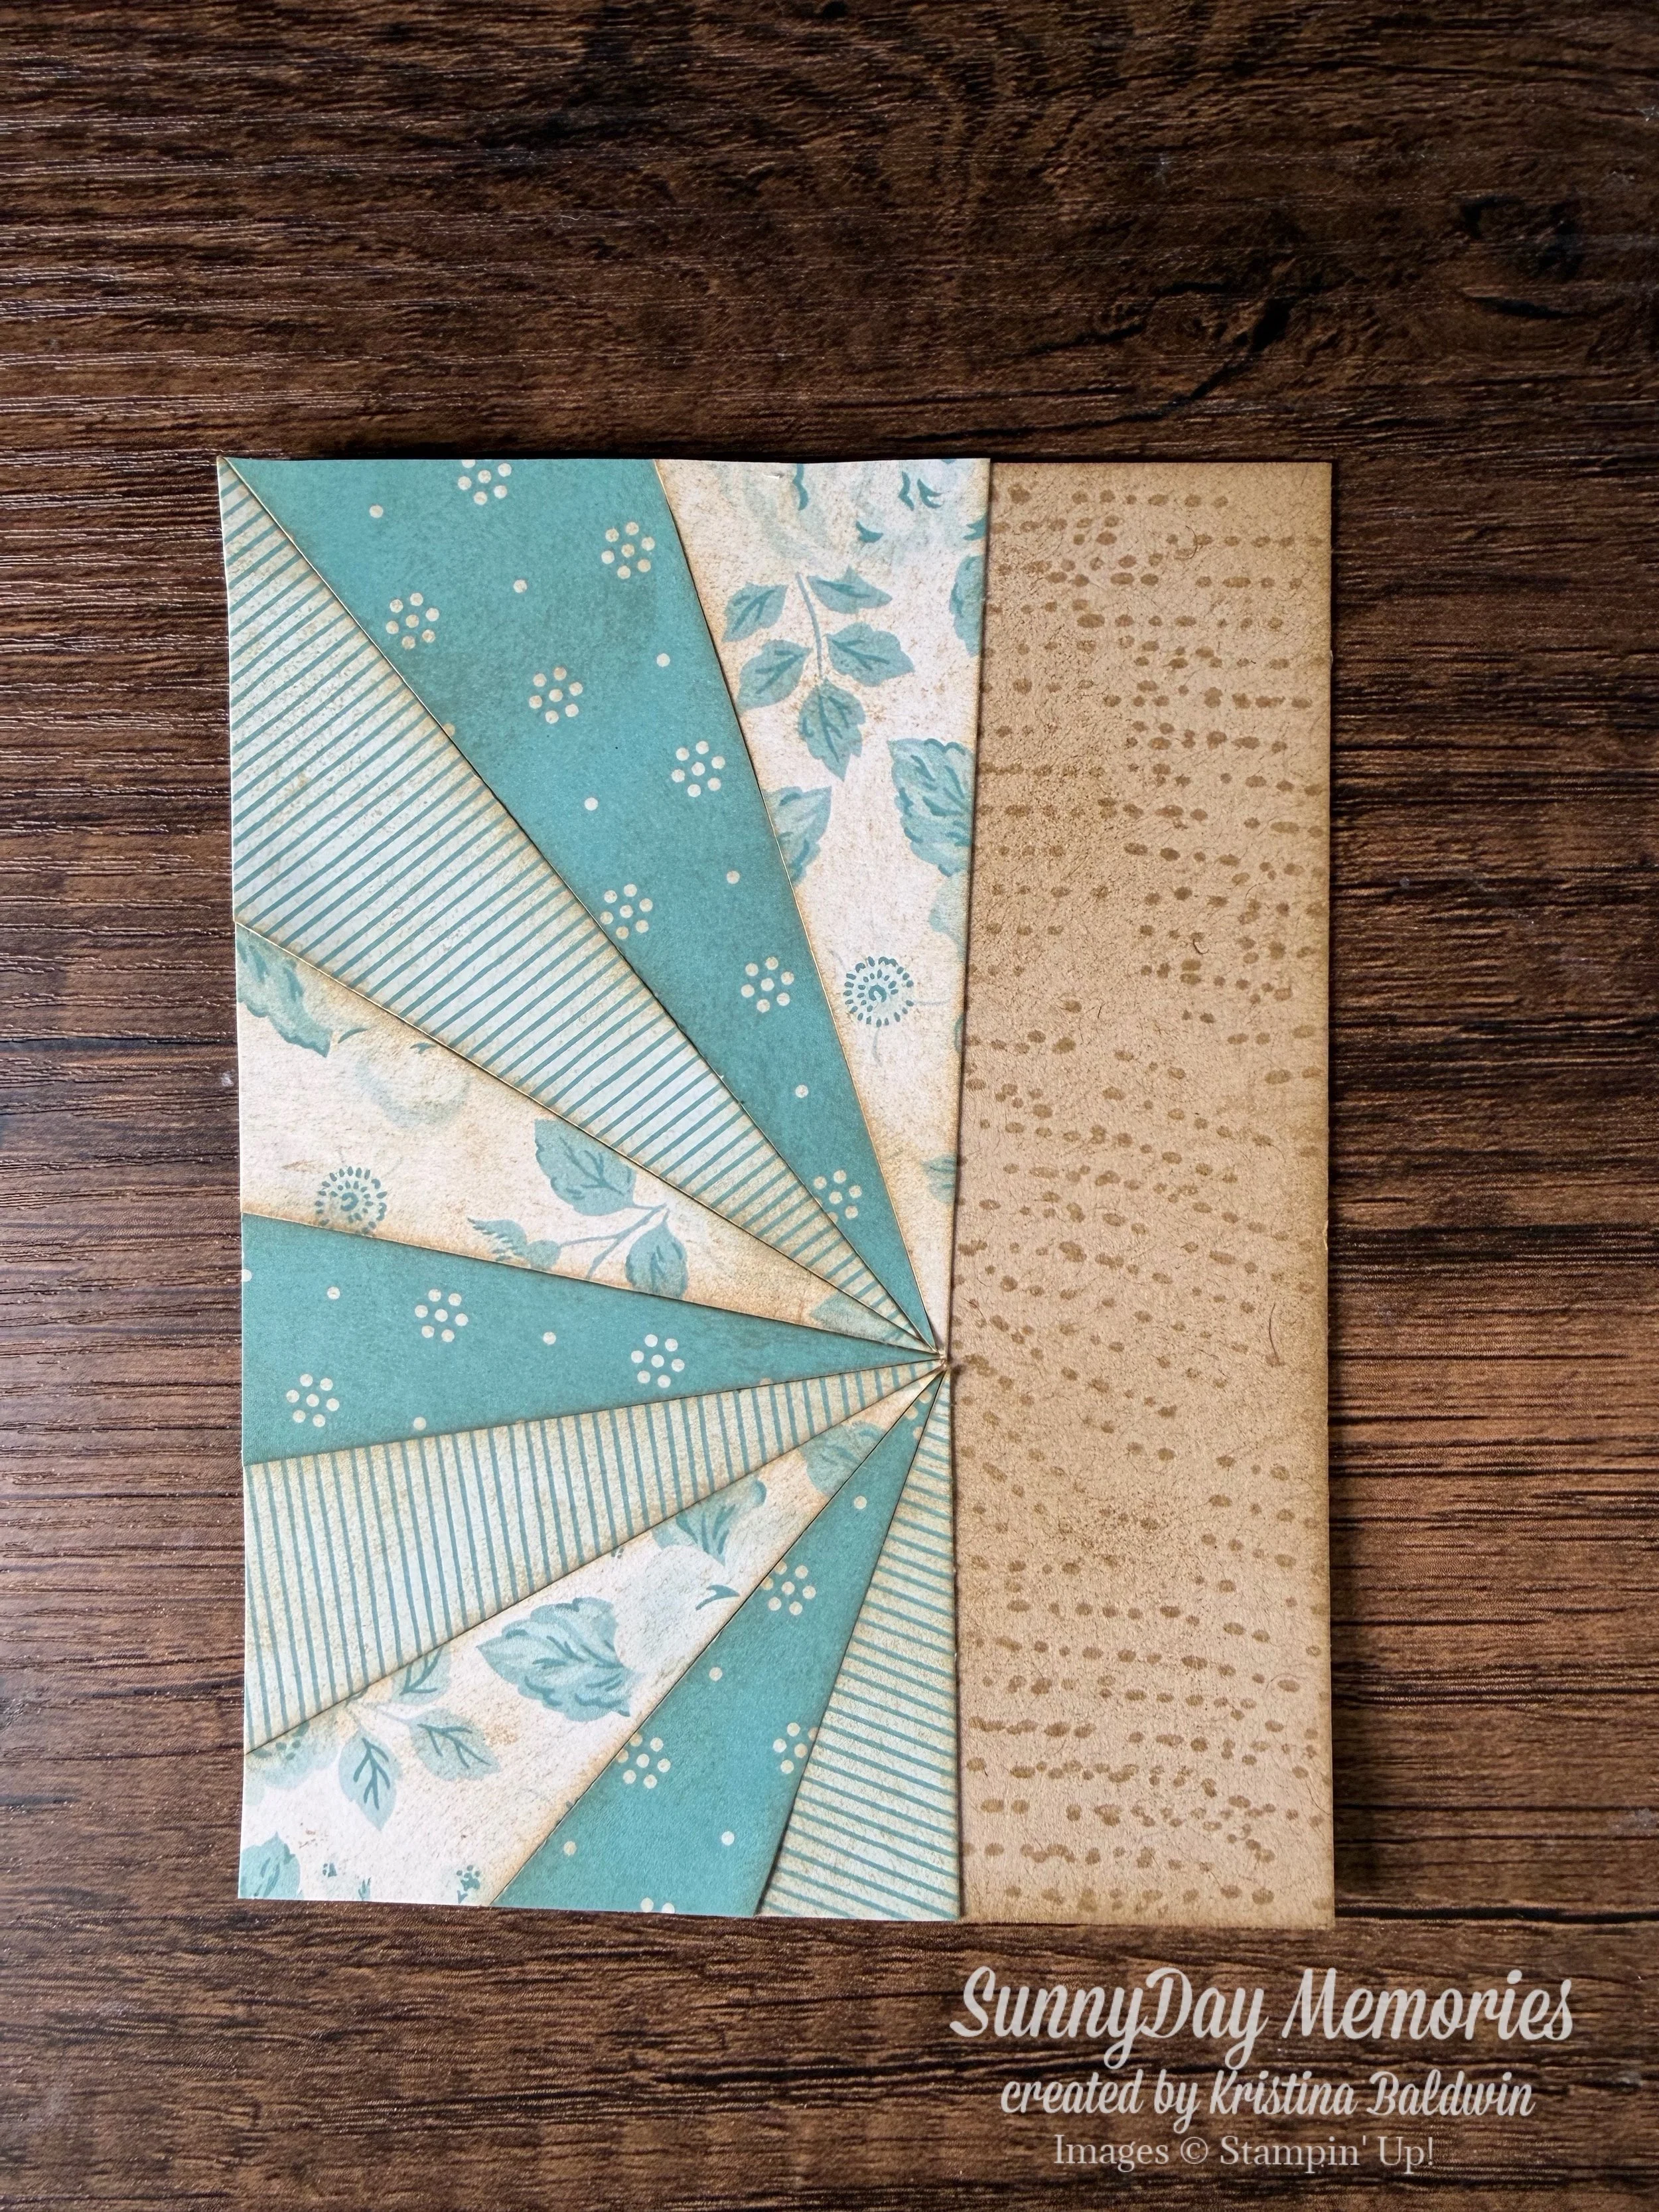
STEP 4:
Add layering as well as a focal point where the tips meet to finish your card. I used this month’s Product of the Month, Begonia Belle Stamp Set for my focal point.
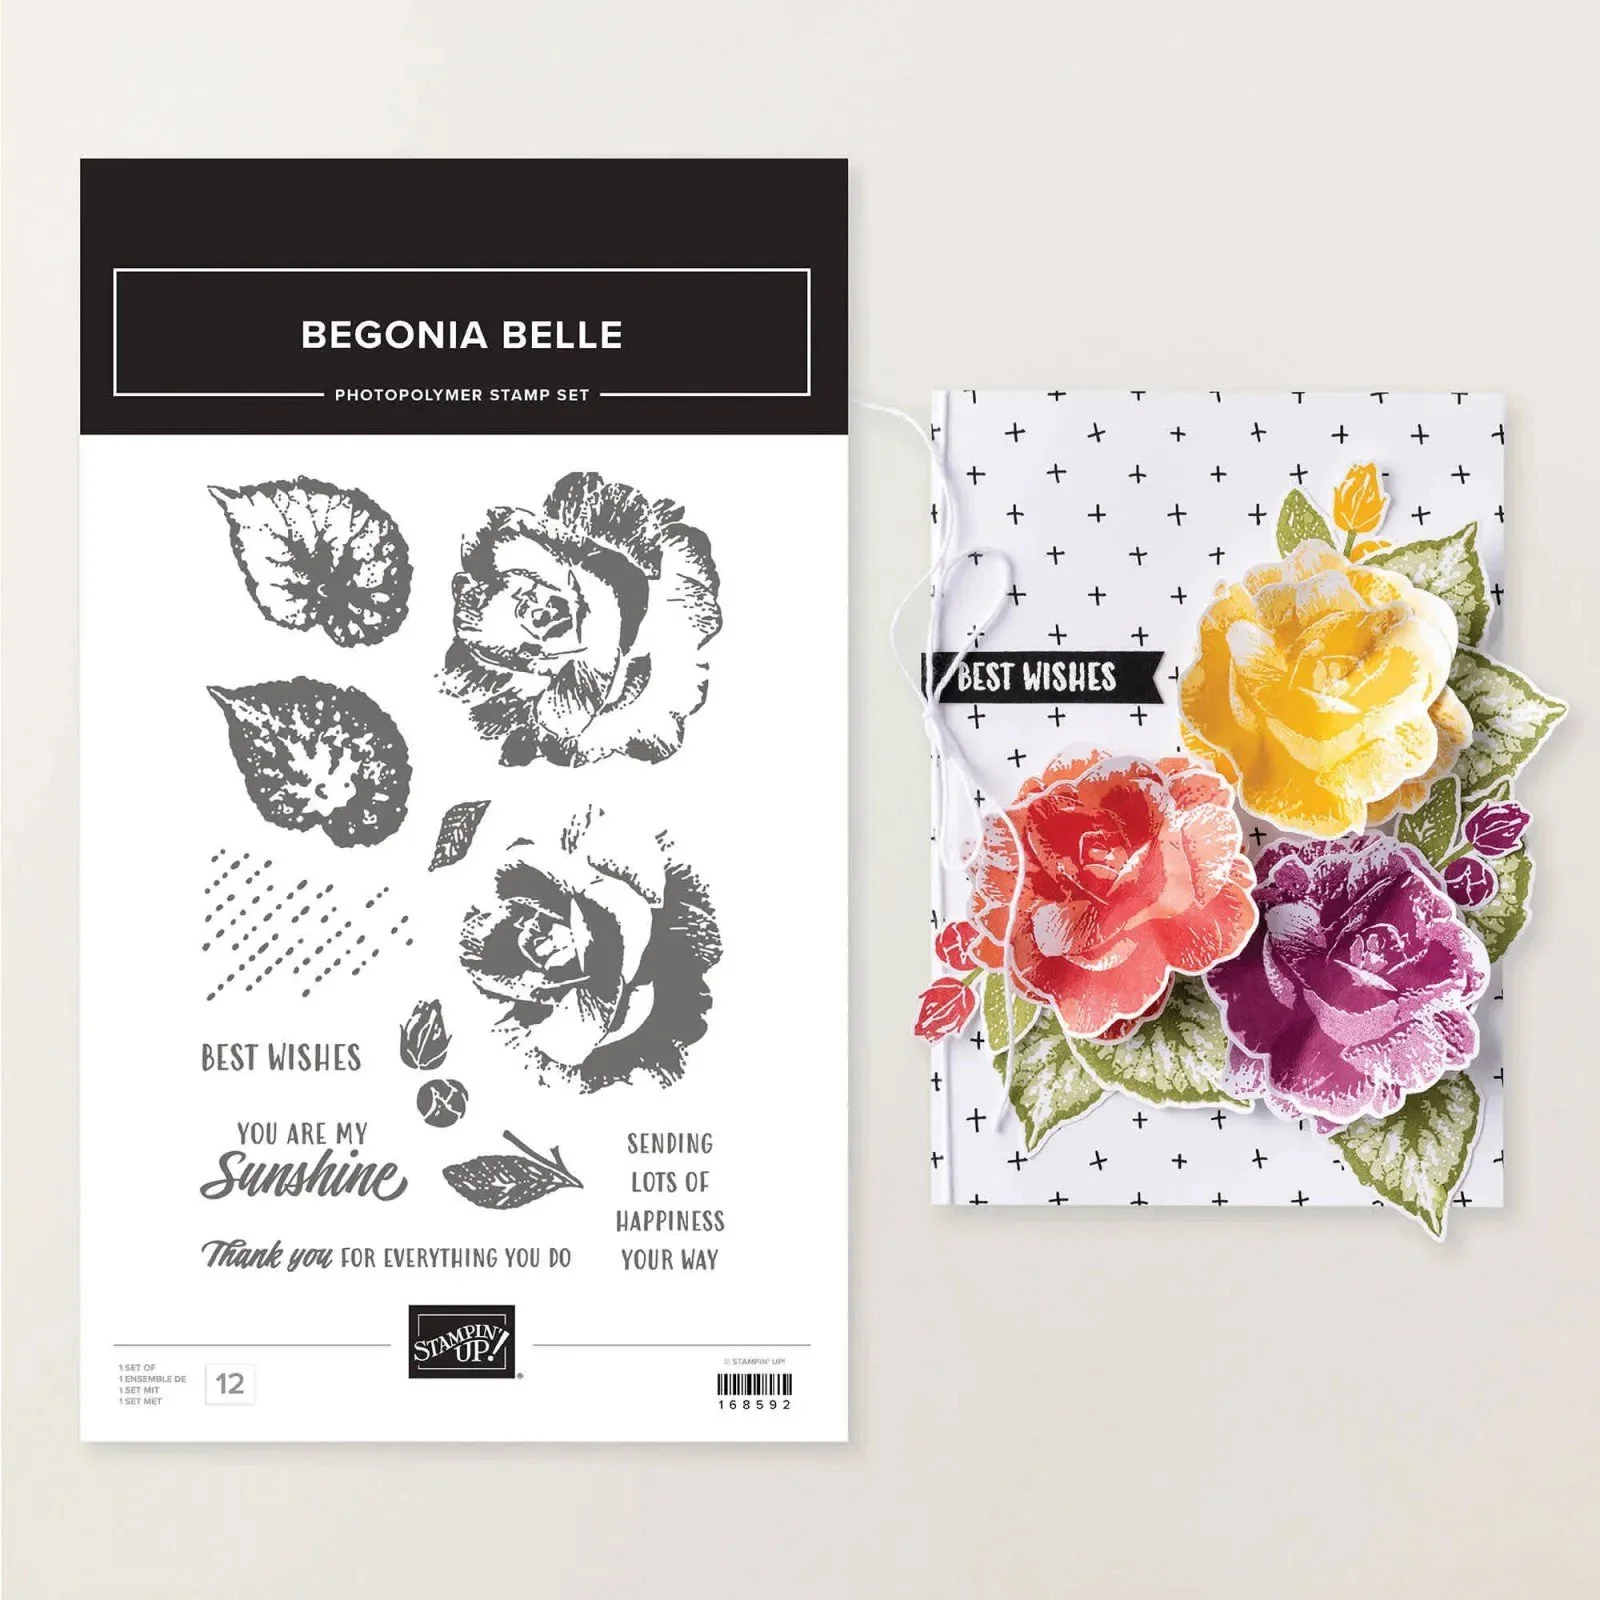
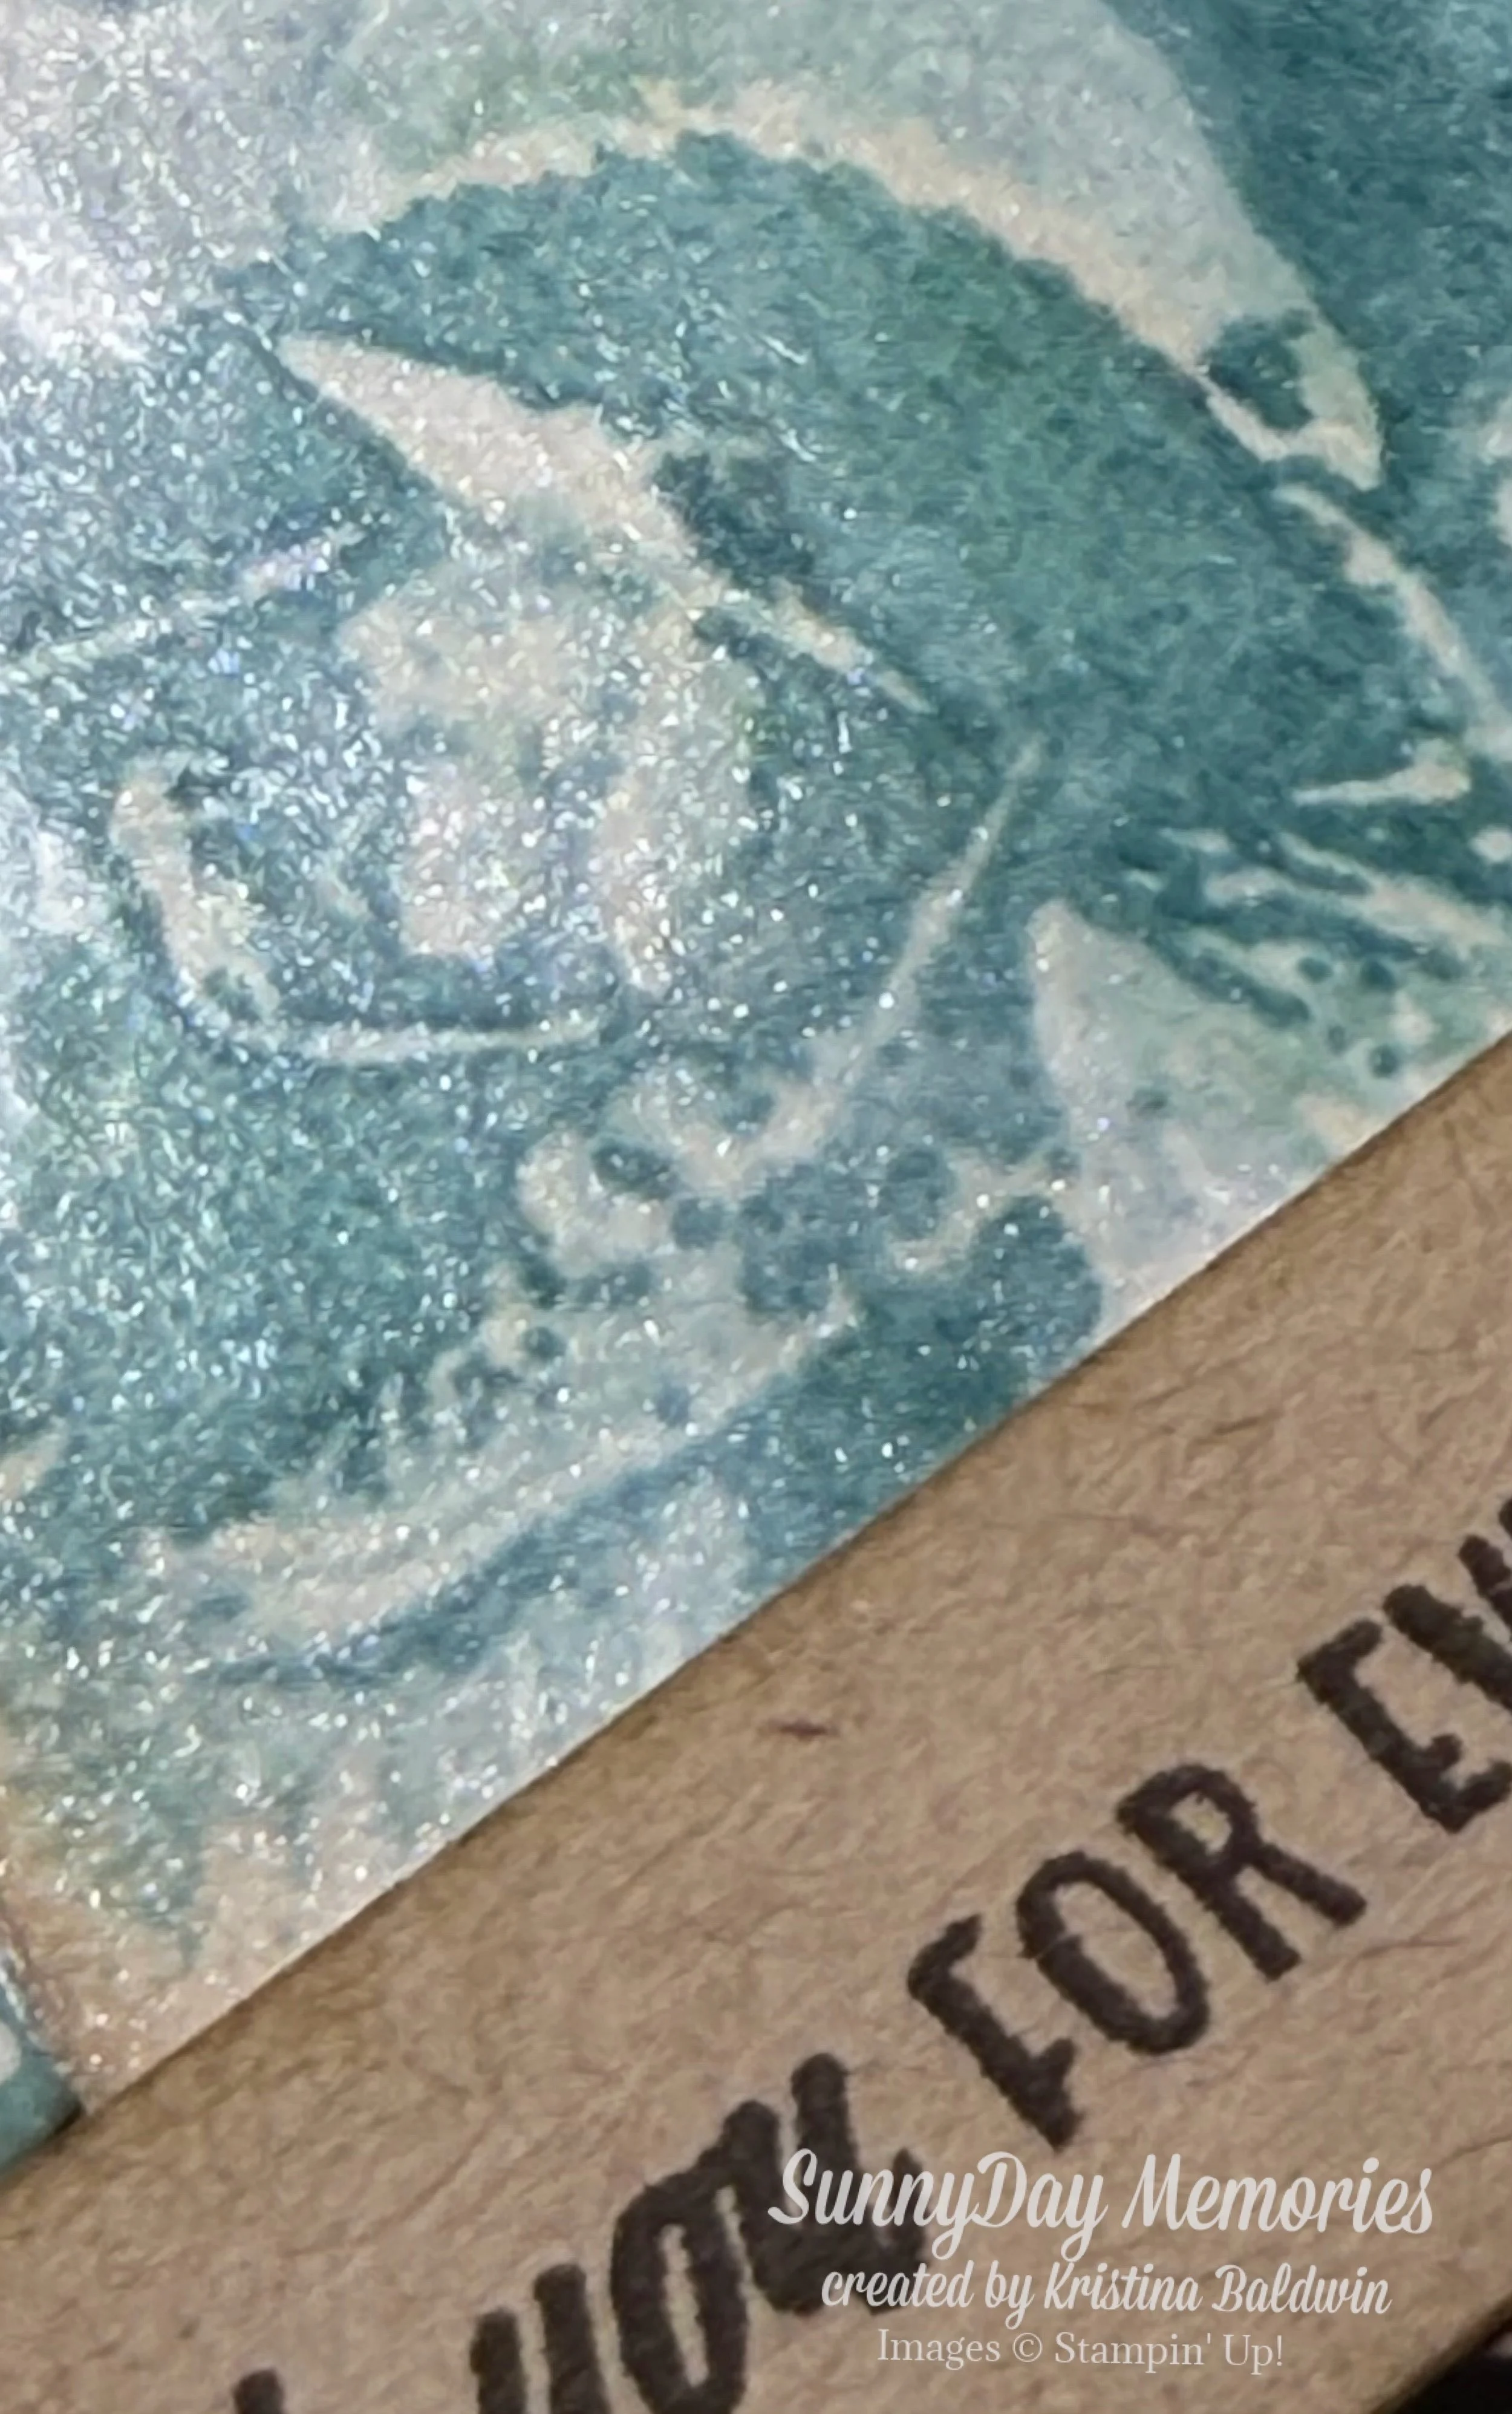
I wanted to add a little more pizzazz to my Begonia focal point so I added a layer of Wink of Stella after I stamped it to add some beautiful sparkle. Then I covered it with packaging tape. This gives the shiny appearance of clear heat embossing without the work! If you haven’t tried it, you should. It’s so easy to do and such beautiful results.
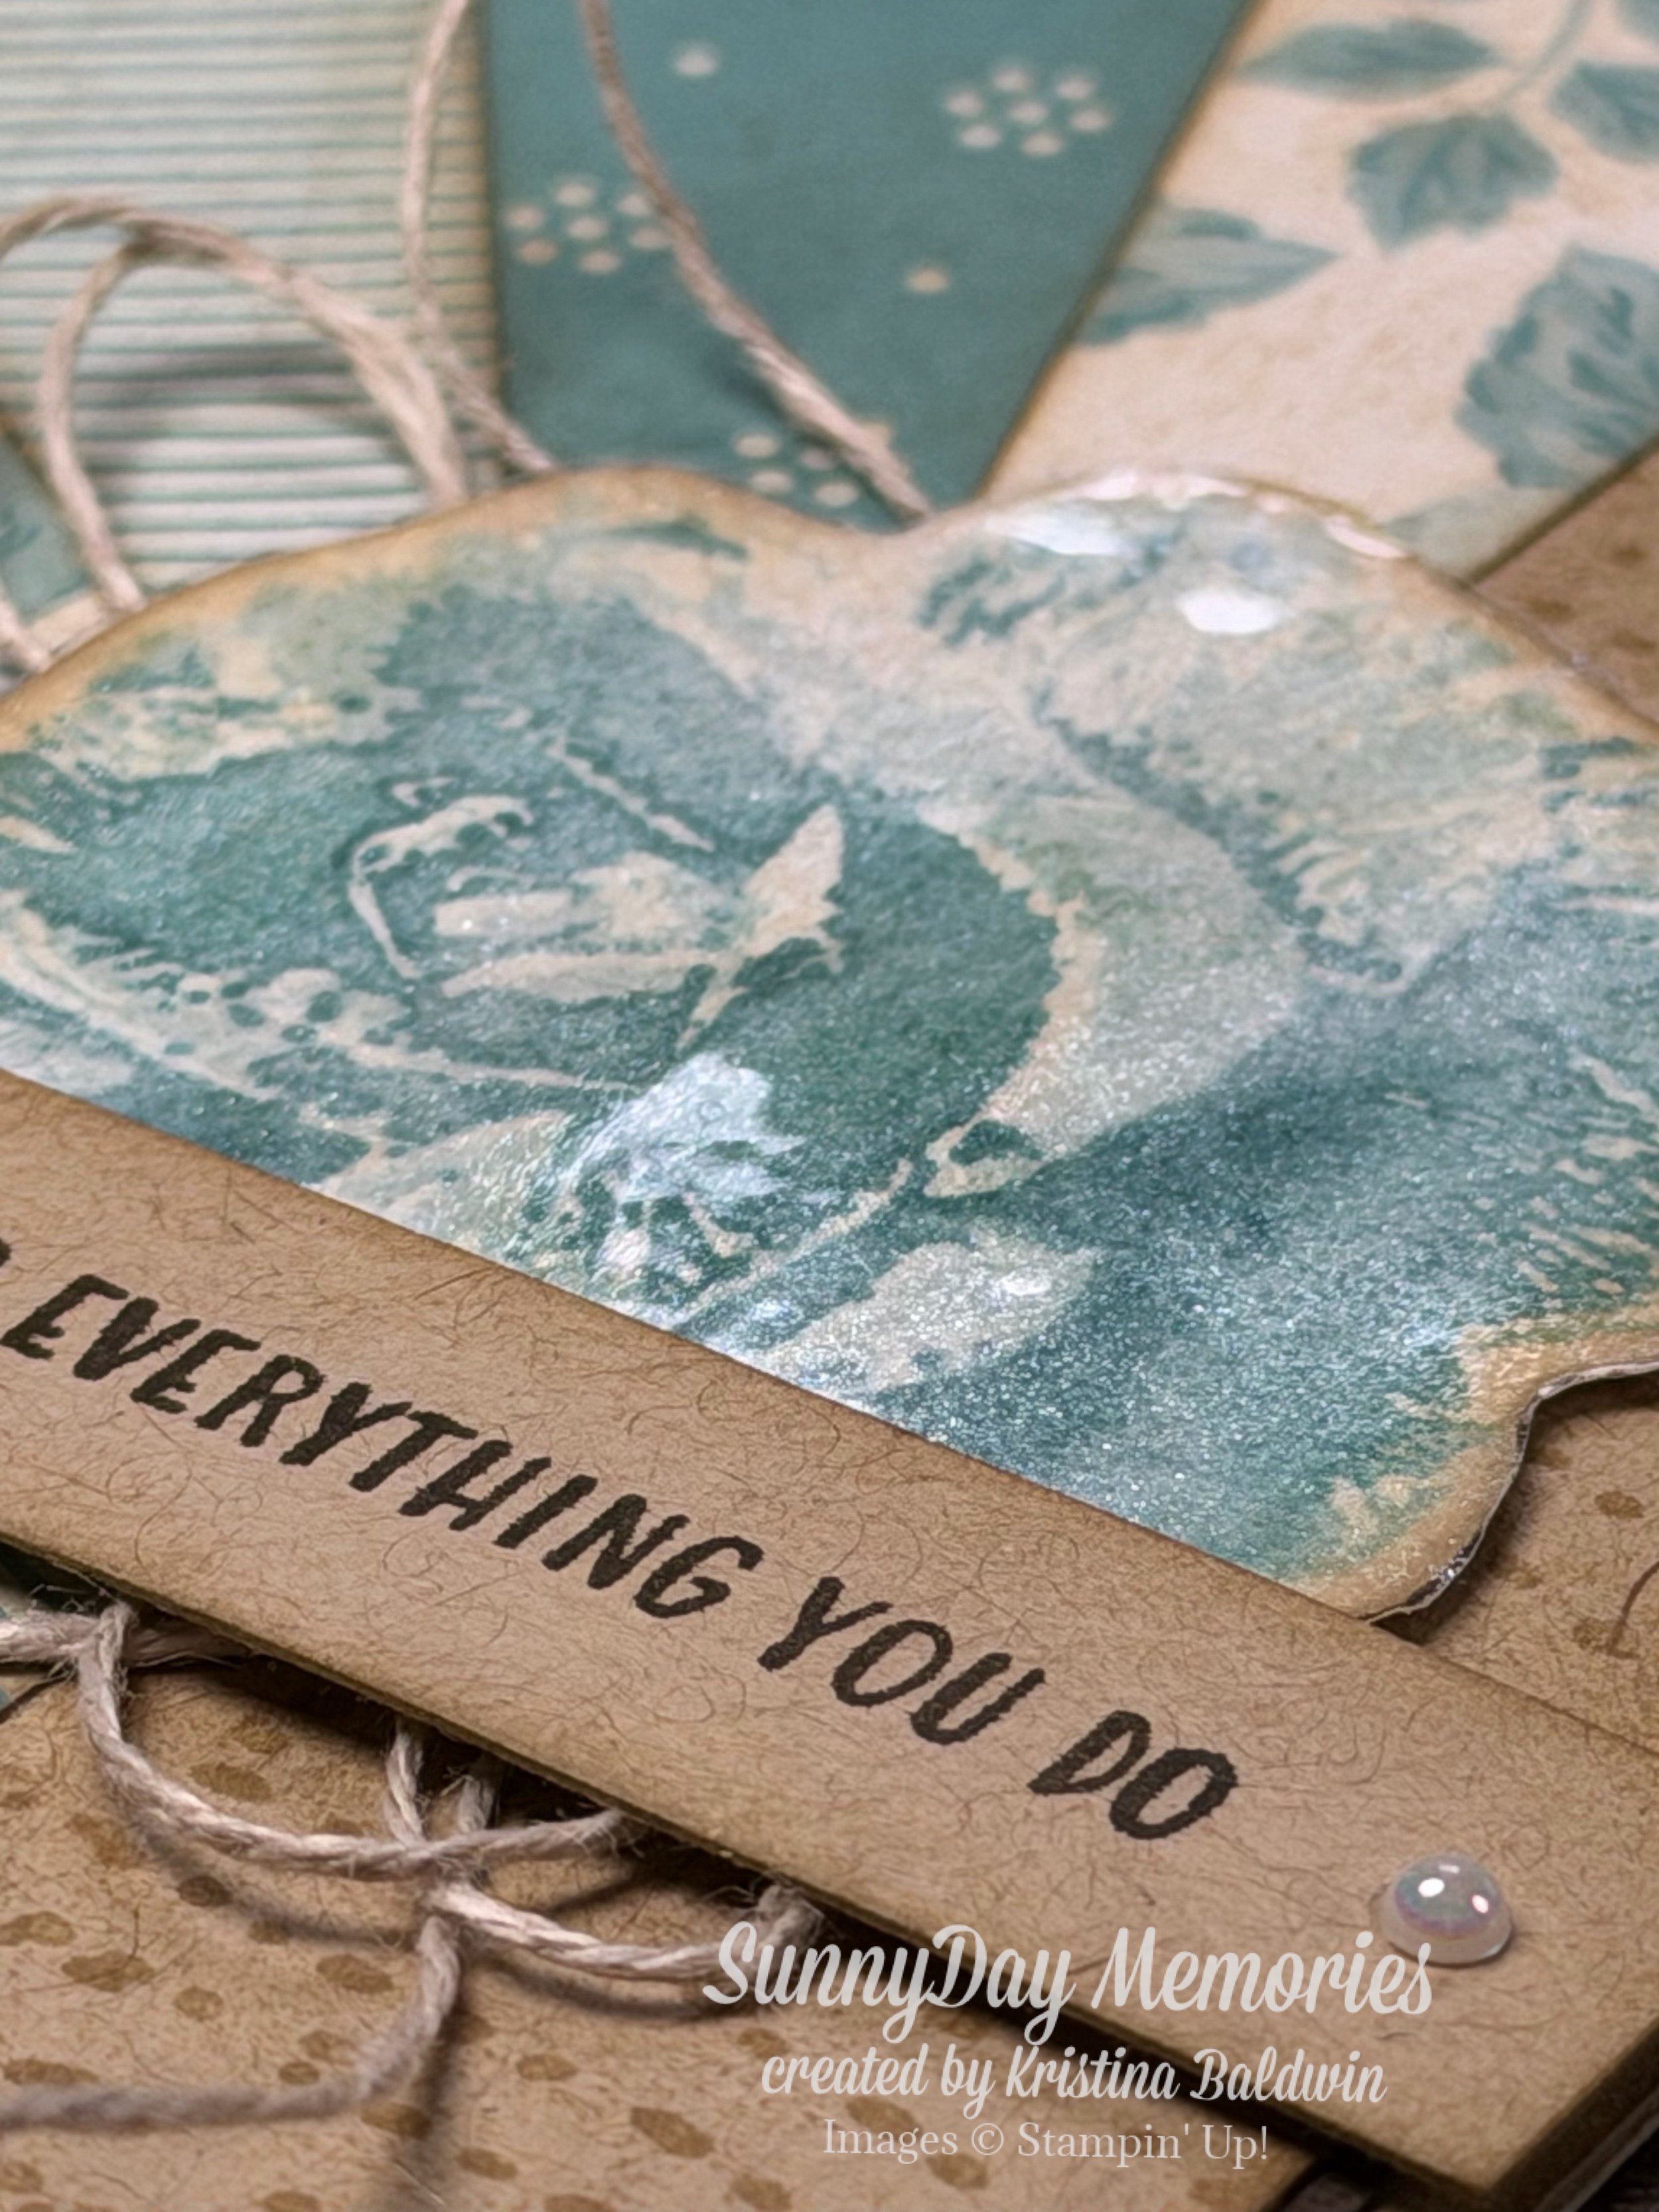
I love the results of my Begonia Belle Starburst Card. Not only is the Starburst pattern lovely, but the Begonia focal point is just as stunning. Now that you know how to make a Starburst Card I hope you’ll give it a try!