
How to Emboss with a Die
Do you know how to emboss with a die? It’s such an easy technique and it allows you to have multiple looks from your dies! Last week I shared tips on achieving successful results with using this month’s Product of the Month—Eyelet Blooms Die. If you’ve ever struggled to get a clean cut from intricate dies, you are not alone! Be sure to check out those tips to help you out.
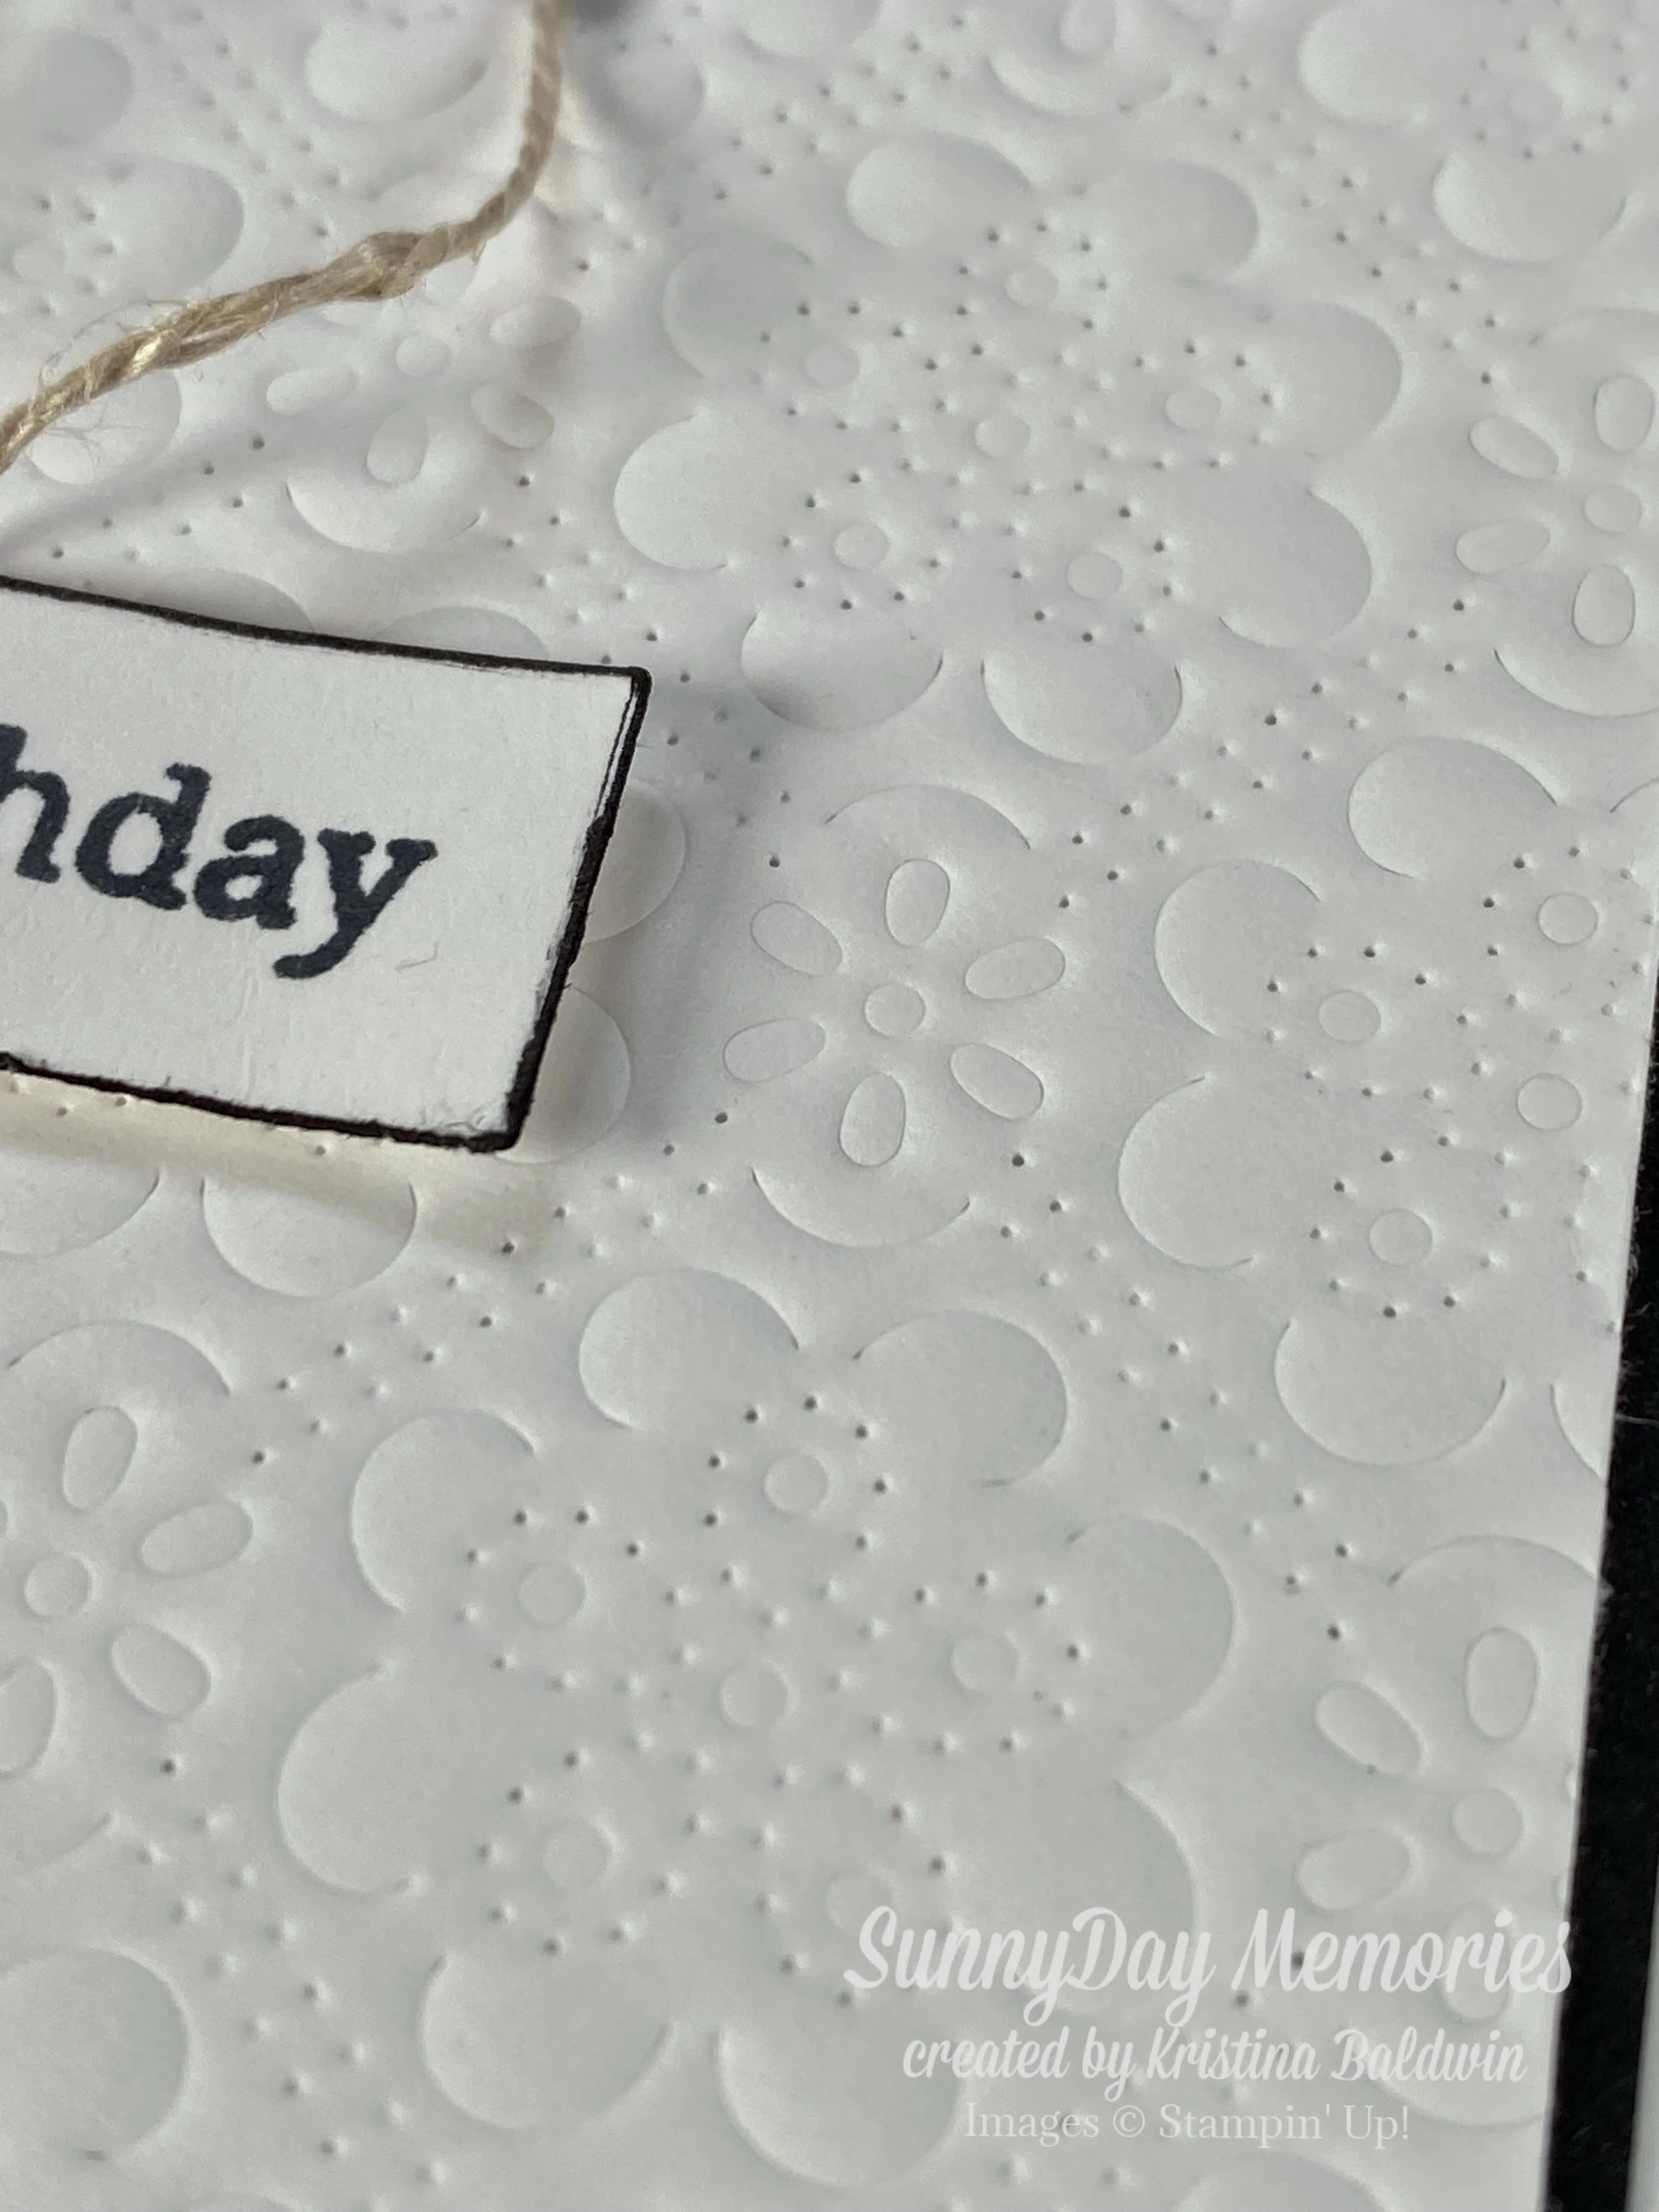
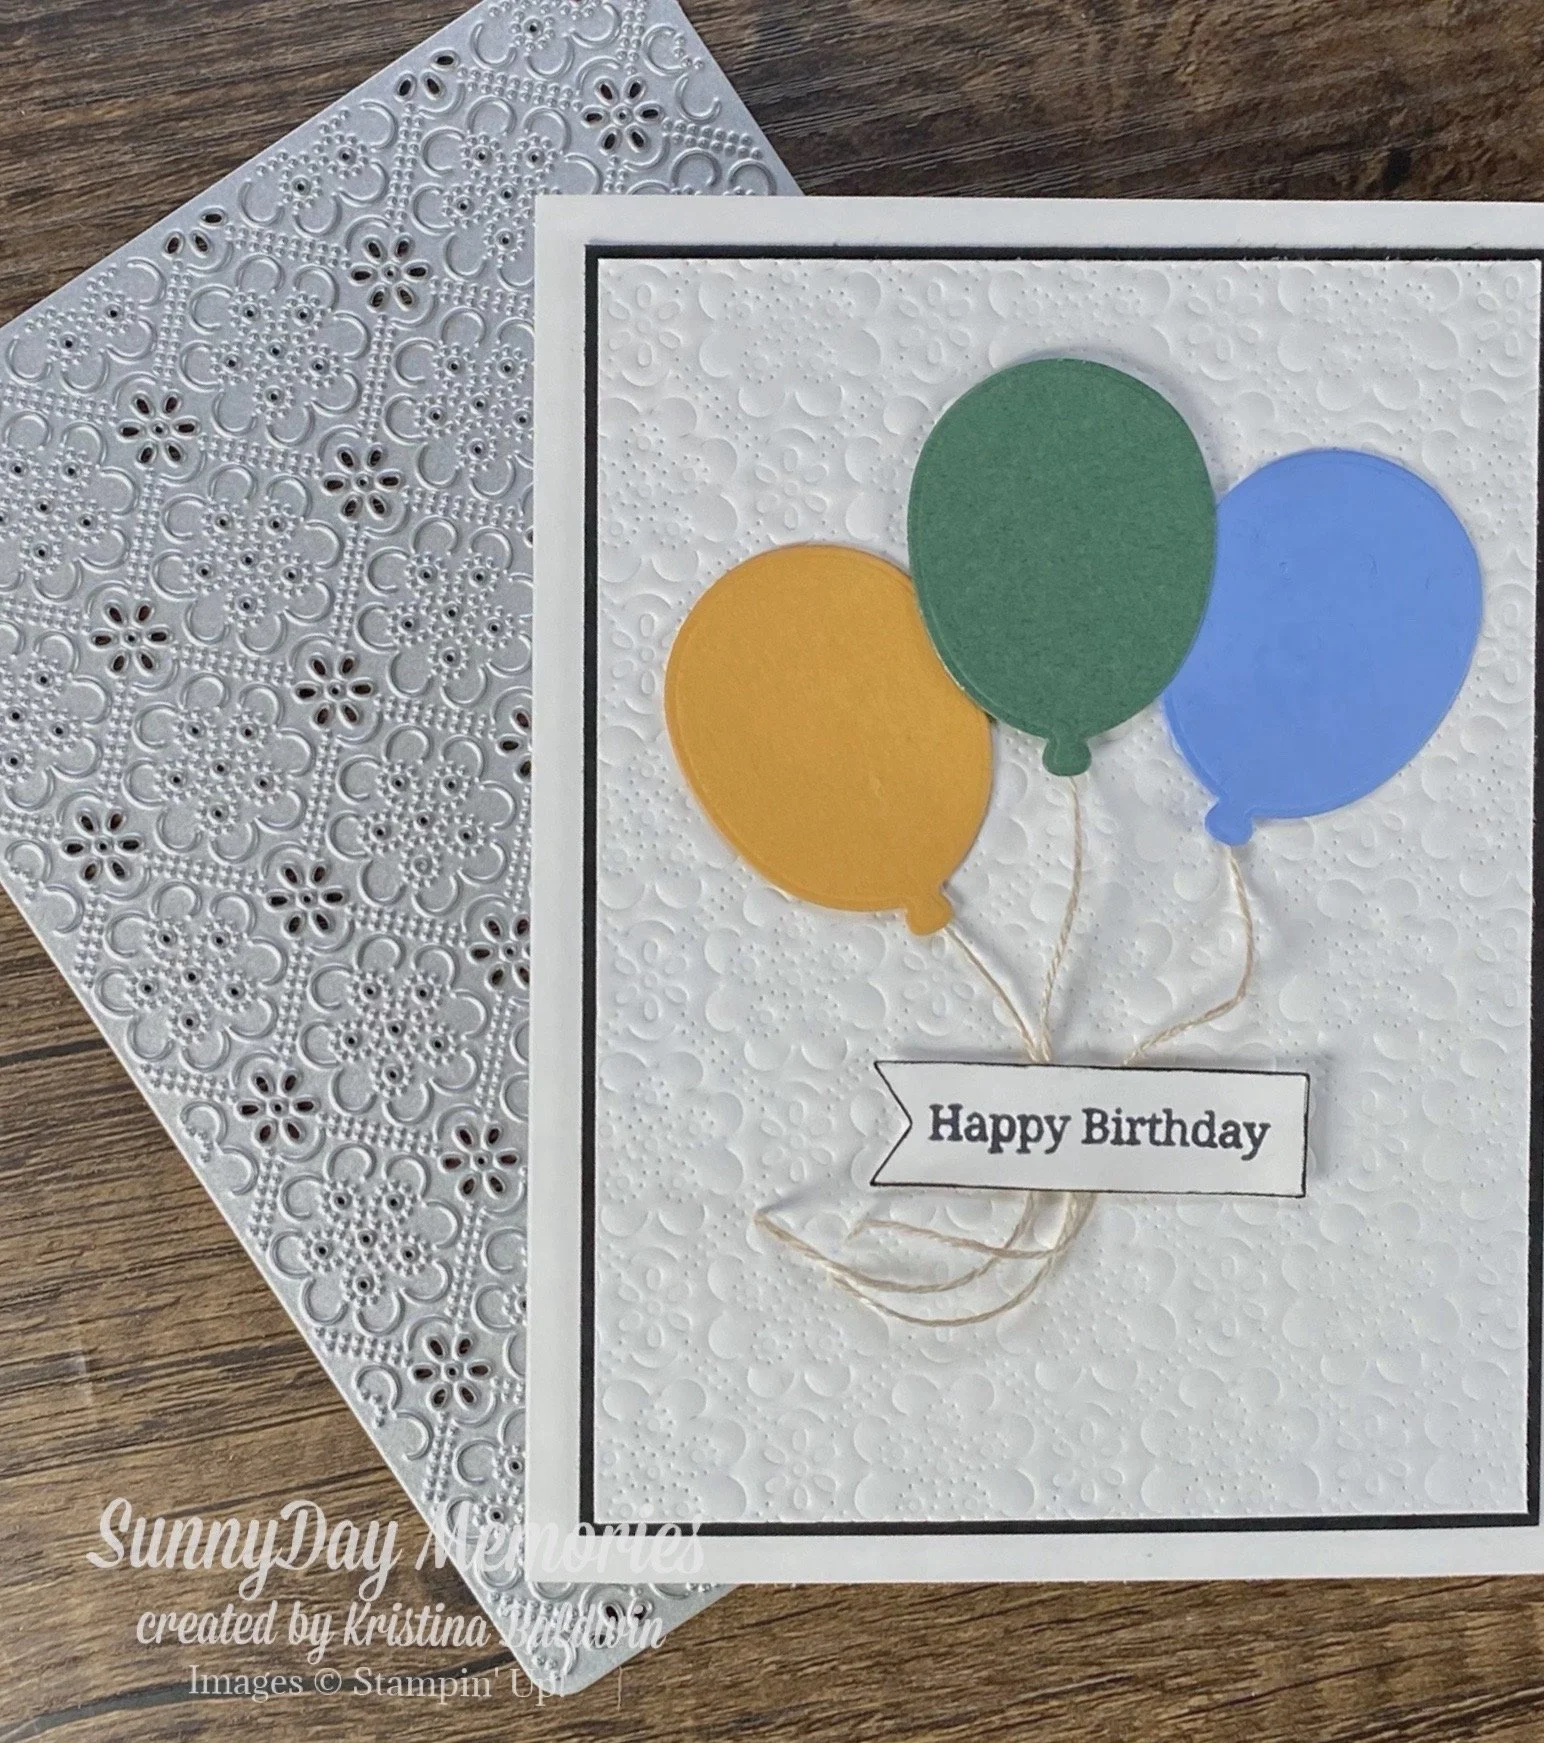
This week, I thought I’d go a step further. I wanted to show you another way to use the die. Use it to emboss! That’s exactly what I did in my card above. Notice how the cardstock is only raised and not cut out. It almost looks quilted, right?
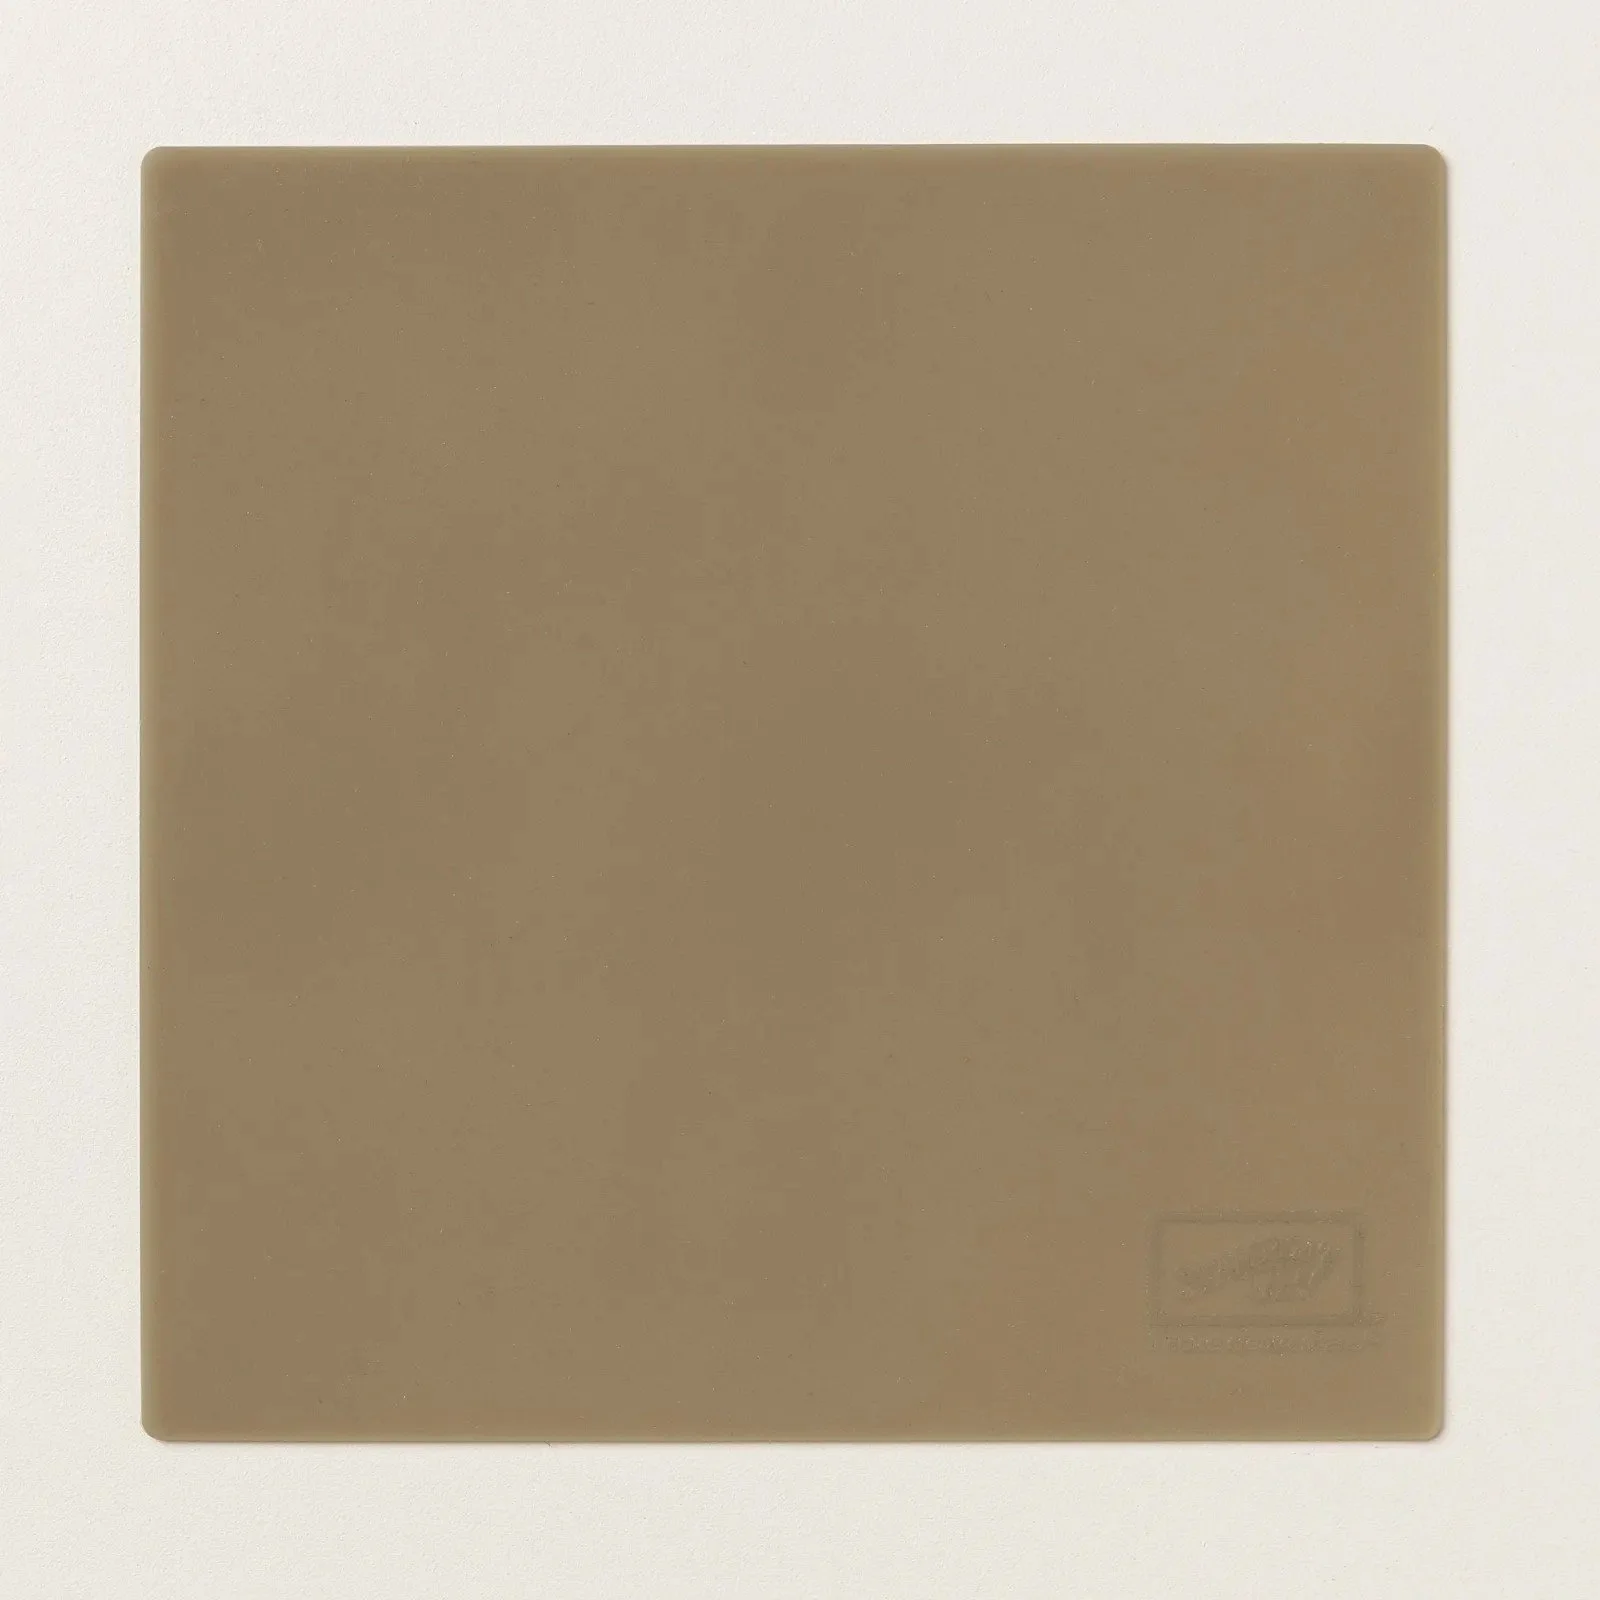
Here is the secret to this technique—the Silicone Craft Mat. Adding this to your “sandwich” before running it through your Die Cutting/Embossing Machine will take it from cutting through your paper to simply embossing it. Super simple, right? Here’s the order you’ll want to make your sandwich:
Silicone Craft Mat (bottom)
Paper (middle)
Die (top)
Then run it through your machine with your plates as you would for an embossing folder. When you finish, you’ll have a whole new look!
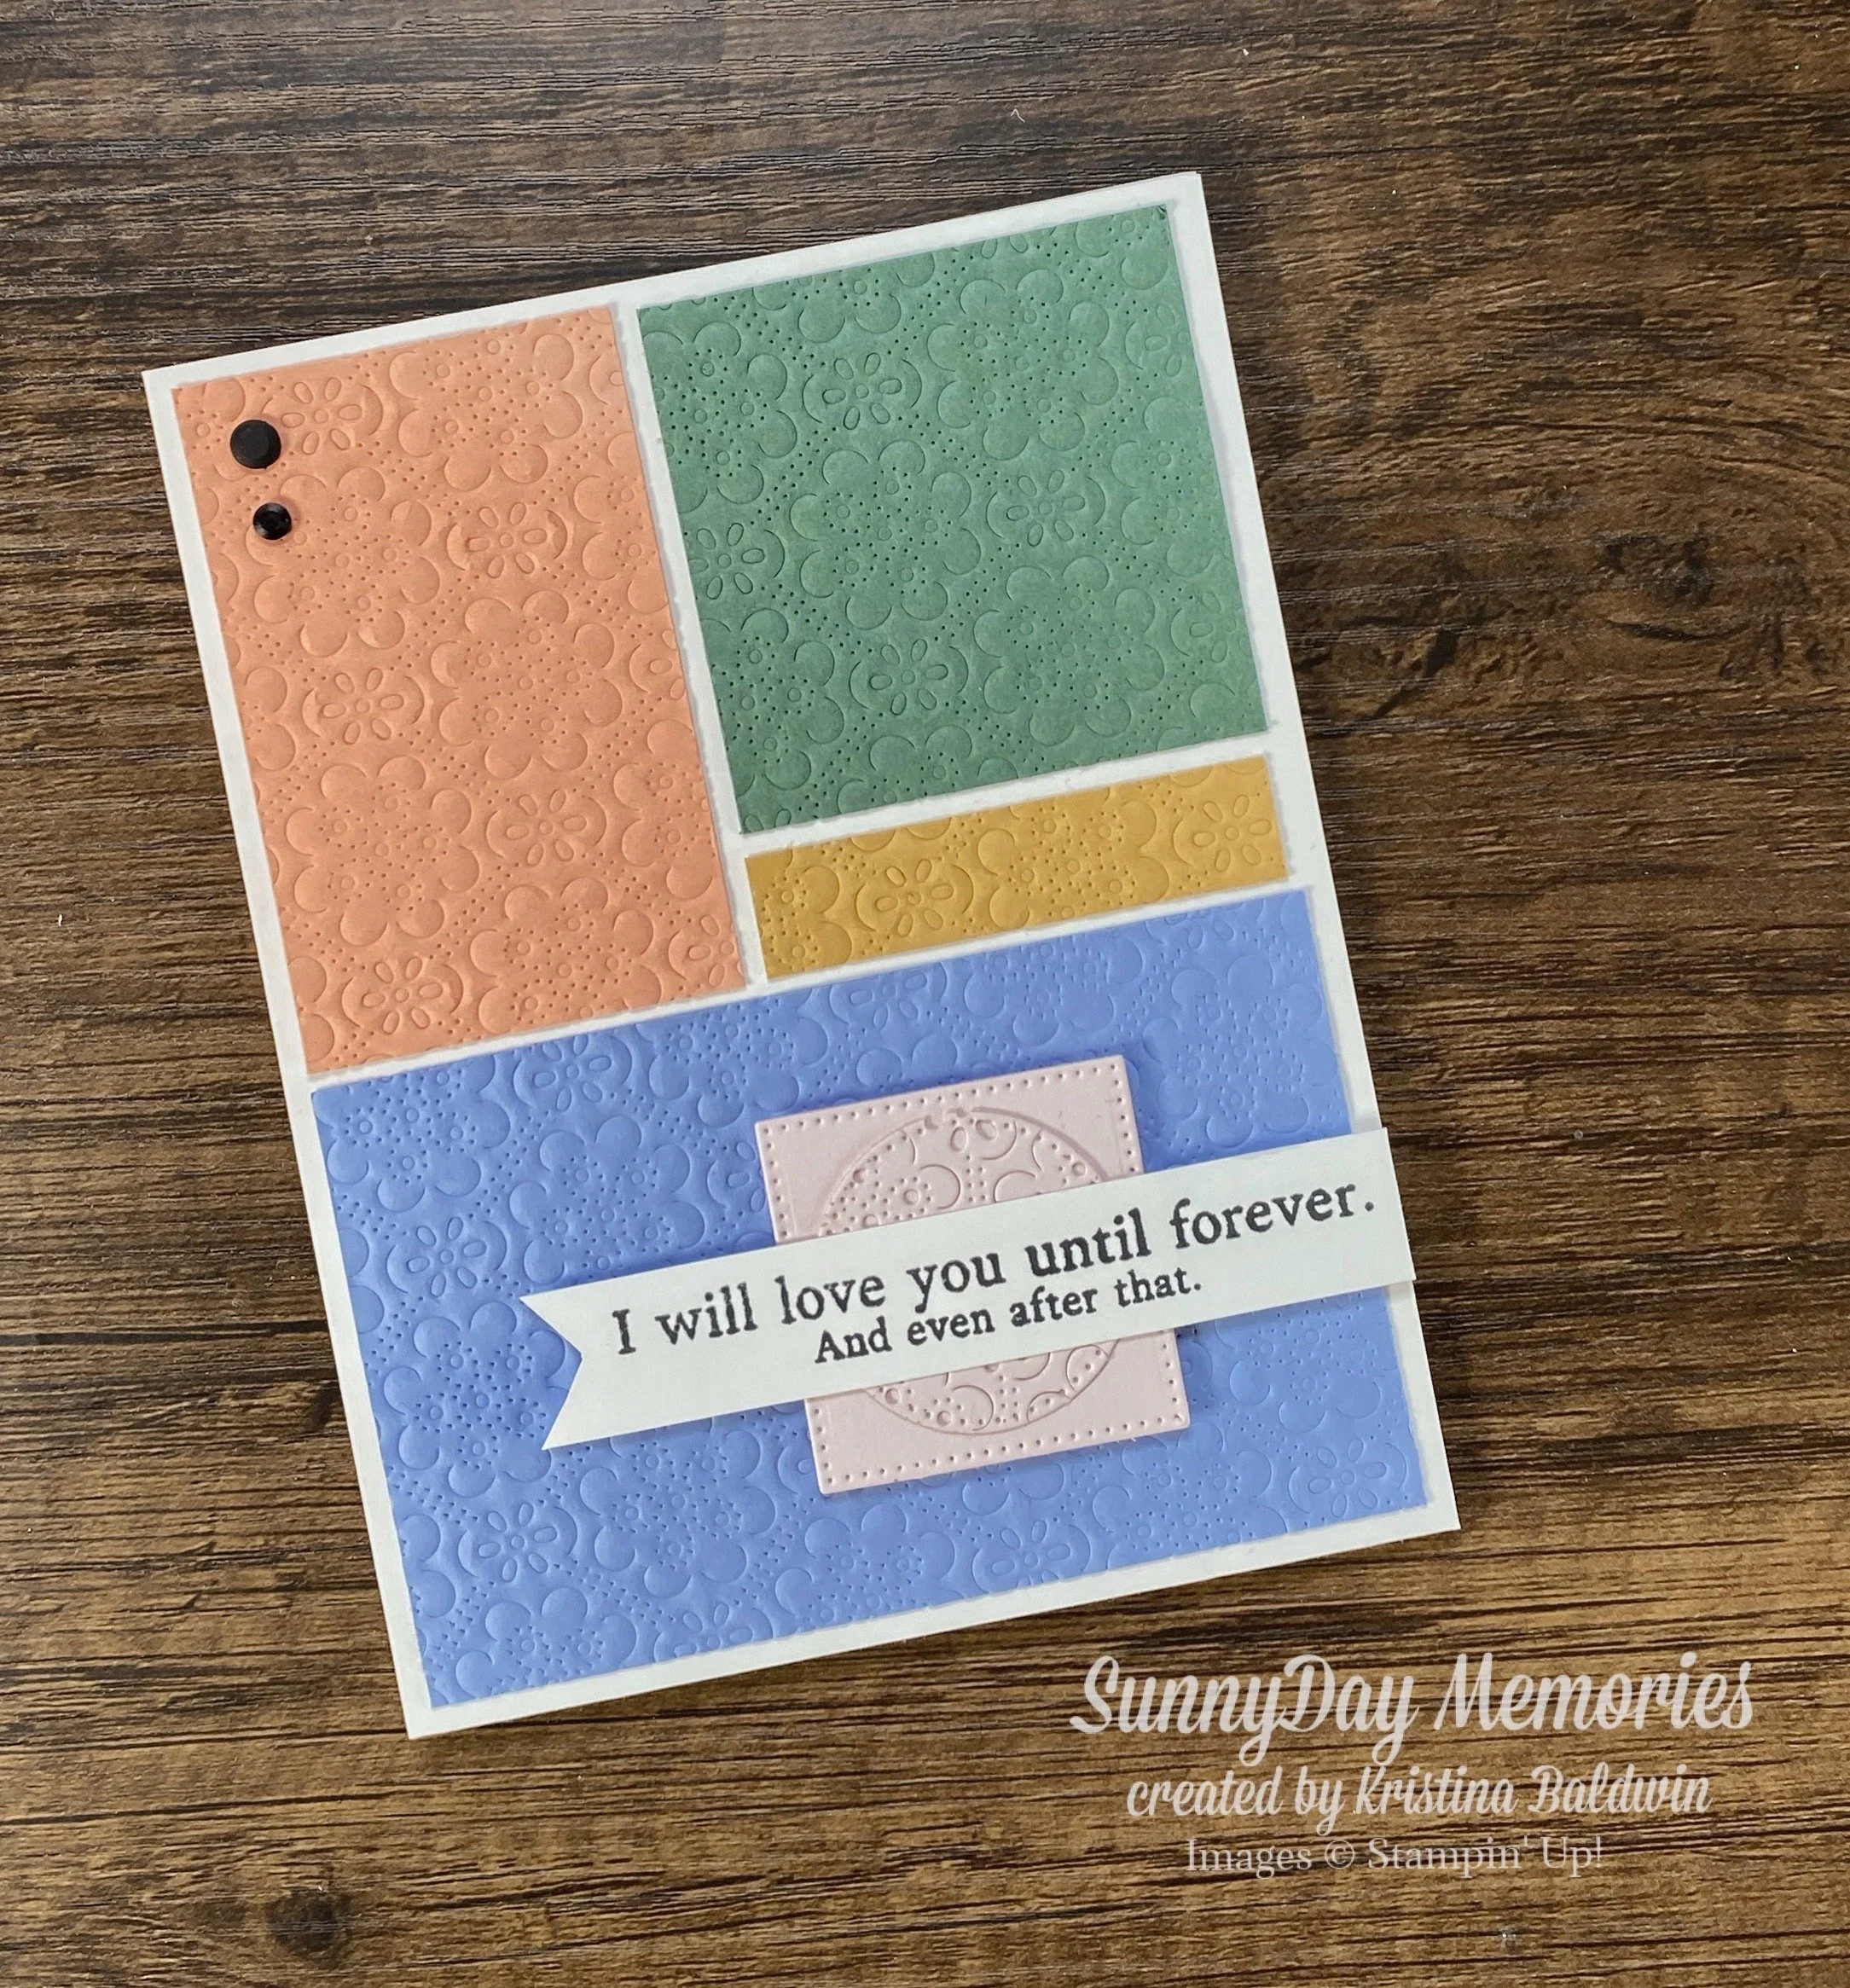
Here is a second card I created with this Embossing with a Die Technique. It features the upcoming 2026-2028 In Colors and Sweet Words & Labels (part of the Silly Old Bear Collection—aka Classic Pooh Bear.)
So if you’re looking for a new technique to try out or you’re feeling a little overwhelmed with an intricate die, now you know how to emboss with a die.