
Last week on Project Tuesday, they challenged us to make a Reindeer Baglet. It’s simply a darling goodie bag created to hold magical Reindeer Food (I made a completely different treat holder for this purpose last year which you can find instructions for HERE).
If you’d like to make one of these ones yourself, here is what you’ll need to do:
STEP 1:
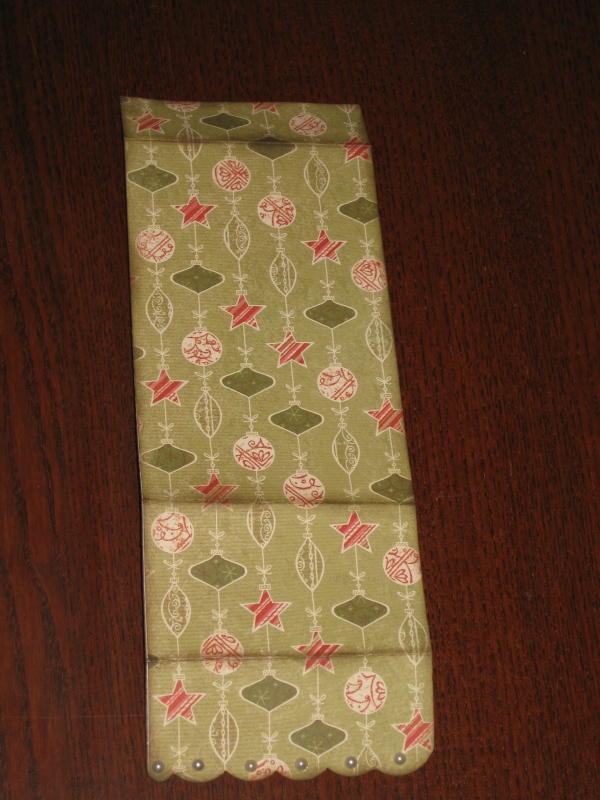
Cut your CS to 3-1/2″ x 10″. Score at 1″, 6-1/2″ and 8-1/2″. (note: because I wanted to have my bag have some durability to it and also use our fun Mistletoe Creative Basics papers, I adhered an Ornaments B&T sheet to one side of the CS and then the New England Ivy B&T to the other side–it’s definitely strong!) Decorate as desired (I sponged Cocoa ink then I used our Corner Rounder to create scallops and added some Pearl Opaques).
STEP 2:
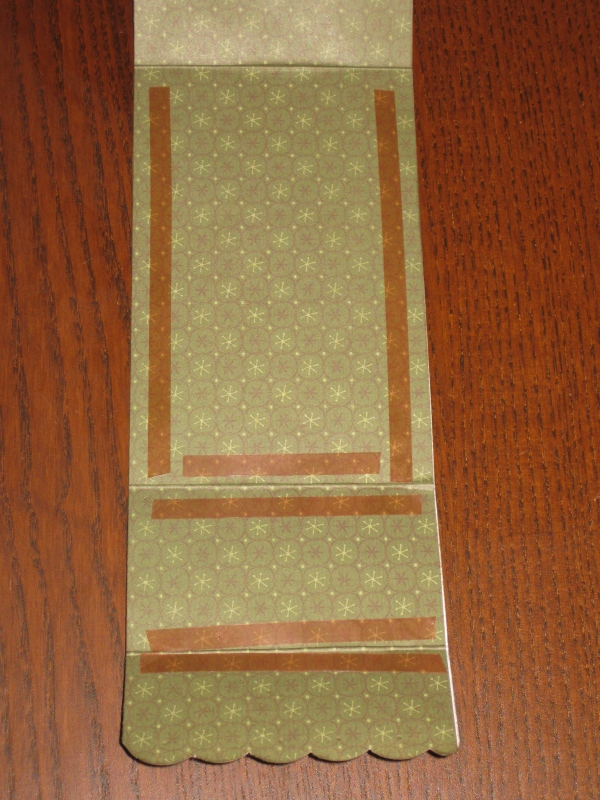
Flip your paper over and apply strong double-sided tape as indicated in the picture. You’ll then affix your clear (vellum or otherwise) bag to this adhesive to hold in place. (note: I used a 6-1/2″ clear bag found at clearbags.com)
STEP 3:
Fill bag with desired treat and then fold over flap, punch 2 holes in it and tie together with a ribbon. I love the ribbon that comes with the Creative Basics Collection…it has a shimmery gold tone to it. Pretty!! Finally you just add any additional embellishments you might like and then you’re all set for some gift giving.