

Yesterday Close To My Heart did a blog post with a wonderful DIY Americana Decor tutorial. With the 4th of July right around the corner, there’s no better time than now to create this stunning home decor piece!
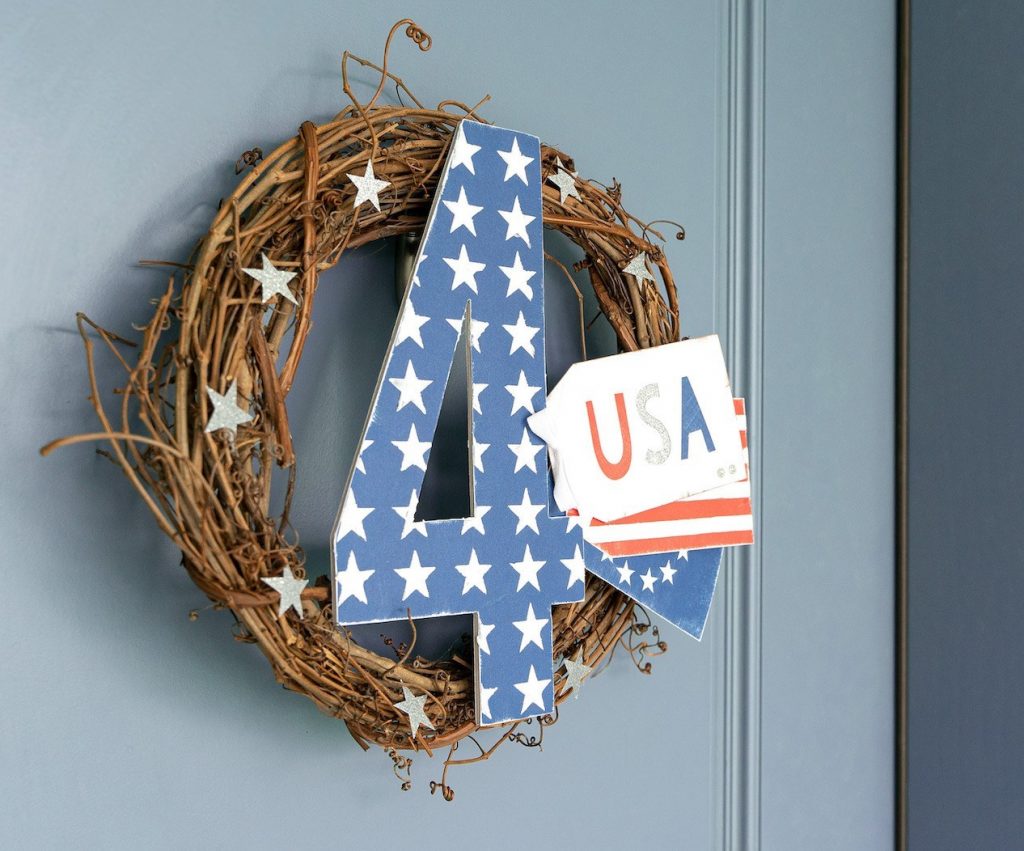
Just in time for the fourth of July, follow along with us in this DIY décor session and whip up some red, white, and blue Americana, and celebrate all patriotic holidays using a little bit of texture paste, a stencil, and a free Cricut Design Space™ file!
Materials Needed:
Candy Apple Cardstock (1 sheet)
White Daisy Cardstock (1 sheet)
Sapphire Cardstock (1 sheet)
Silver Glitter Paper (1 sheet)
Stencil Sheet (1 sheet)
Espresso Exclusive Inks™ Pigment Pad
Opaque Matte Texture Paste
Palette Knife
Chipboard Monogram—4
Adhesive Runner
Silver Glitter Gems
White Ribbon
Glue Gun
12″ Wreath
Pencil
Scissors
Fine Sandpaper
This tutorial uses shapes from the Close To My Heart Cricut® Artistry collection. The necessary shapes needed to complete the wreath exactly as shown are available as a project file in Cricut Design Space, here.
Step 1: Cut Your Paper
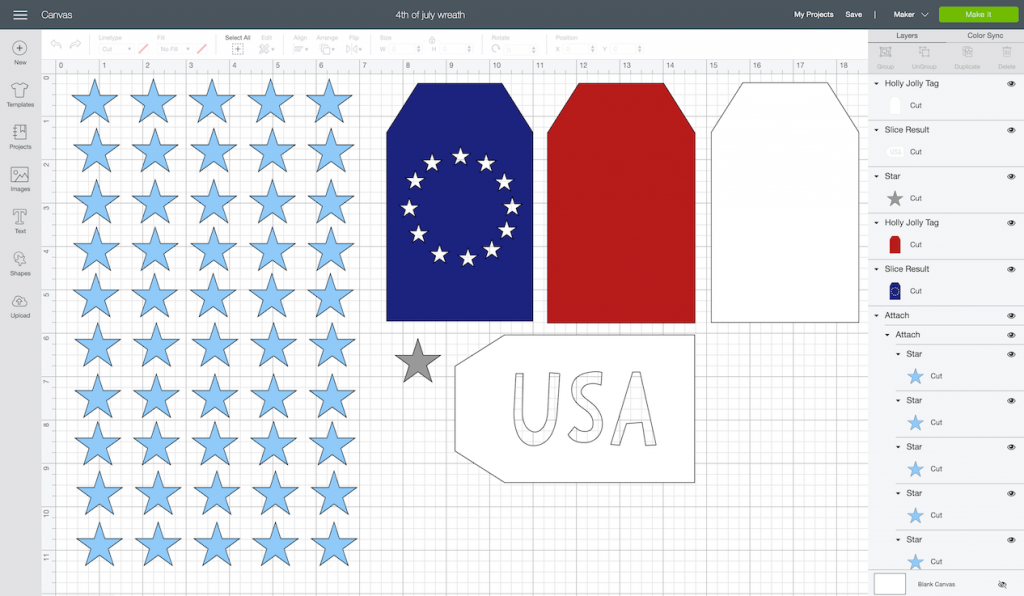
From the provided Design Space file, cut the shapes shown above first. Once you’ve cut these shapes, lightly trace the chipboard four with a pencil onto the remainder of your Sapphire cardstock sheet. Cut the shape out with scissors and then, to age the appearance of your project, distress the edges with a fine grit sandpaper.
Step 2: Add Mixed Media
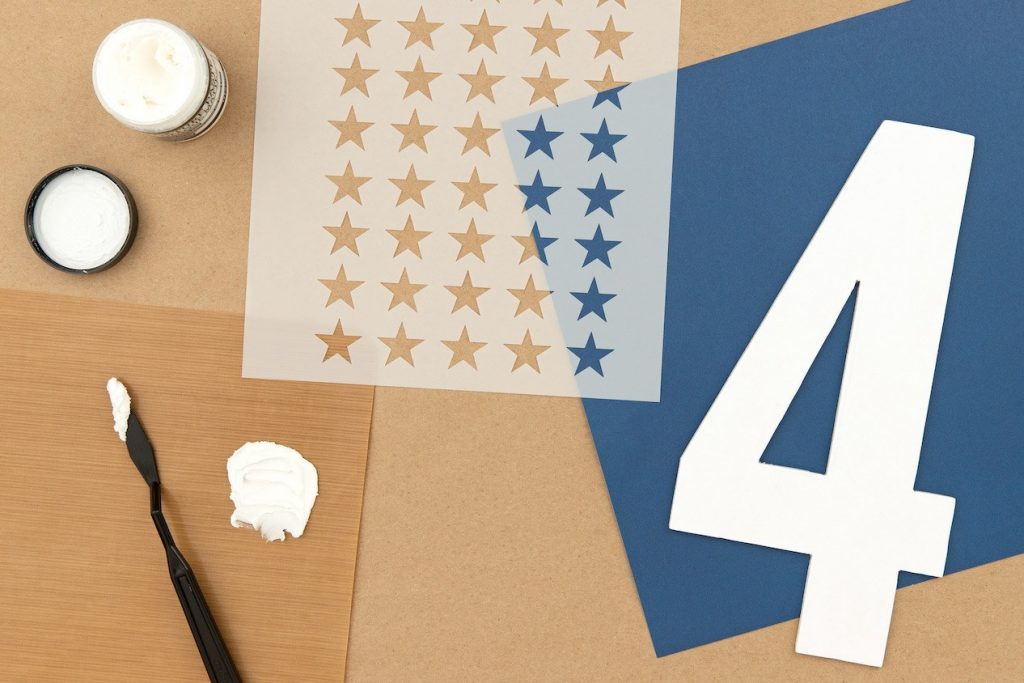
One of the Cricut® shapes that you will cut using the provided file is a star patterned stencil sheet. Before attaching the Sapphire cardstock layer to the chipboard four, use this stencil with texture paste to create a raised star patterned on the cardstock.
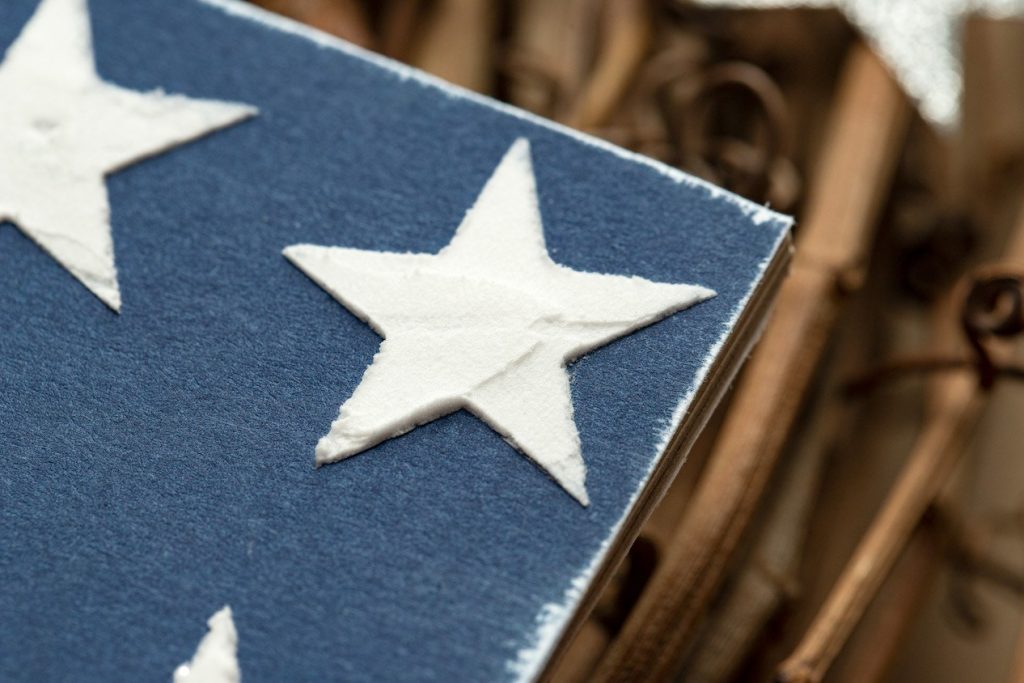
Once the paste is dry, use an adhesive runner to attach the cardstock to the chipboard.
Step 3: Assembling the Tags
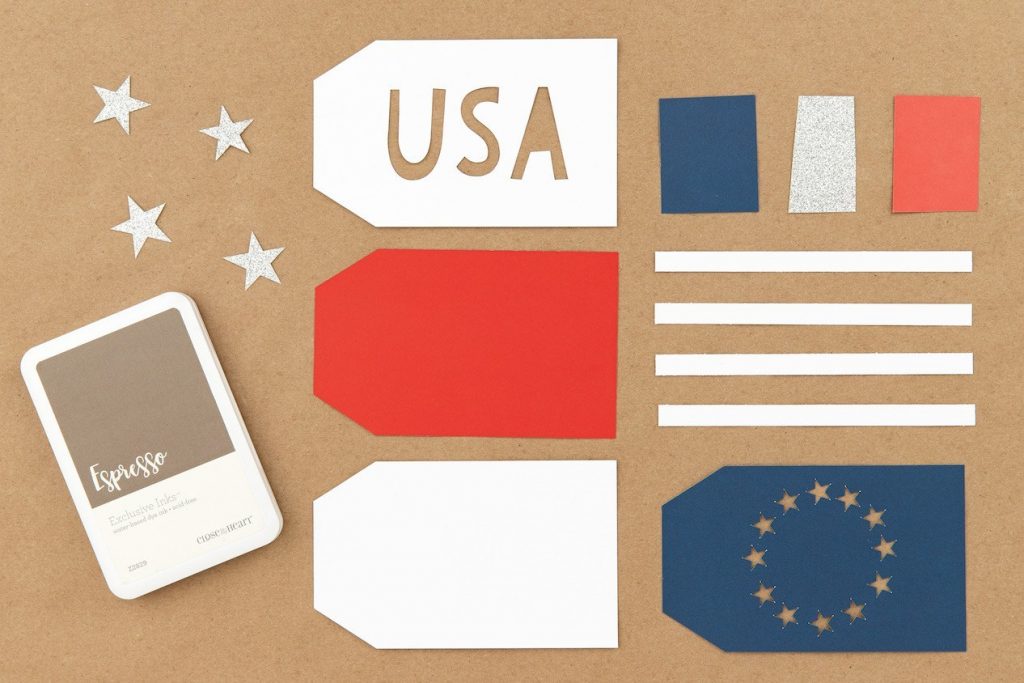
Most of the pieces you will need to assemble the tags are included in the Design Space file provided. What you will have to cut on your own are the Sapphire, silver glitter, and Candy Apple pieces used behind the “USA” cutouts in the first tag and four 5½” x ⅜” white stripes to attach to the second, red tag. The third tag is simply the Sapphire tag with the cutout stars attached on top of the solid White Daisy cardstock tag.
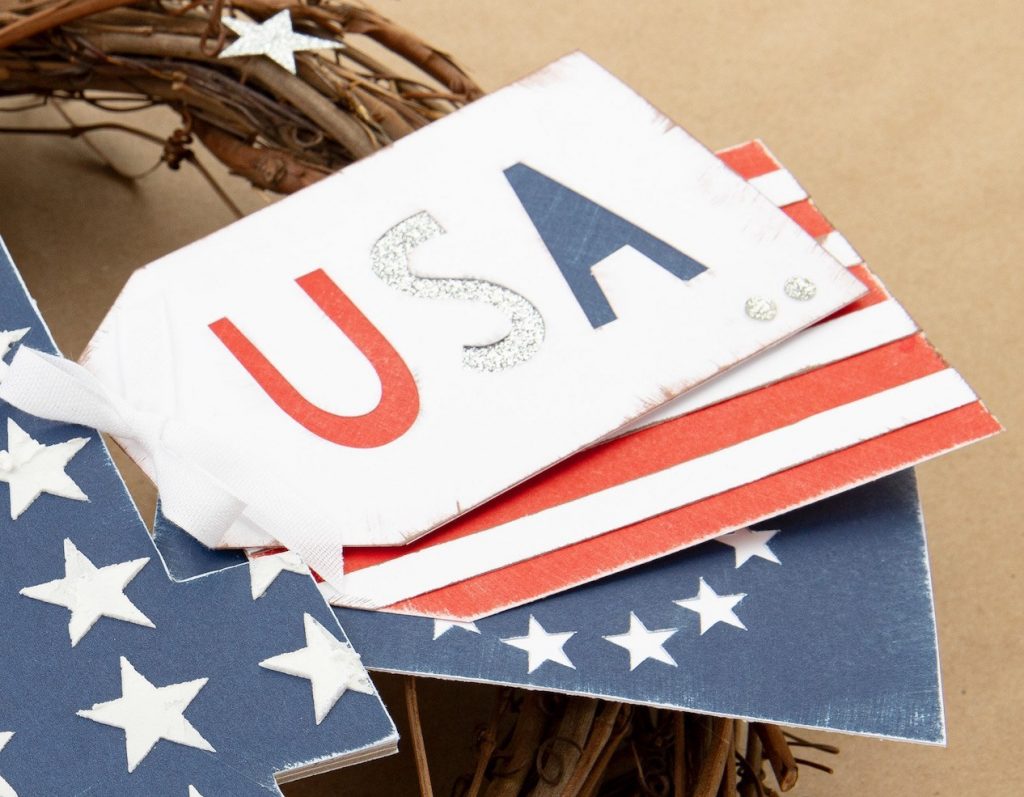
If you prefer a more vintage look, use the sandpaper again and also the Espresso pigment pad to lightly rub along the edges of the tags to achieve a distressed, weathered appearance. Add as little or as much pigment as you’d like to make this look just how you want it.
Step 4: Put It All Together!
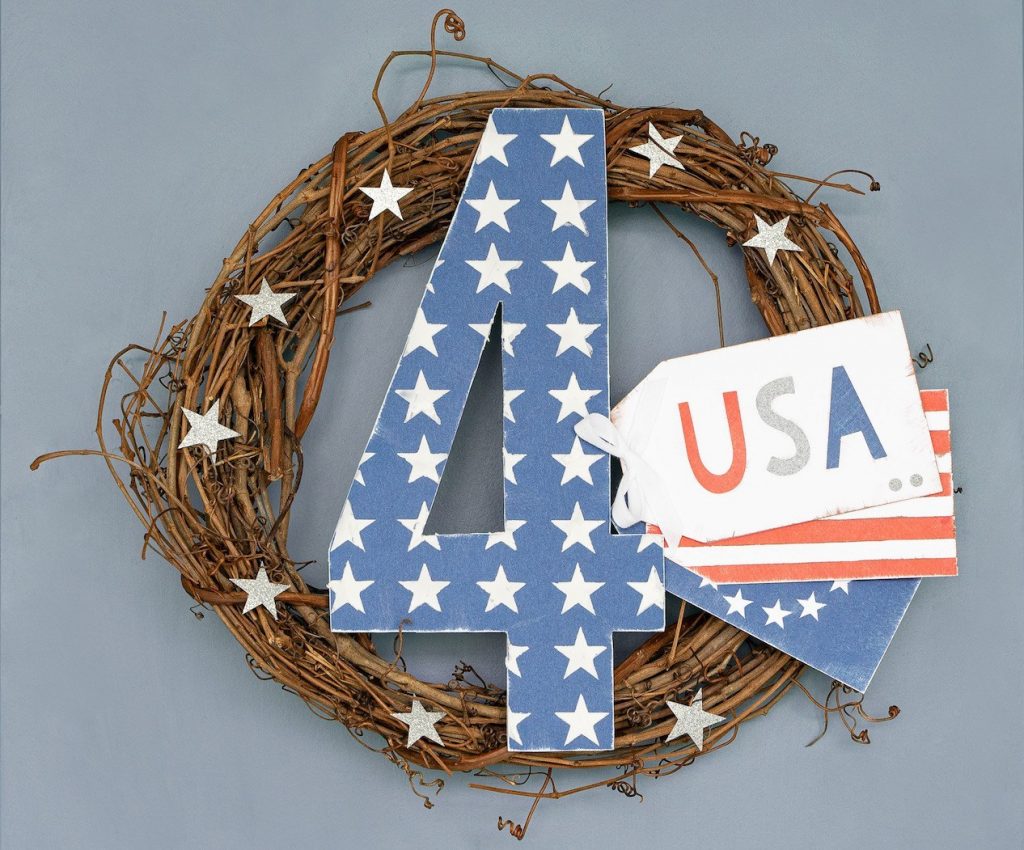
Using your handy dandy glue gun, attach all of the pieces to the wreath. (Even though our tags may look like they are attached to the chipboard four, they are not. These are glued to each other and to the wreath.) Embellish with some ribbon and glitter gems, and you are all set to proudly display your Americana décor!
I hope you’ve enjoyed the tutorial and give this DIY Americana Decor piece a try.