
A very common question that I hear asked over and over is “how do I properly open my ink pad? The button isn’t working.” So here’s a quick “how-to” tutorial to explain the proper way to open and close our ink pads.
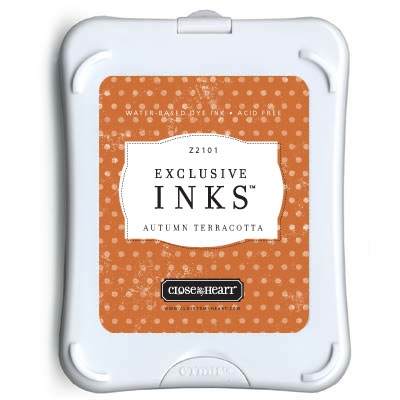
When you first look at our ink pads, it does appear that the small semi-circle is a button that will release and open the ink pad when pushed. This is not the case.
Instead this “button” is more of a thumb rest for your dominant hand. This is where you are going to get your leverage when opening the ink (leverage is a strong word–don’t worry that these are hard to open; it’s the best word I could come up with!)
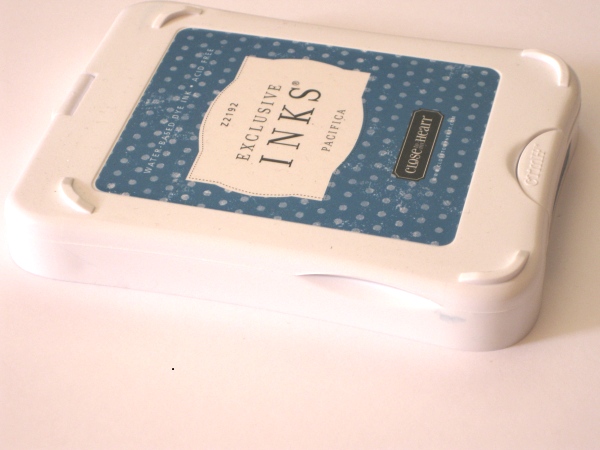
You’ll notice that on the sides near the “button” there are notches. So here is the quick “how-to”…
Step 1:
Take ink pad into your dominant hand with your thumb resting on the “button”.
Step 2:
Using your thumb and forefinger from your other hand, place them on the notches.
Step 3:
Pull upward with your thumb and forefinger while giving resistance with your thumb on the “button”.
Step 4:
Once you’ve raised the lid with the ink to 90 degrees*, you’ll swivel it and lay it flat into the bed of the ink pad body so the ink pad is facing up (you’ll hear it snap into place).
Step 5:
To close the ink pad, you’ll repeat the process of using your dominant thumb to give you resistance, while you lift from the notches with your other hand. Once at 90 degrees, you’ll swivel and lay the ink pad into the bed of the ink pad body (again, you’ll hear it snap into place).
*90 degrees is important if you like to keep your ink pads clear of any ink smudges. If you swivel too early, ink will swipe your ink pad body and leave smudges.
And there you have it. I hope this has been helpful to you. If you have any additional questions, please don’t hesitate to let me know. Happy stamping!