
Today let’s learn how to make beautiful scrapbook layouts using paper strips. Yesterday on CTMH’s blog, they shared a wonderfully simple technique for creating quick & beautiful 12″ x 12″ scrapbook layouts. It’s the perfect way to get some lovely layouts done without a lot of fuss. And since the weekend is upon us, the timing couldn’t be better!

Ask and you shall receive!
A couple of times on this blog we’ve shown you how to make the pages of an entire 6″ x 8″ album using the 3-2-1 paper strips formula. We don’t always have the time to design elaborate pages to keep up with all our photos and, as fellow scrappers, we get that! With this super speedy technique, you can create 10 two-page layouts in as little as two hours!
Since publishing these posts for the 6″ x 8″ pages, we have received several requests to adapt this formula for 12″ x 12″ pages—and we did!
The formula for the 12″ x 12″ pages isn’t as clean as “1-2-3,” so we don’t have as catchy a name for the bigger pages. For today, we’re simply referring to this technique as paper piecing, or paper strips, scrapping.
As we’ve implied, what we’re doing today is providing a simple formula for cutting your patterned papers and assembling 12″ x 12″ layouts. Even with this formula, you will continue to have a lot of creative freedom to add your own personal flair to each of your pages. No two layouts will look the same, unless you make them that way intentionally!
Here’s what you’ll need to make three 12″ x 12″ two-page layouts. (Make as many multiples of three as you’d like, this is just a starting point!)
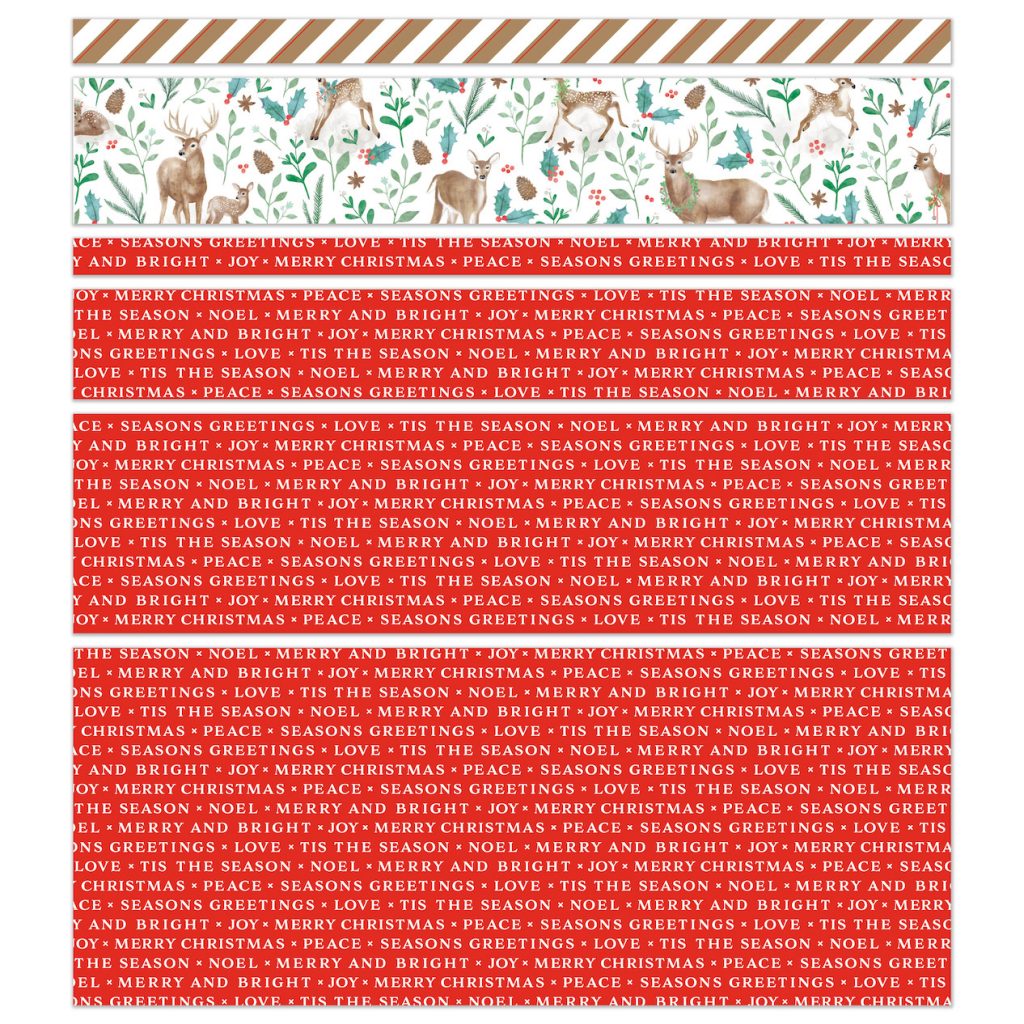
6 sheets of patterned paper, 2 each of 3 designs (preferably in a variety of coordinating patterns)
3 cardstock sheets in coordinating colors
6 White Daisy cardstock sheets (base pages)
Coordinating embellishments
*For those of you not familiar with Close To My Heart products, all of our cardstock and patterned papers come in a 12″ x 12″ format, and that is what we will be using to make these layouts.
Step 1: Base Pages. To keep things simple, we’ve suggested using White Daisy cardstock as the base pages for all the layouts using this formulaic technique. Once you’re familiar with the technique, or if you’re feeling confident from the get-go, switch up the color to make your pages even that more unique!
Step 2: Cutting Patterned Paper. Before measuring and cutting anything, trim all the zip strips from each of the patterned paper sheets and set them aside. The zip strip is the extra ½” accent paper along the top of each Close To My Heart patterned paper sheet. Next, cut the remaining 12″ x 12″ paper into 5″, 3″, 1½”, and ½” strips. (There will be a 2″ strip leftover that we will not be using for these layouts.)
Step 3: Creating Photo Mats from Cardstock. For a more polished look, we like to add photo mats behind most, if not all, our photos. That is what we will be making with the 3 sheets of coordinating cardstock, using one sheet per layout**.
Cut each cardstock sheet into three 6¼” x 4½” and two 4¼” x 3¼” rectangles. The photos that you will be mounting on these mats will be three 4″ x 6″ and two 3″ x 4″.
**When we made our 6″ x 8″ albums, we cut the cardstock into 6″ x 4″ rectangles and then trimmed the photos down ¼” in both height and width to make them work. If you prefer, you can cut your cardstock into six 6″ x 4″ rectangles, then cut two of these down in half to 3″ x 4″. In the end, you will be using half as many cardstock sheets, but you will have to trim your photos down.
Step 4: Putting It All Together. You’re going to need some space for this part, so make sure to clear your table or a place on your living room rug or somewhere else you can keep your project safe. Lay out all 6 White Daisy cardstock base pages. Next, distribute the strips of patterned paper and cardstock photo mats. Each page should get three 4″ x 6″ mats and two 3″ x 4″ mats, and one pattern paper strip of each size, 5″, 3″, 1½”, and ½”. (For the ½” strip use the strips you cut from the patterns interchangeably with the zip strips you trimmed off the top.)
If you’d like for the pages that will be facing each other in your album to match, keep that in mind as you distribute your papers.
Lastly, decide how you want to attach these pieces to your pages and get to it! Move the components around until you are happy with your design. Experiment with different arrangements and consider whether you want to use exactly three 4″ x 6″ and two 3″ x 4″ photos per layout. Trade mats between layouts or cut a few extra if you’d like.
Step 5: Embellish! Using coordinating embellishments add your finishing touches!
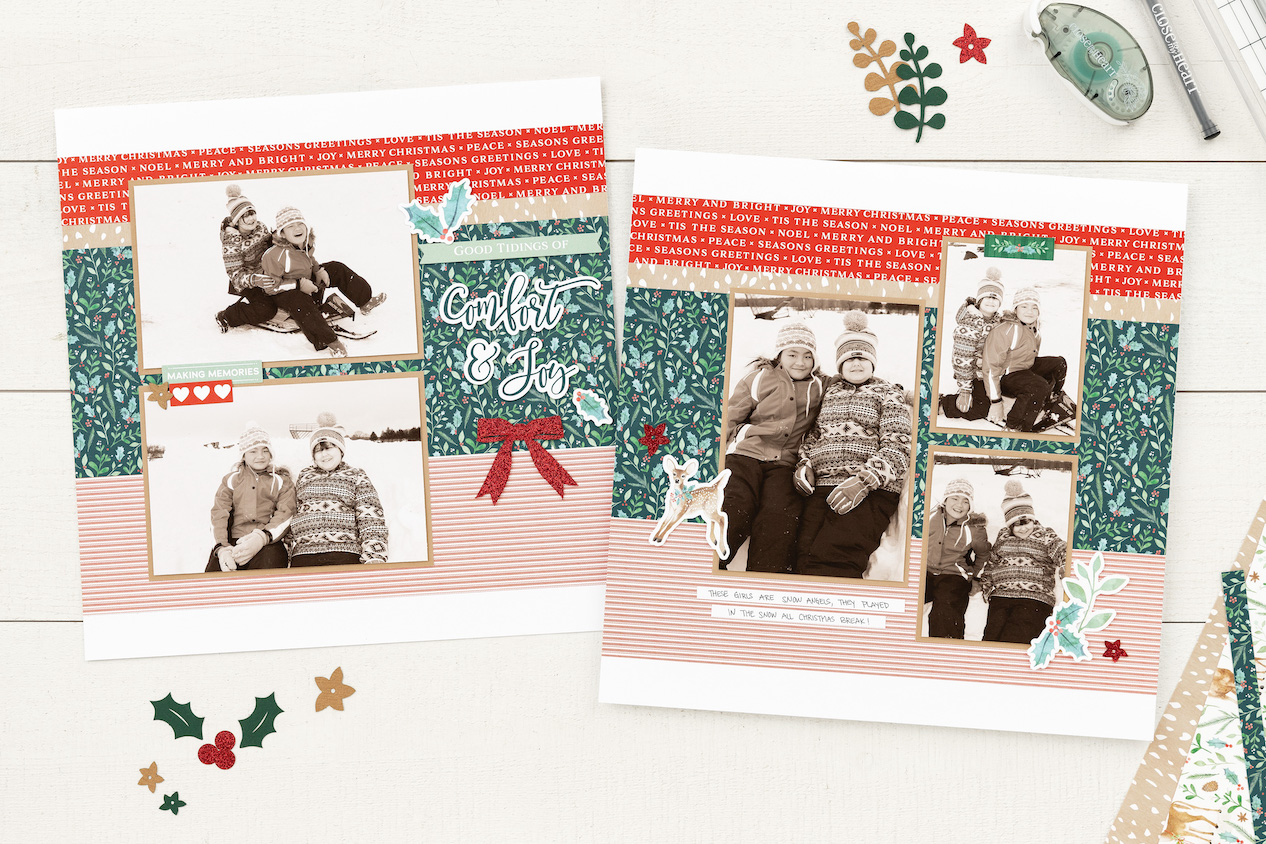
To show you just how easily this technique can be applied to a variety of subjects, we’ve got three mismatched layouts that we made using this formulaic approach.
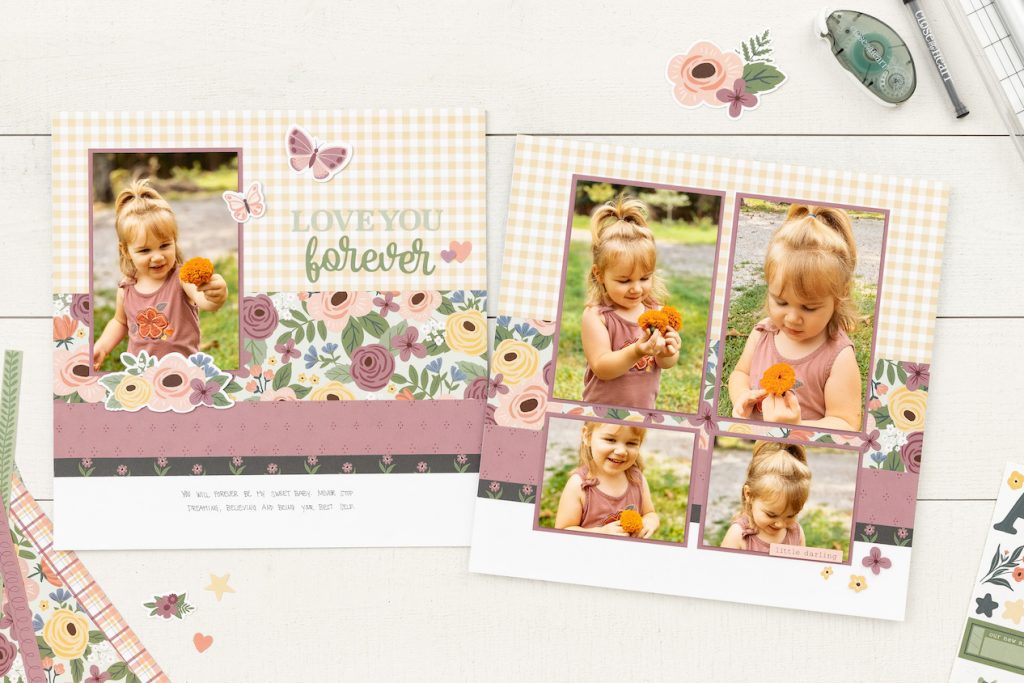
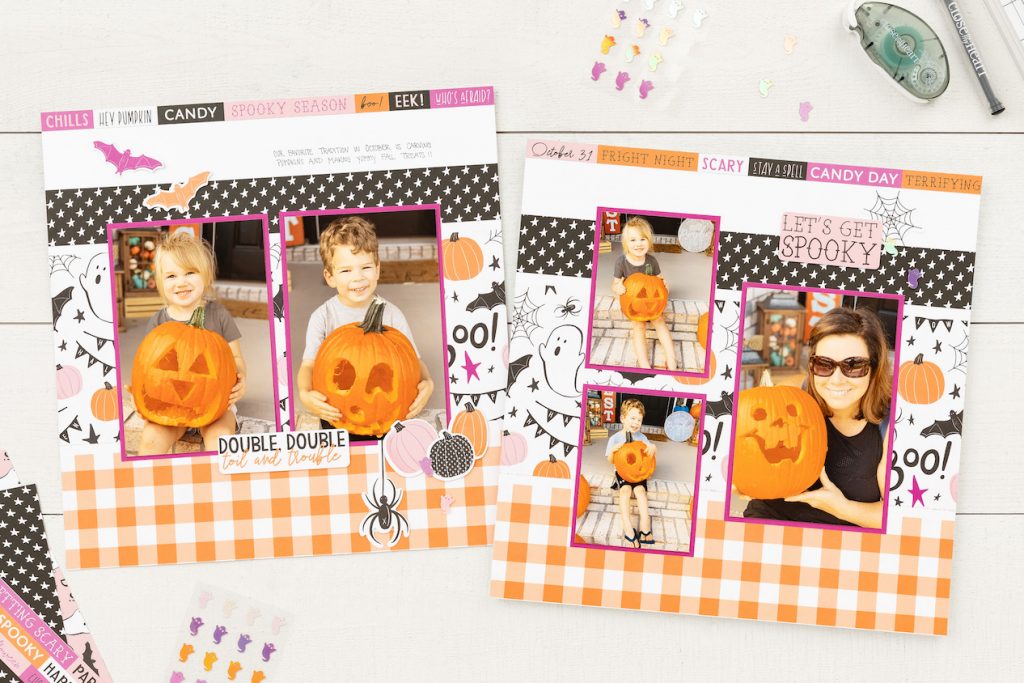

So beautiful, right? And really easy to achieve. Another fun tip is one shared back in 2019 about using your scraps for your layouts. So if you have some scrapbooking that you’ve been feeling behind on, one of these approaches just might be the answer you’ve been looking for. Most importantly, now you know how to make beautiful scrapbook layouts using paper strips!