

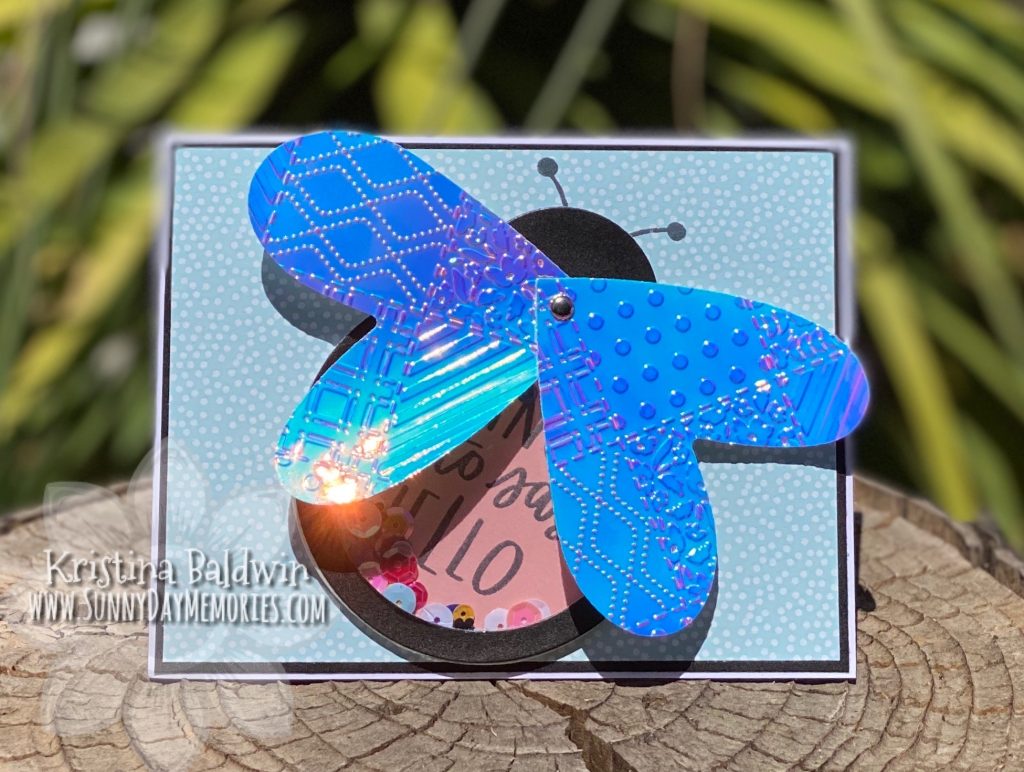
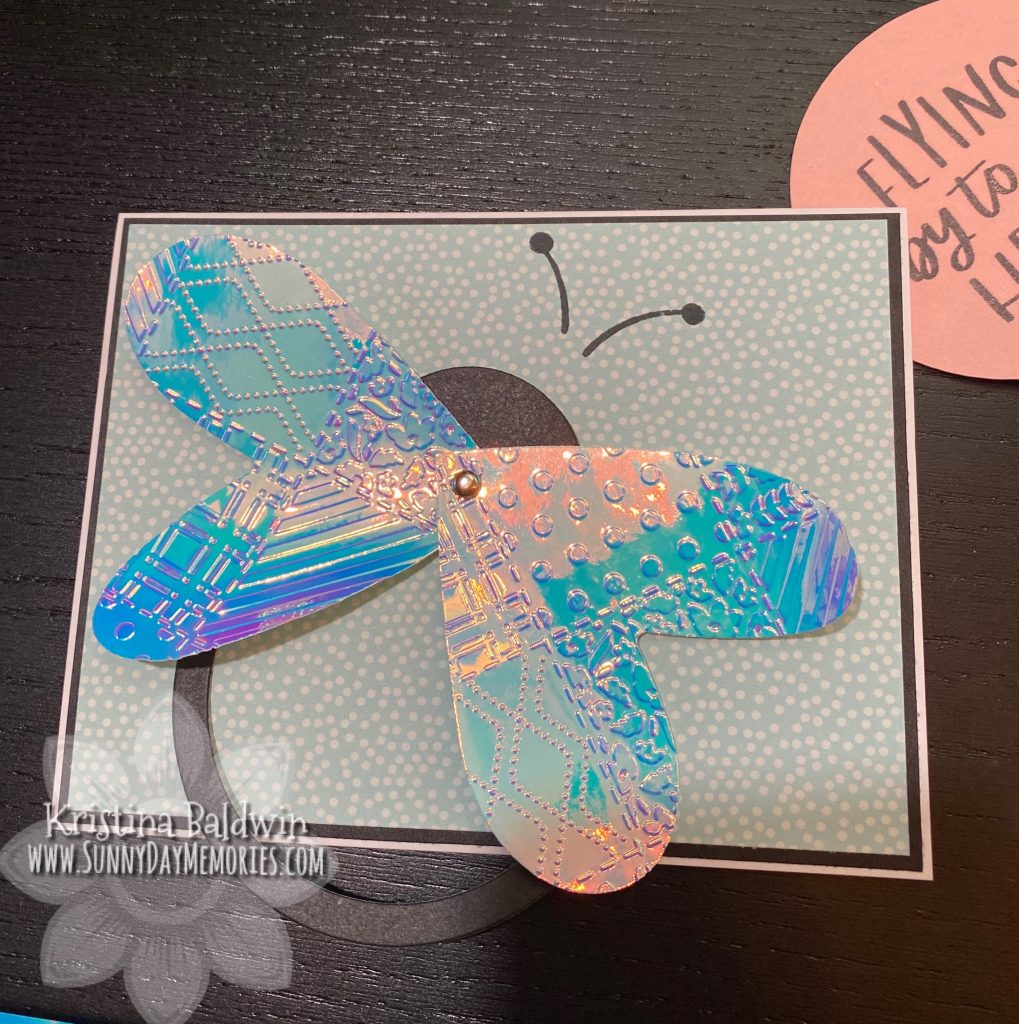
For today’s Make It Monday (15th edition), I’m going to show you how to make a Butterfly Shaker Card from our adorable Ladybug Thin Cuts die. This idea is from my crafty friend Jenn. It’s always fun to get multiple uses from a tool and I couldn’t wait to try out this idea. I will say my butterfly looks a little more plump using this die. Even my husband said it was more of a moth than a butterfly (LOL) but I’ll take it. 🙂
Here are the supplies you’ll want to grab:
- Hello Ladybug Stamp Set (B1703)
- Black Stamp Pad (Z2805)
- Stitched Together Paper Pack (X7257B)
- Peach Cardstock (X6044)
- Black Cardstock (X6047)
- Dreamy Holographic Paper (Z3635)
- White Cards & Envelopes Value Pack (X254)
- Shaker Window Foam & Acetate (Z4310)
- Silver Brads (Z3627)
- Ladybug Shaker Window Thin Cuts (Z3710)
- Piercing Tool (Z3547)
- Liquid Glass (Z679)
- Hearts Thin Cuts (Z3260)
- Quilt Embossing Folder (Z3663)
- Crafty Loose Sequins (Z4059)
- Die-cutting/embossing machine
STEP 1:
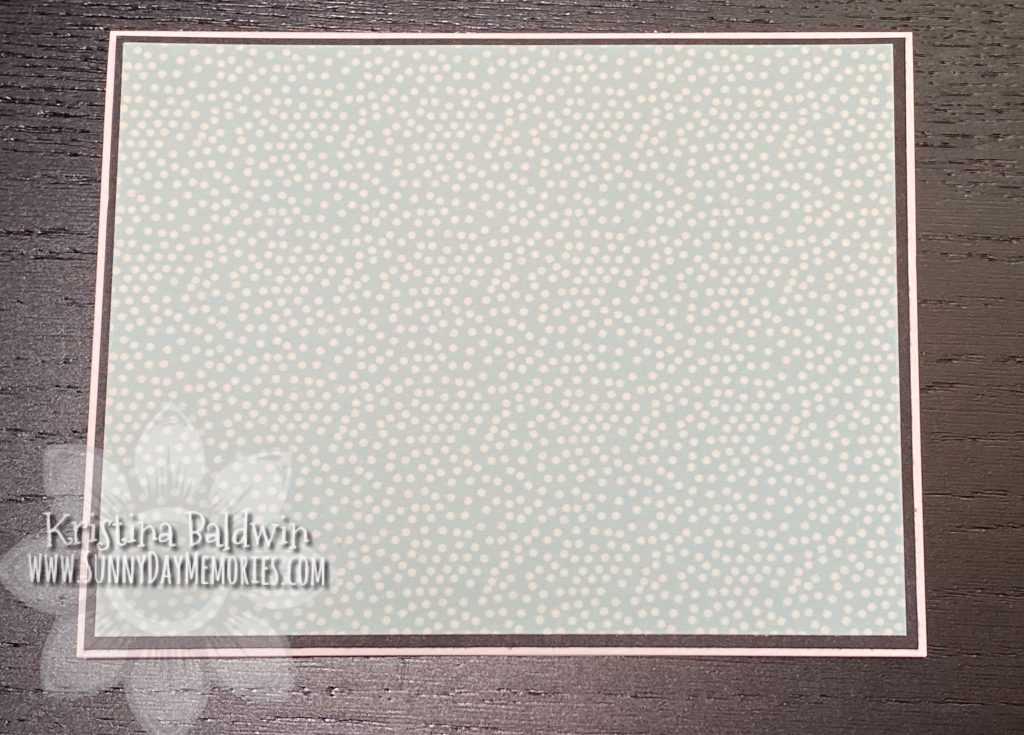
Prep supplies. Cut Glacier Dot Patterned Paper from Stitched Together Paper Collection to 4″ x 5-1/4″ and Black Cardstock to 4-1/8″ x 5-3/8″. Next cut a 2-3/4″ Peach Cardstock circle. Using Heart Dies, Cricut or punch, cut out 2 large hearts in the Dreamy Holographic Paper. Finally use the Ladybug die to cut out body shape in Black Cardstock.

STEP 2:
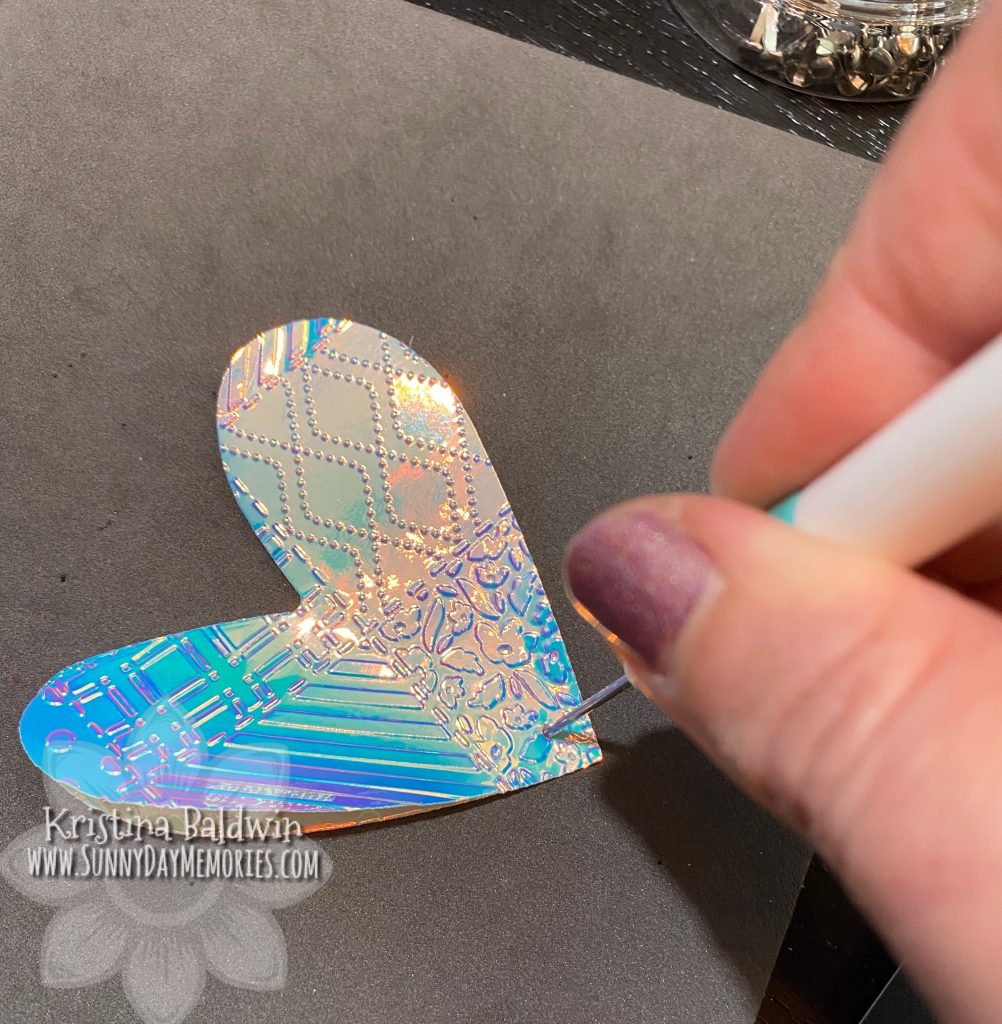
Emboss your large hearts. The Dreamy Holographic Paper is so pretty on it’s own, but it takes on a whole new “wow” factor when embossed, right?!
STEP 3:
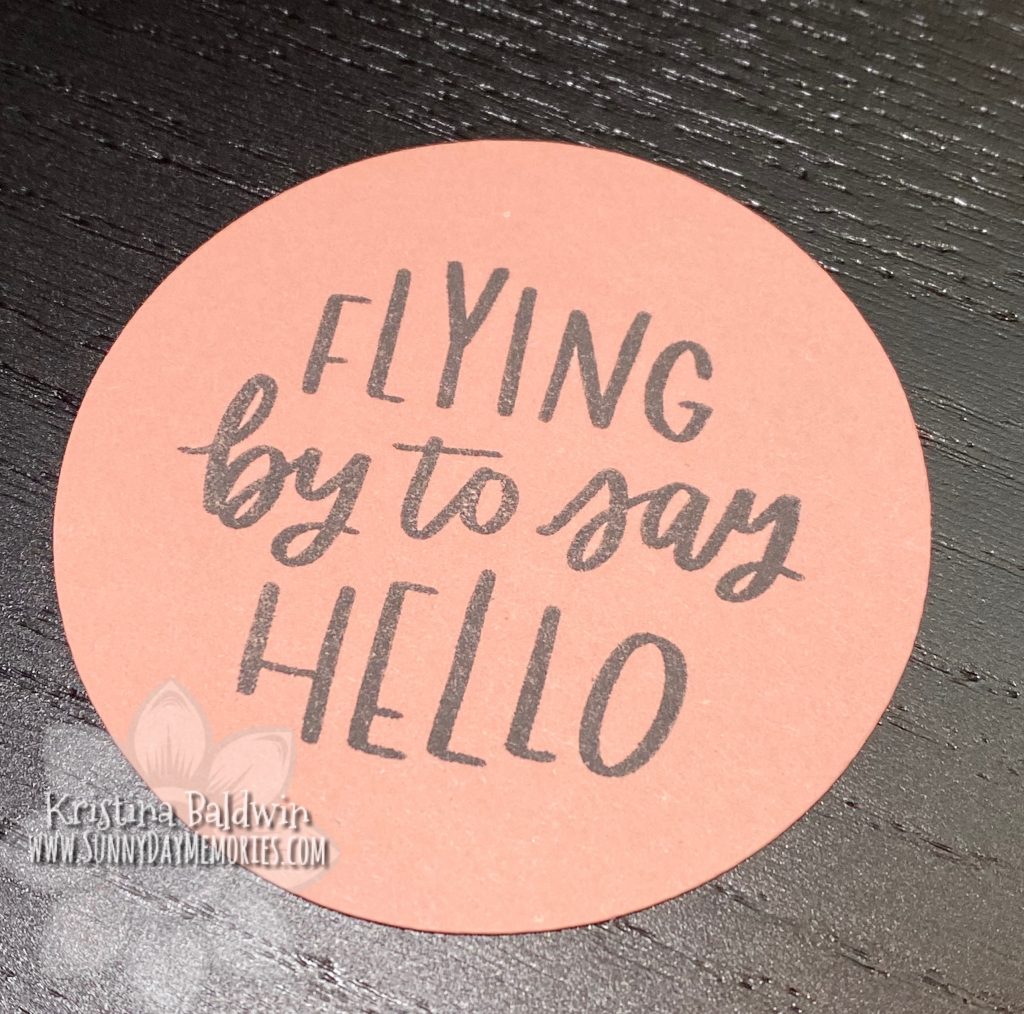
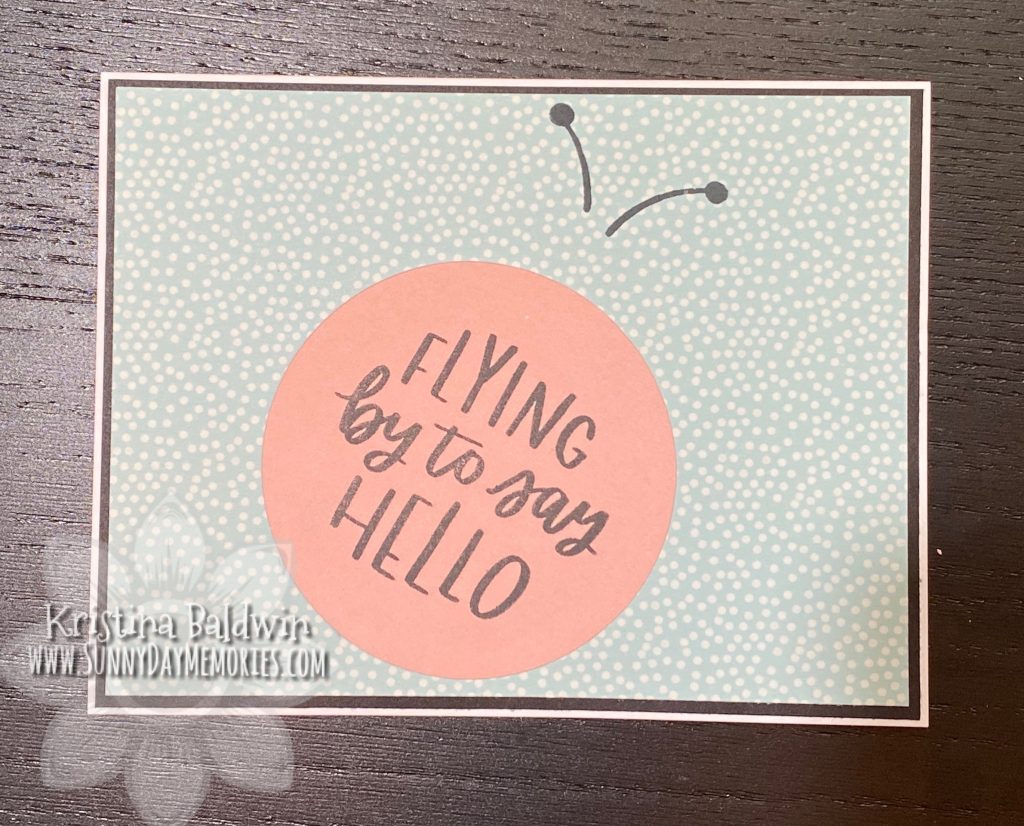
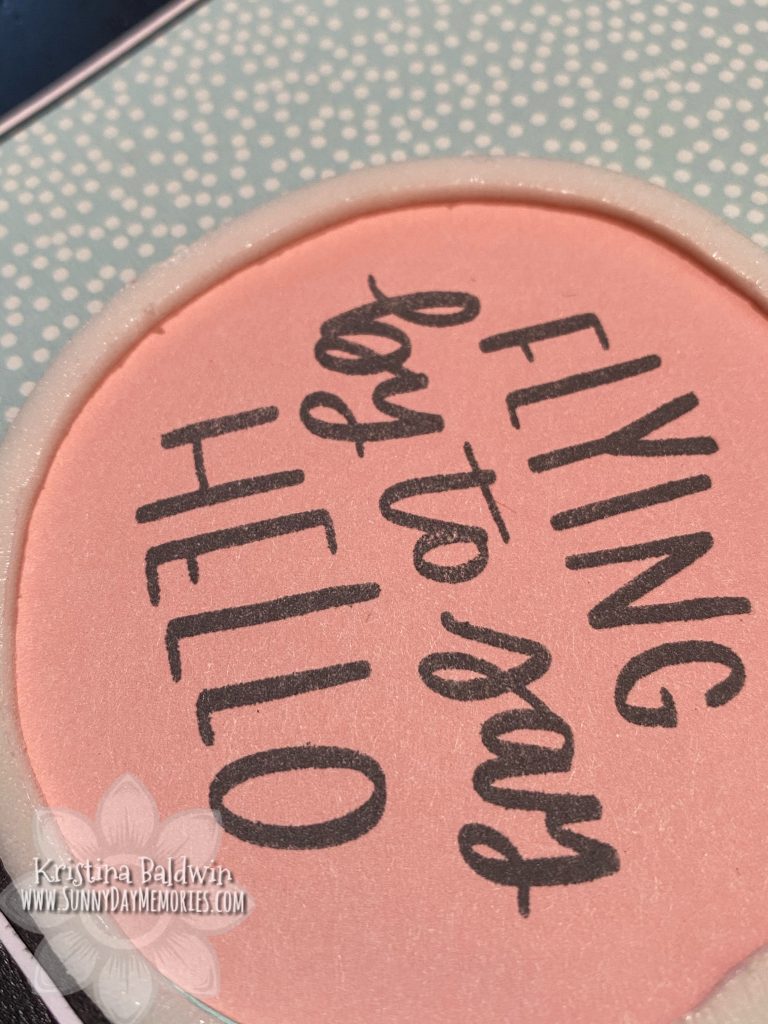
Stamp sentiment from Hello Ladybug Stamp Set in black ink in the center of the Peach circle.
STEP 4:
Adhere Black Cardstock to center of card base. Then adhere Glacier Dot Patterned Paper to the center Black Cardstock.
STEP 5:
Layer large hearts on top of each other and pierce a hole near the base point of the hearts. Using the brad, connect the 2 heart wings to the Black body die-cut and close the brad to secure them together.

STEP 6:
Do a dry fit. Place your antennae stamps toward the top of the card as desired (pro tip: place them with flat edge facing up so you can put your block to them once placed as desired.) Add your butterfly body and move antennae as needed. Once you have a sense of space, stamp the antennae in black ink. Adhere stamped Peach Cardstock body to base of card.
STEP 7:
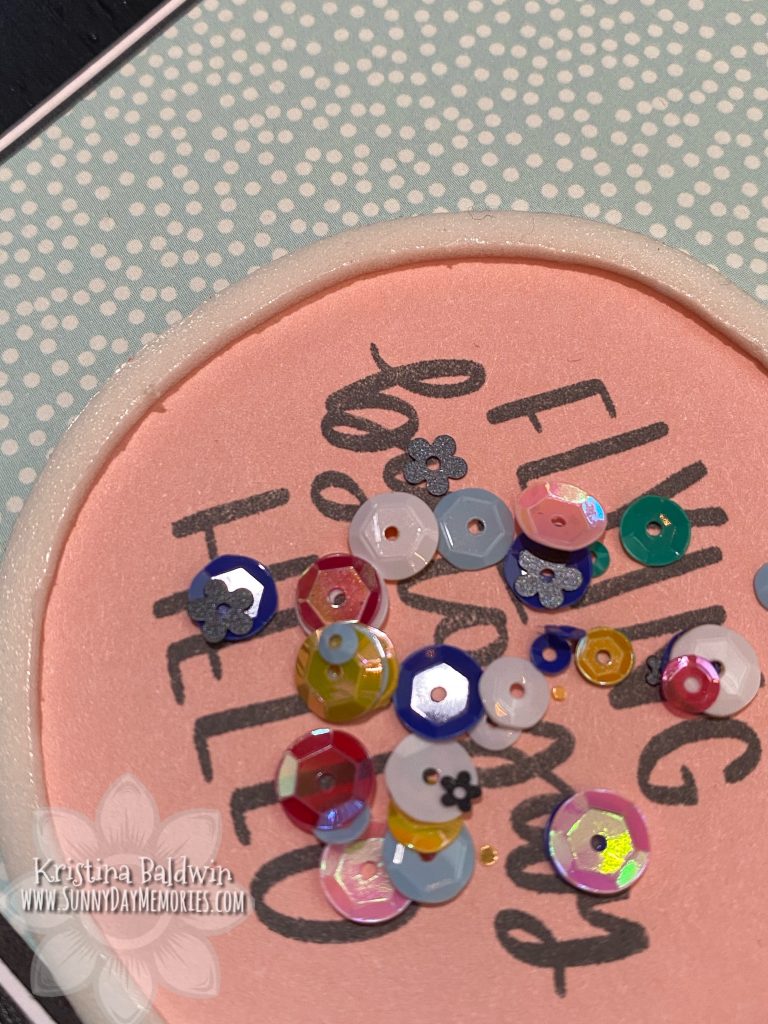
Add ring of 3-D Foam from Shaker Window Foam & Acetate. Place desired amount of loose sequins in center of circle. Remove film from acetate and place on ring of 3-D Foam to seal shaker element closed. For helpful tips on this portion, see my blog post HERE.
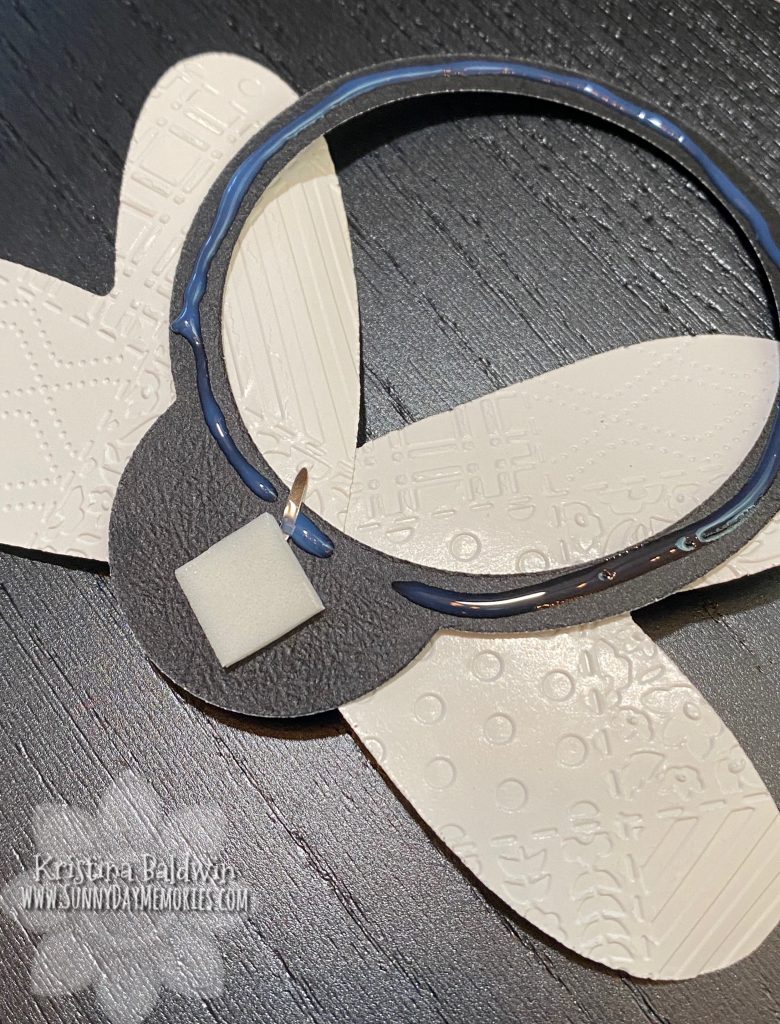
STEP 8:
Finally, you’ll want to add 2 layers of the 3-D Foam squares from the Shaker Window Foam kit on the back of the body head. Then using Liquid Glass, place a small amount around the body (note: I did a little too much so use less than shown in the photo! A little goes a long way with this strong adhesive.) Adhere this on top of your shaker element.

A quick note about this adorable Ladybug Thin Cuts die—there are only a few left! AND…tomorrow is the last day for this current catalog that contains the die, the Hello Ladybug Stamp set and the Stitched Together Paper Pack. I hope you’ll join me this Make It Monday and make a Butterfly Shaker Card.