
Ready to make an adorable mini bucket?!?
Okay then, let’s meet our Cast of Characters:
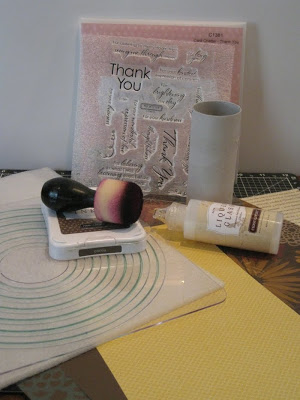
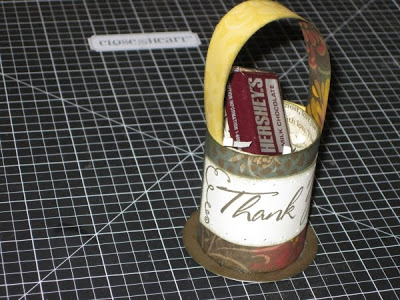
- Card Chatter–Thank You Stamp Set C1381
- Grace Level 2 Paper Packet X7117B
- Cocoa Stamp Pad Z2114
- Foam Tool Z1090
- Coluzzle Circle Cutting System or similar
- Liquid Glass Z679
- Toilet Paper Roll (or Paper Towel Roll)
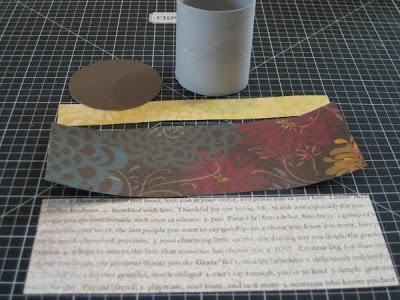
STEP 1: Cut toilet paper roll in half. Trim rim as necessary (as you can tell, definitely not important that you get a precise straight cut!)

STEP 2: Cut basic supplies. Since this isn’t an exact science, your measurements may be a tad bit different. For mine, I cut a 2-1/8″ x 6″ strip for the outer roll and the same for the inner (even though it would wrap around more) and a 3/4″ x 6″ strip for the handle. The circle is approx. 2-1/4″.
STEP 3: Sponge edges of all supplies…even your toilet paper roll.
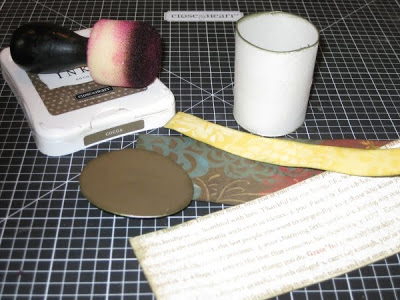
STEP 4: (OPTIONAL) Stamp and sponge a focal image for your mini bucket.

Then adhere onto your outer roll piece so that it is centered.

STEP 5: Adhere handle onto roll.

STEP 6: Adhere inner and then outer paper to cover roll.
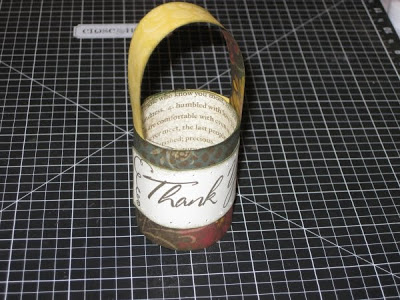
STEP 7: Using Liquid Glass, adhere circle to the bottom of the roll. Then fill with crinkle paper and a small gift.
Enjoy! 🙂