
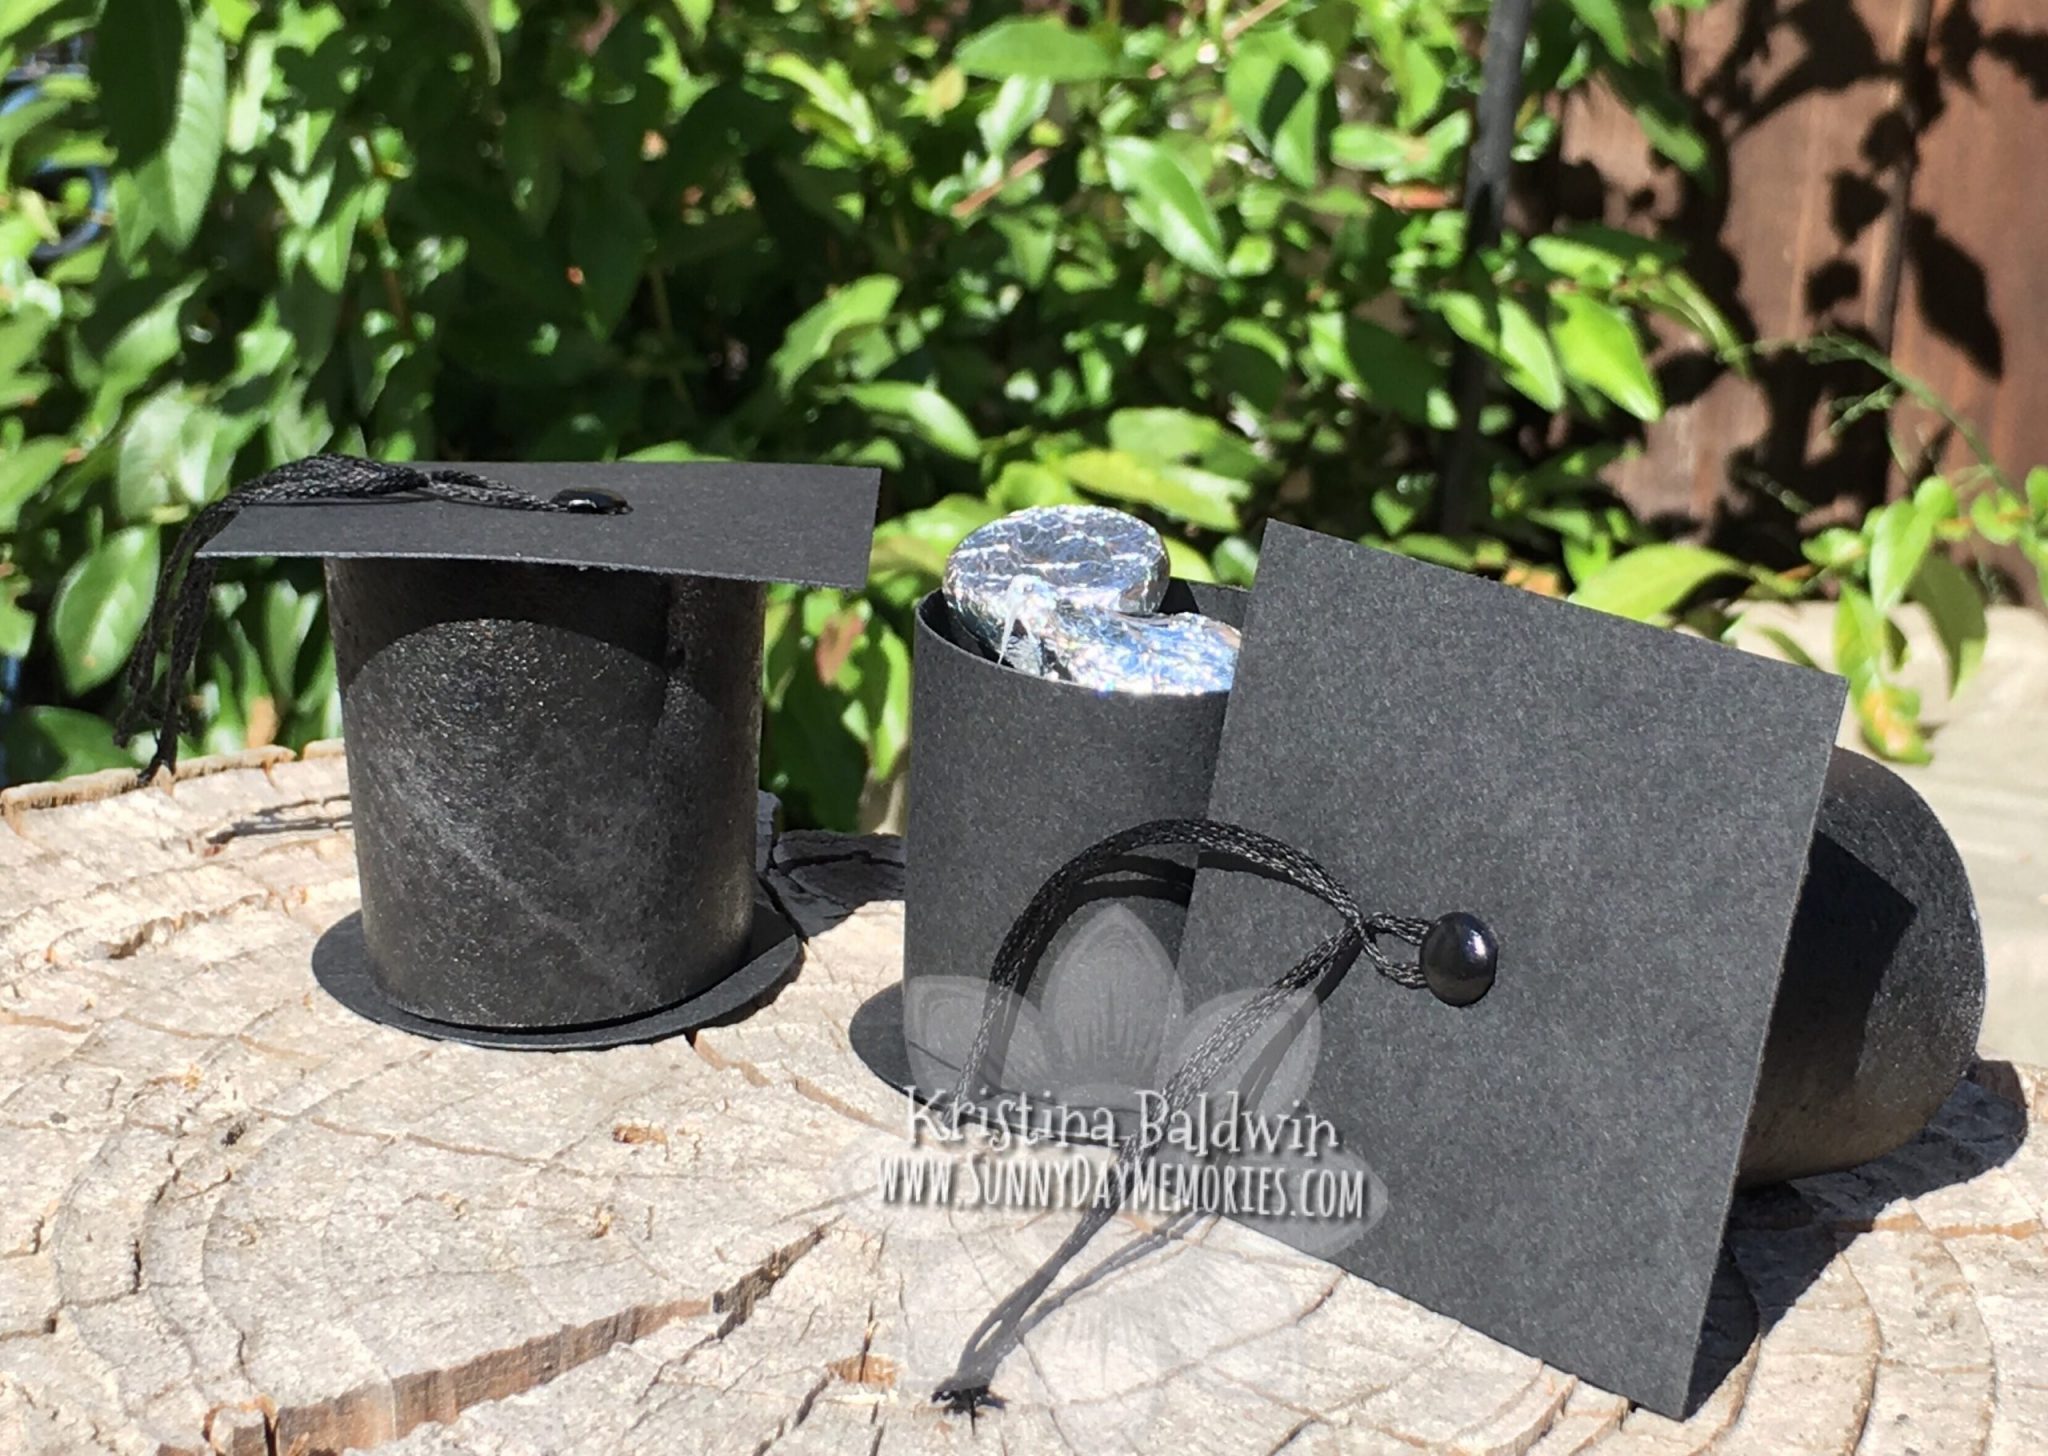

Today I’m sharing a tutorial on how to make a Graduation Cap Favor Box. It felt appropriate to share this fun project today as it’s my kids’ last day of school. It’s also a time when many are not having the opportunity to celebrate rites of passages such as graduation ceremonies. These would make a fun and easy way to let someone know you are thinking of them during their special time.
It also seems appropriate to share this project today as it was 9 years ago today that I first shared this project idea on YouTube and my blog!
I did this project again a few years ago when my kids were leaving elementary school and heading to middle school. I made one for each of the students in their 5th grade class. While creating them, I took photos of the process with the intent of sharing the process here, but as it sometimes happens, it fell to the wayside and didn’t happen. But today I’m sharing them! Better late than never, right?!
STEP 1:
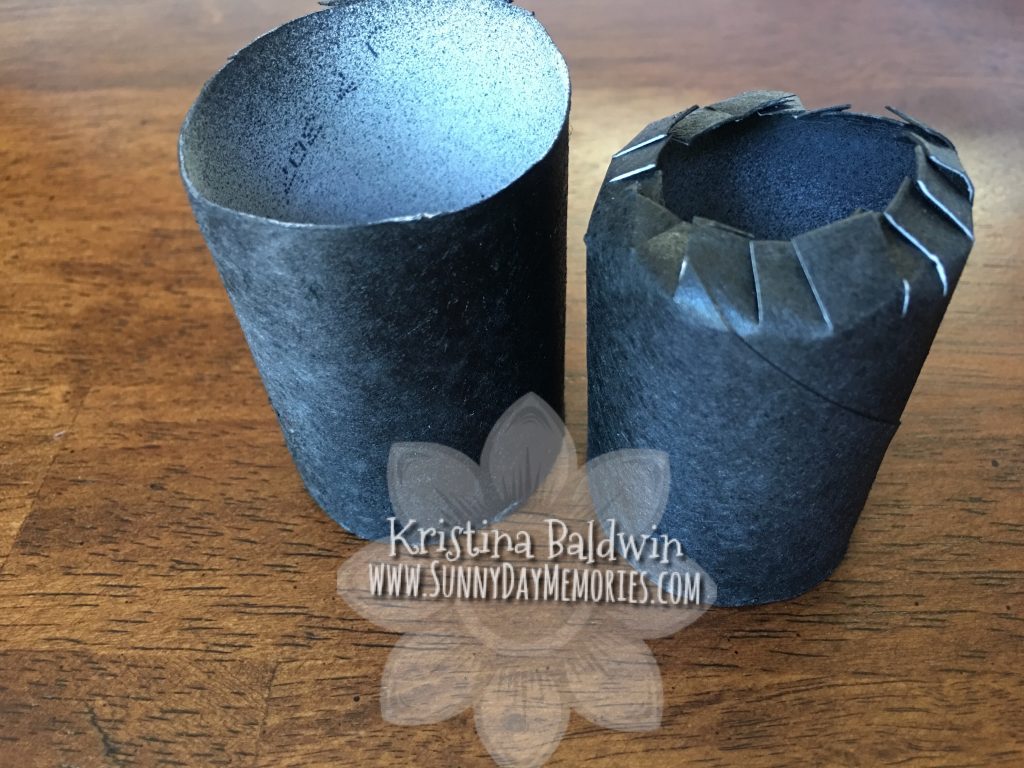
Gather toilet paper rolls or paper towel rolls. Spray paint black (or color of choice) or even adhere cardstock or patterned paper. (Given the toilet paper crisis during the pandemic the irony that I used toilet paper rolls for this project is not lost. Let’s get the most out of these hot commodities!) I cut the toilet paper rolls in half–so they are about 2″ tall. Then cut small slits all around one edge of the roll and press downward to create a base.
STEP 2:
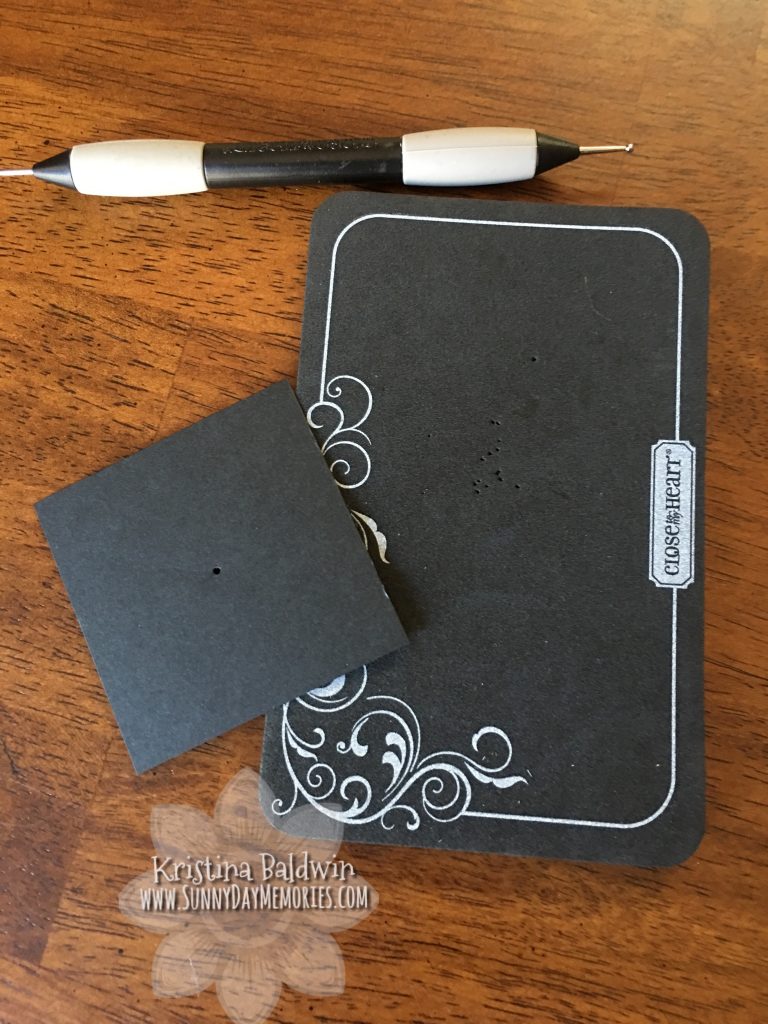
Next we want to make the graduation cap portion to adhere to the toilet paper roll. I used a 2-1/2″ square of Black Cardstock. Again, you could use your school colors instead of black. Poke a hole in the center of the square with a Piercing Tool or Micro-tip Scissors.
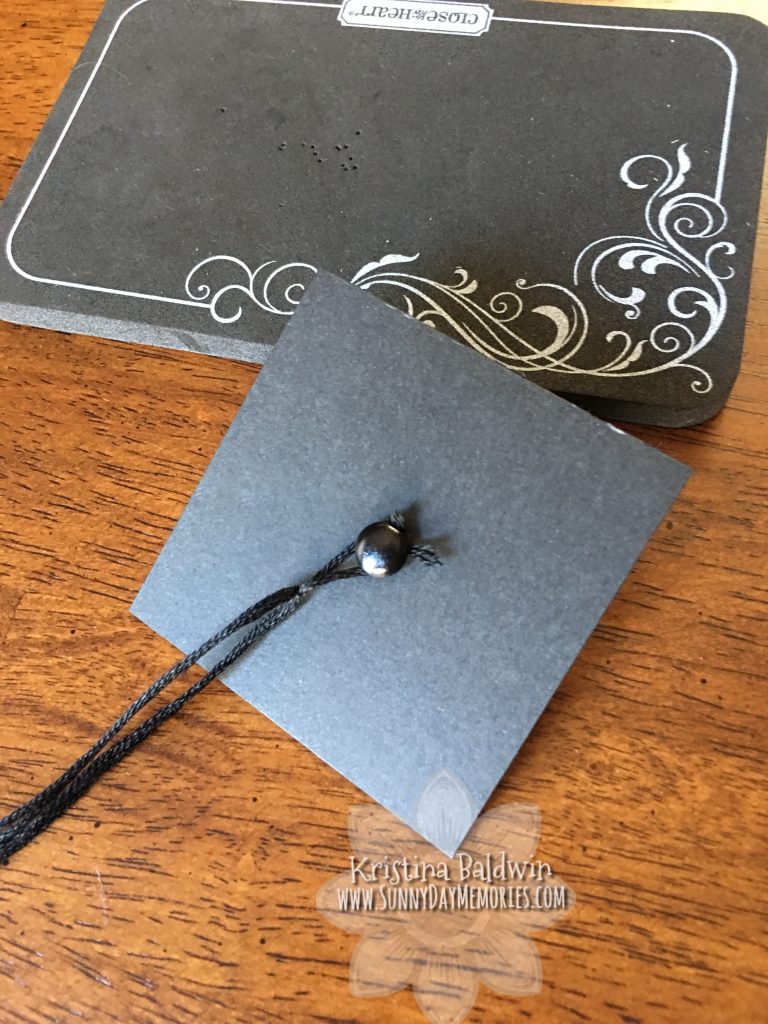
Using 12″ of Floss or Twine, fold it into quarters and then use another 4″ of same material to loop through the folded 12″ and tie into a knot and create a loop to secure with the brad on top of the 2-1/2″ cardstock square. Trim ends of Floss/Twine.
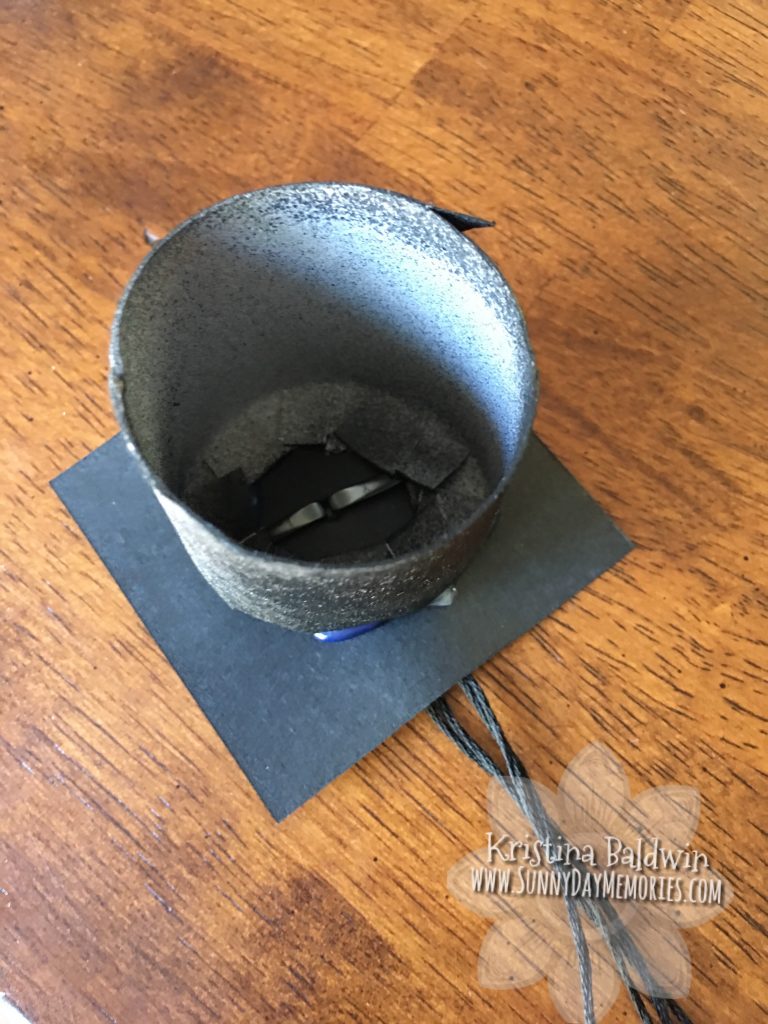
STEP 3:
Using hot glue on flattened slits of toilet paper/paper towel roll, adhere to the backside of the 2-1/2″ cardstock square so it is centered. This is now the top portion of your favor box.
STEP 4:
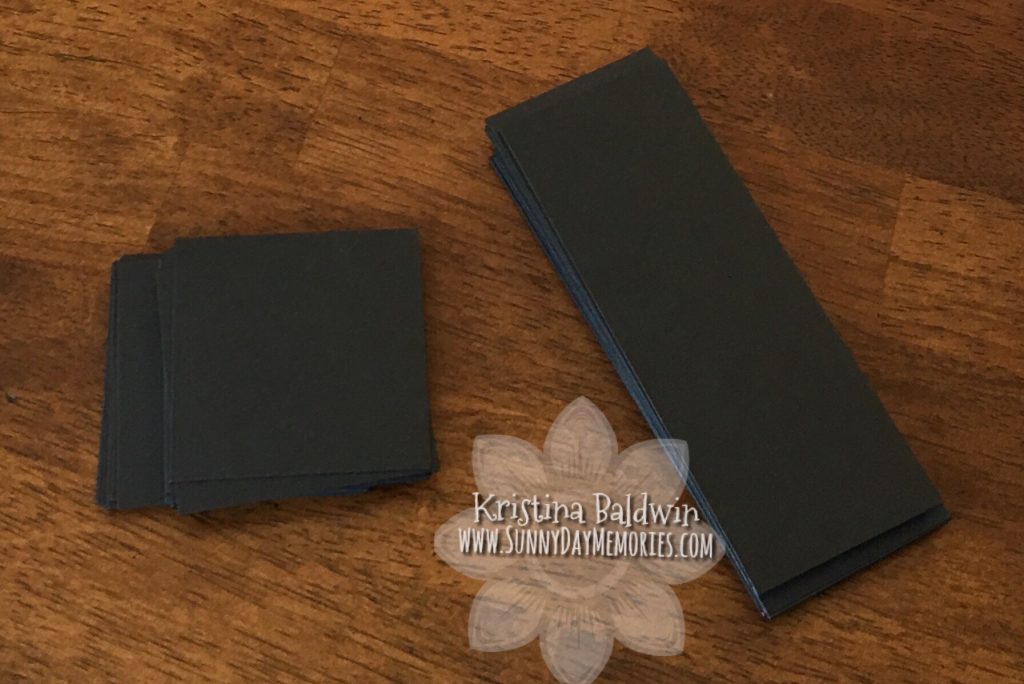
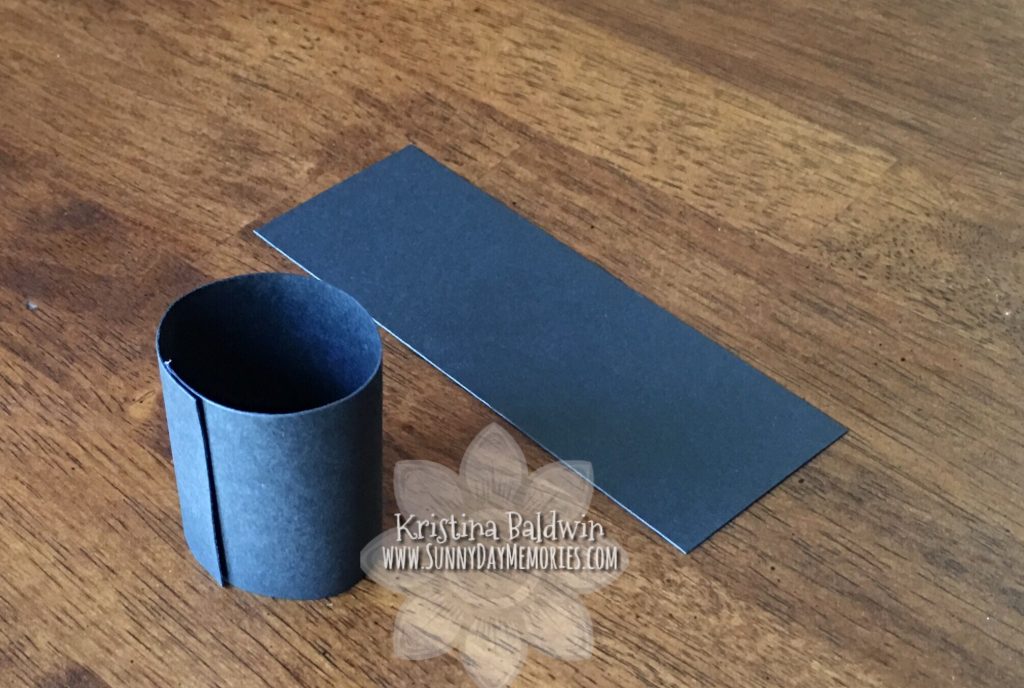
Next we need to create the inner tube or rather the bottom portion of the favor box. To do this we are going to create our own tube. Cut cardstock into 2″ x 5-1/4″ pieces. Then adhere with hot glue to create a tube. (Note: the squares in the photo are the 2-1/2″ squares for the graduation cap portion.)
STEP 5:
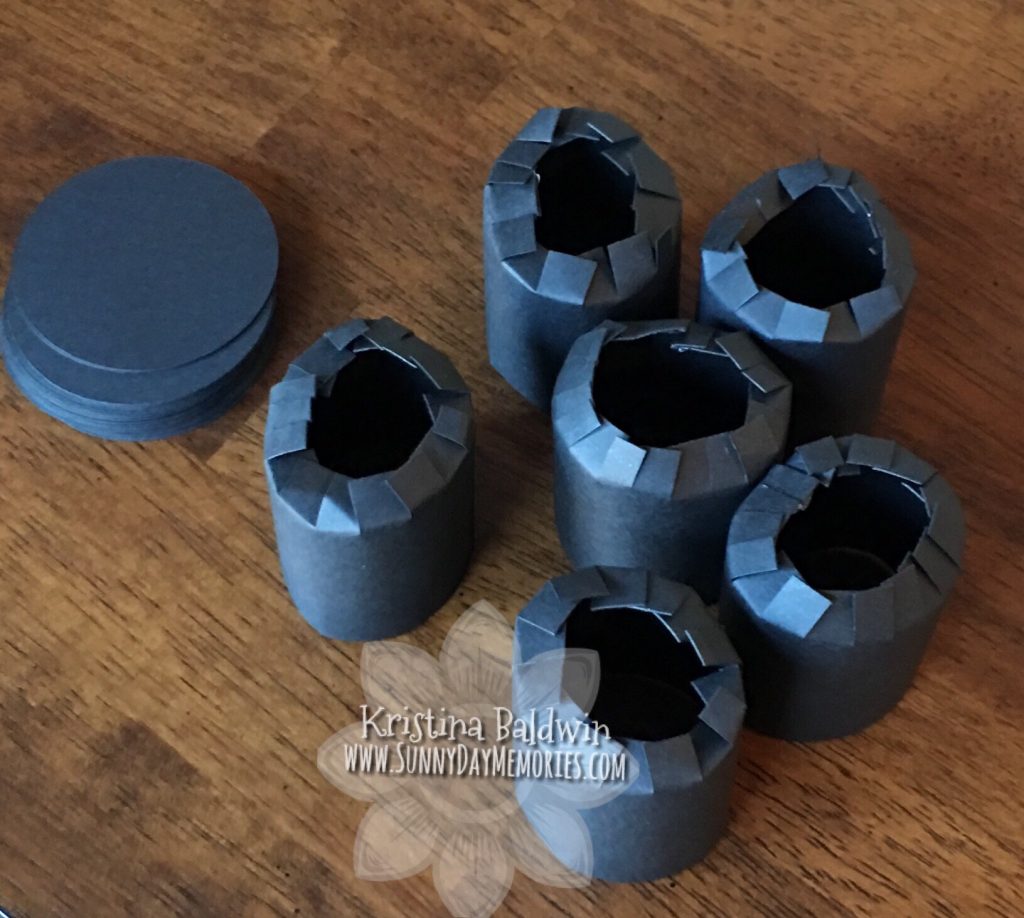
Repeating the same process as used with the top portion of our favor box, cut slits all around one edge of the custom created tubes and flatten. Adhere with hot glue to a 2″ circle, scalloped circle or similar. This is now the bottom of the favor box and should fit well into the top poriton.
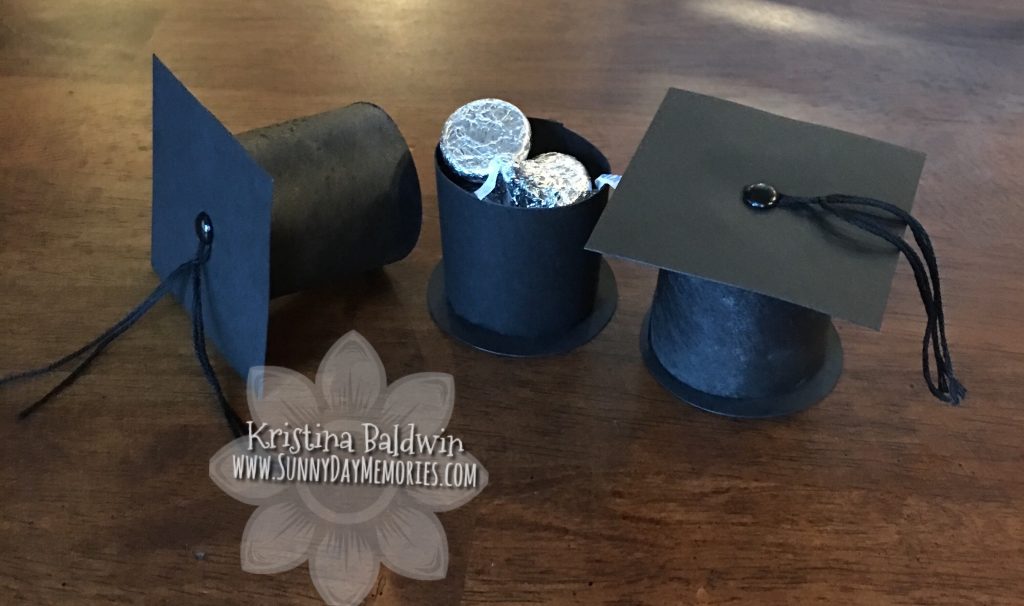
All that is left to do is fill your Graduation Cap Favor Box with some yummy treat and give away!