

Today’s project is a gift I created for my husband’s aunt. It’s a tradition we have. Every year we get her a unique Santa ornament as part of her gift from our family. I’ve purchased ones from craft boutiques, from antique stores and even made some (like the one I’m sharing today.) It’s important to me that it’s unique and one-of-a-kind (or at least close to one!)
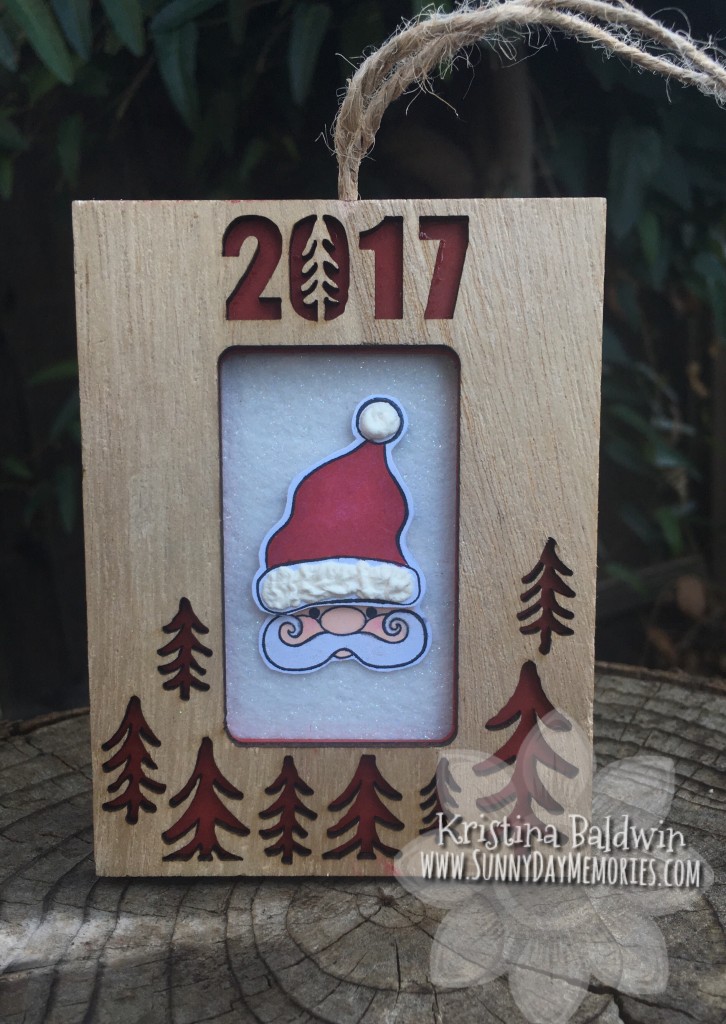
I really love how this one turned out. I found the frame at Target. Initially, I was planning to put photos of my kids in them and give them to the grandparents, but was only able to find one frame! I was so disappointed that I almost put this frame ornament back. However, it was so reasonably priced (I think it was only $3; super good deal as it’s quite nice!) so I went ahead and purchased it knowing somehow I’d put it to good use. That’s when I came up with the idea to incorporate one of my favorite *NEW* holiday stamps from Close To My Heart–Little Saint Nick–to create a unique Santa ornament to gift this year.
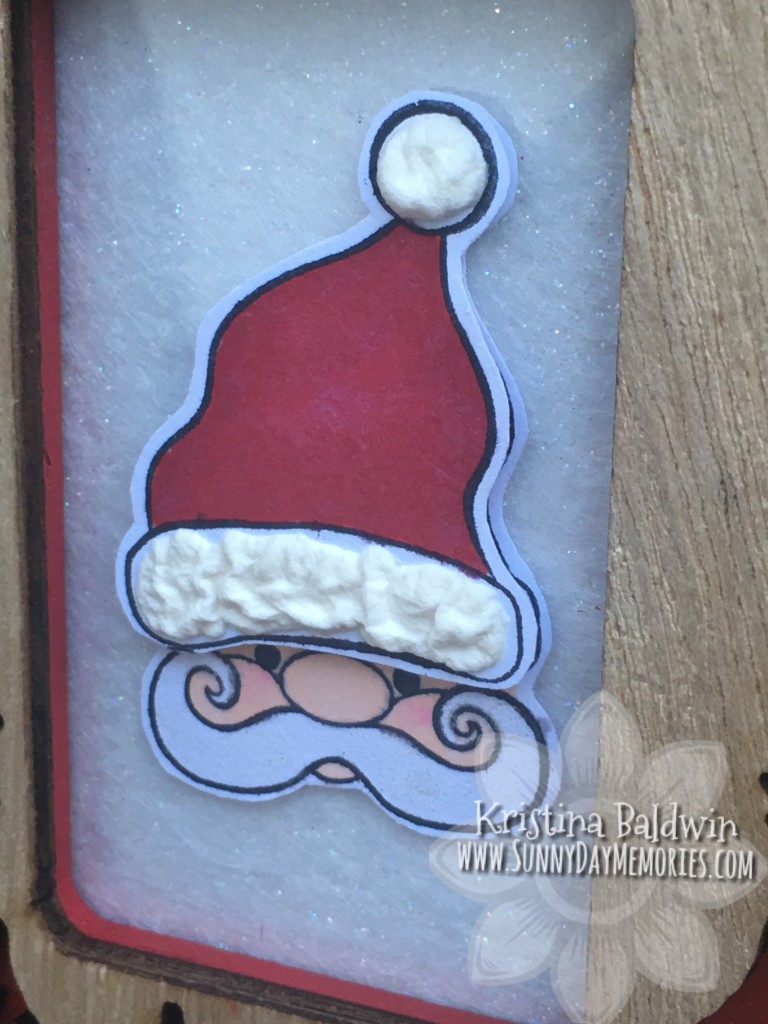
I started by putting some White Glitter Paper (covered with a used dryer sheet for a softer look) inside the frame. I then stamped the image twice with Memento Black ink onto White Daisy Cardstock. I colored both stamped images. One of them I colored just the face with Barely Beige and Tender Pink and then Santa’s hat on the other with Carmine and Lavender . I then cut out the whole image of one leaving a slight border around it and glued it onto the front of the frame. The second one–the one with the colored Santa Hat–I only cut out the hat, again leaving a slight border.
To add a little more pizzazz, I took our Clear Shimmer Brush and colored in Santa’s mustache. And finally, I pulled out an oldie but goodie–Liquid Applique–to create some dimension on Santa’s hat. I love this stuff! I forgot just how much I love it. If you’ve never tried it before, you absolutely should!! It’s super easy. Just squeeze it out of it’s tube wherever you want it on your project. Then heat it up with your Craft Heater. It’s so fun to see it start puffing up once it begins to heat up.
The final step was to add Santa’s hat onto the Santa I already glued to the frame using Thin 3-D Foam Dots. And that’s it. A fairly simple way to create a unique Santa Ornament. I hope you’ve found a little bit of inspiration to take something and spruce it up for truly special gift from the heart.